This post was written by my husband because as with most things related to our house/electricity/water systems, these are handled by him.
So here goes:
It’s still fairly untested at this point but it’s a nice summary of the reasons behind the choices
When we drilled our well 4 years ago, we didn’t install an electric pump, only a manual one. We didn’t have power we could spare, we didn’t know how to run power to the well, we didn’t know how to bring water inside the house, the house didn’t even have its final footprint. All these reasons kept us pumping water by hand and carrying it in the house for years. It’s honestly not a bad chore but it does add up with 4 of us taking showers, on top of the drinking and various other uses. If I had to guess, I would say we use about 20 to 30 gallons every day. Now with the Summer stream shower, this goes down significantly.
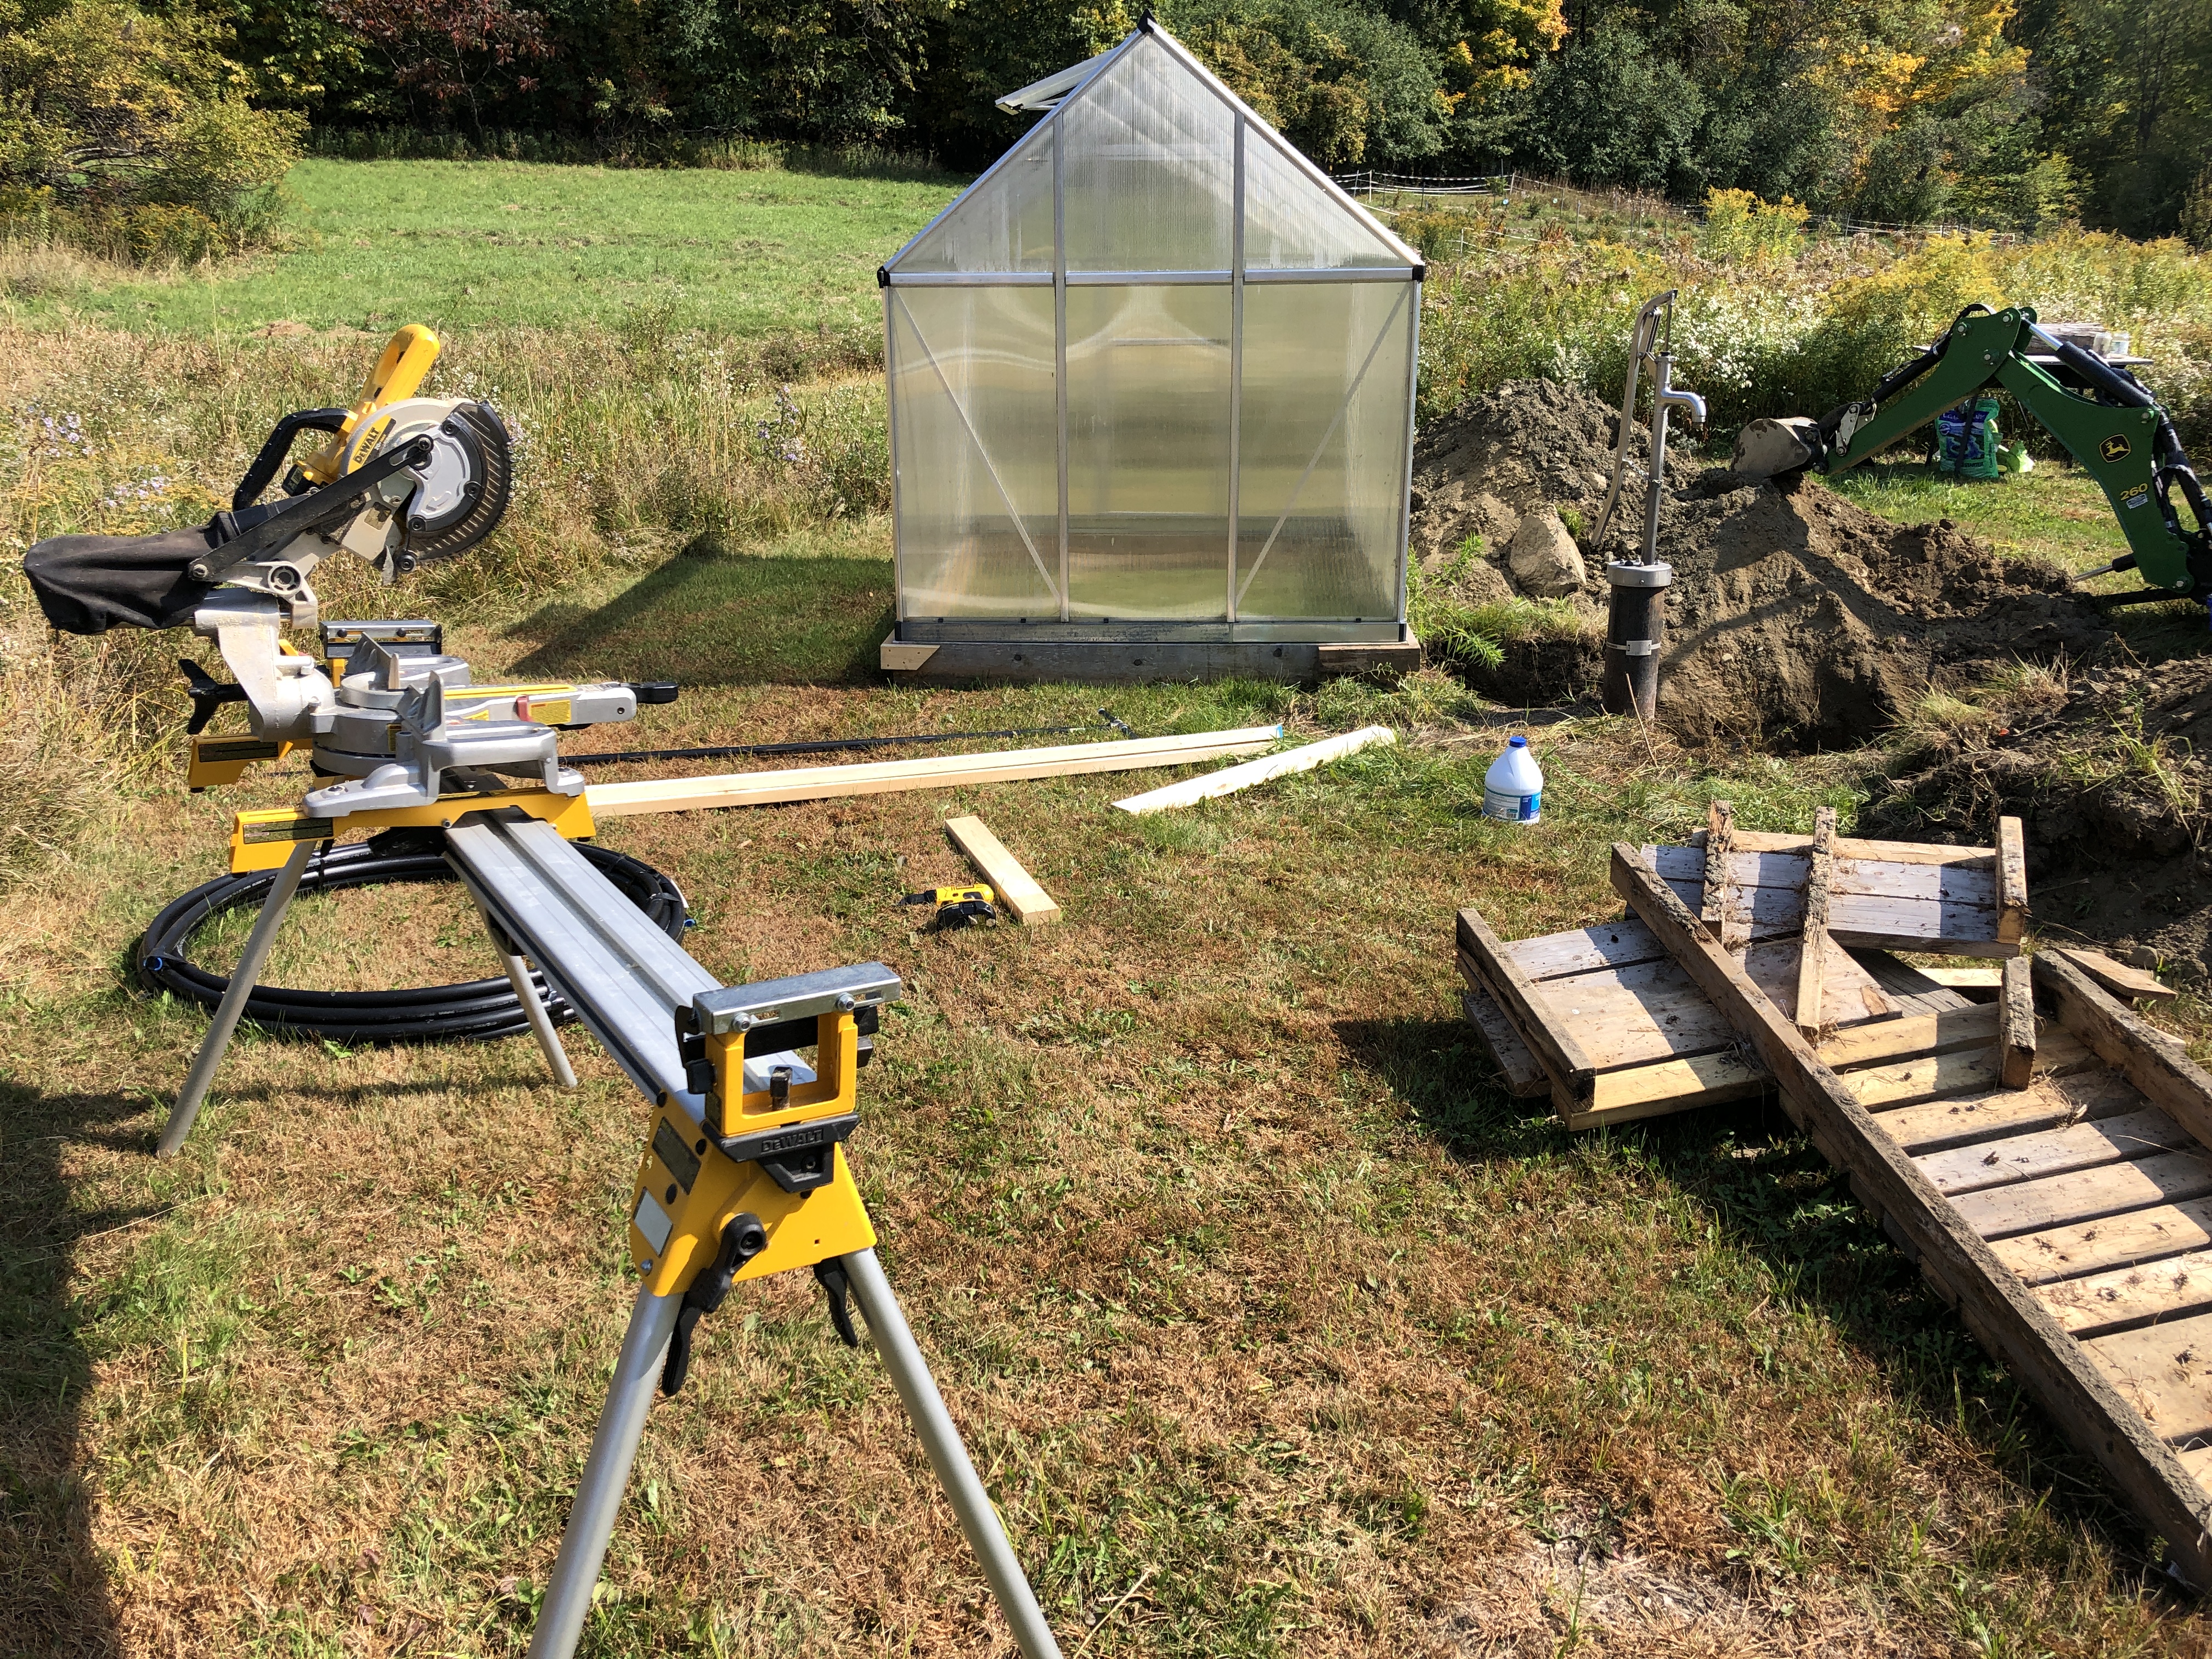
In any case, I made it my mission this Summer to run water inside the house. I tried very hard to have a professional do the work on the well casing, but not a single contractor was interested in the work. As with roofers, they have a ton of work, they get to pick the easy nice paying jobs. I couldn’t even convince them to give me a high quote. I called everyone in the region, and they were honest in saying in a very typically Vermont way that it was just too much trouble to install a pitless adapter. I was very scared to mess up the well and would have been happy to pay someone with expertise to do it, but no one wanted to, so I didn’t have a choice.
I spent months researching it, talking to everyone, watching videos, and replaying in my head the motions for what would need to happen the day of. Until finally I felt like I had turned every stone and just had nothing left to inquire. It was time for action.
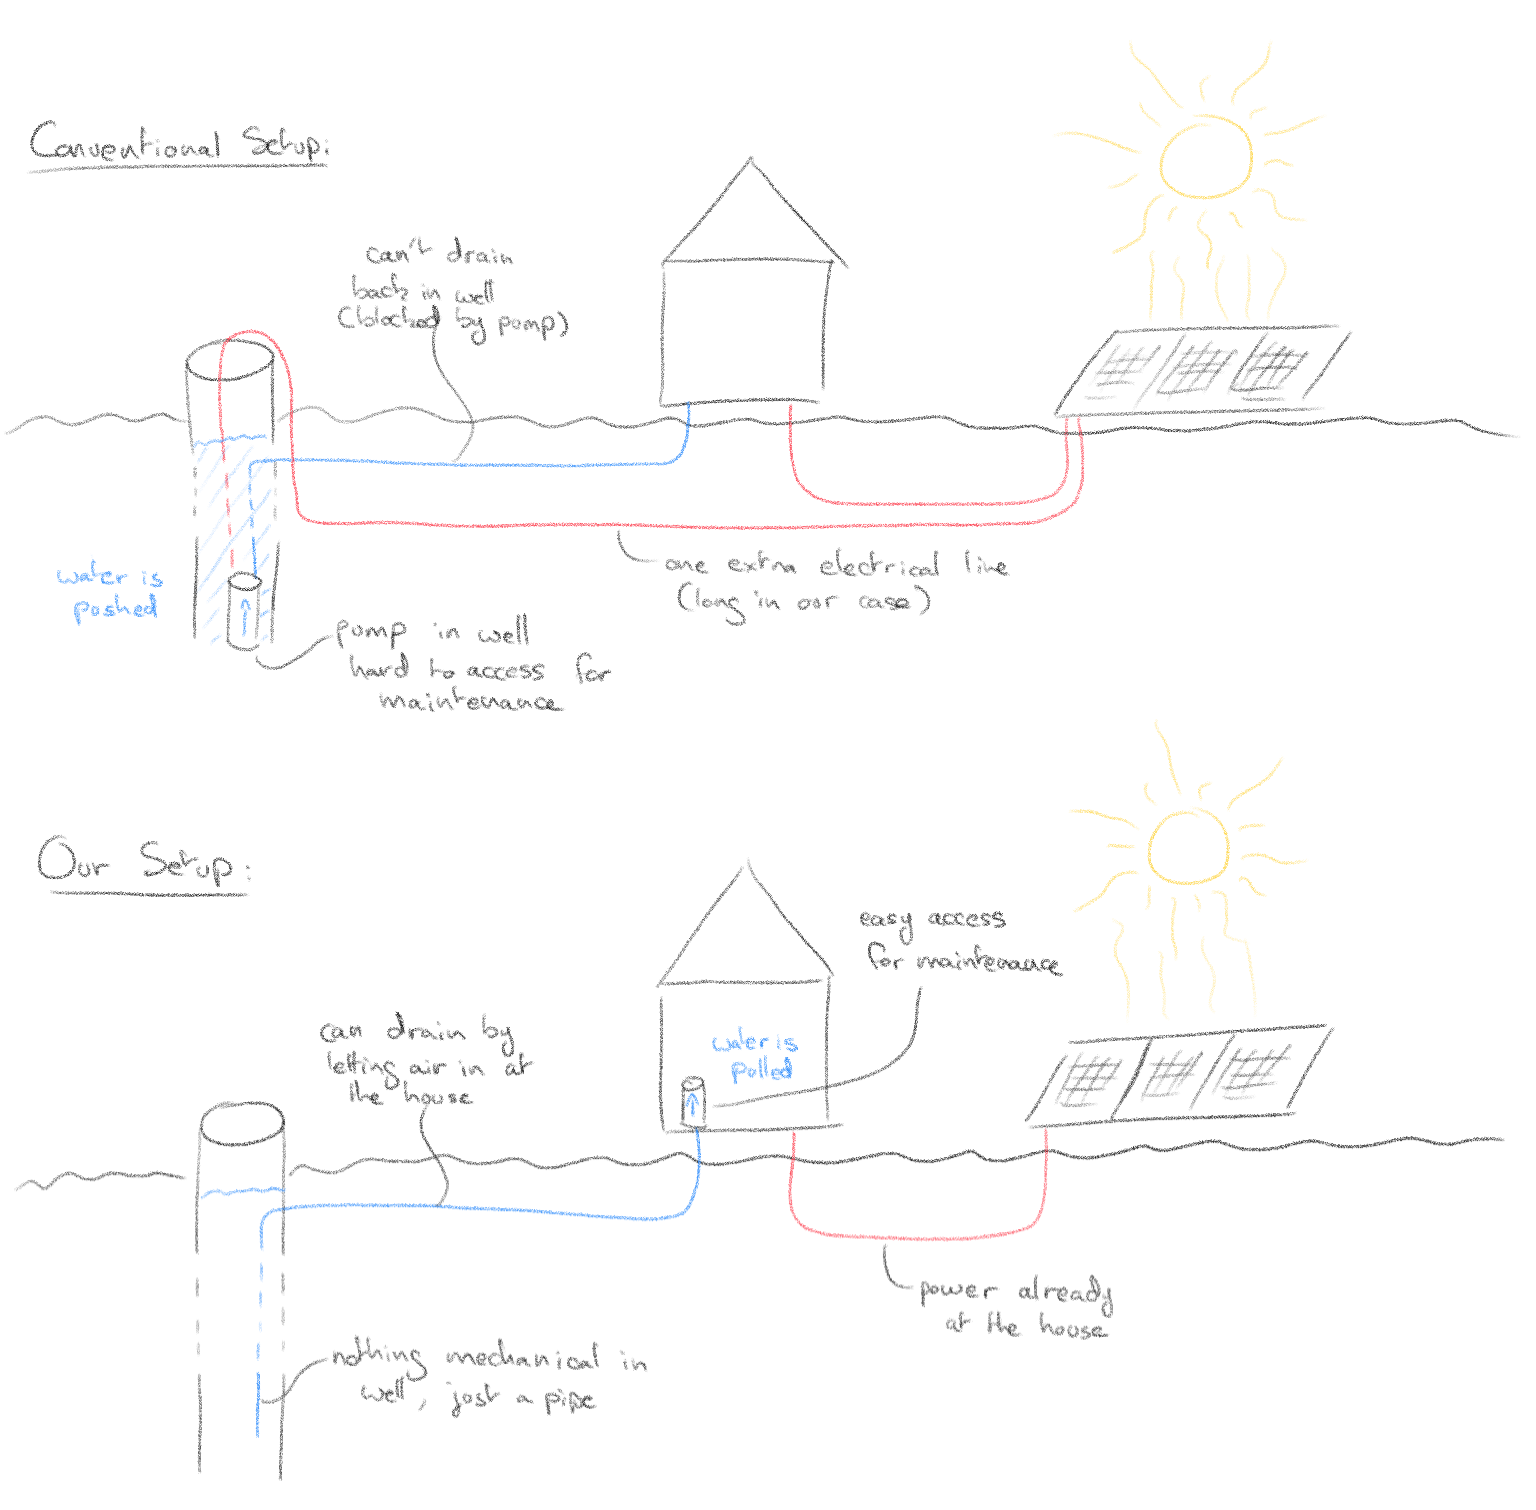
One of the complicating factors in this endeavor is the design. Most wells are installed with a pitless adapter underground and a 110V AC deep well pump in the well itself. That’s what we would have gotten from a contractor and the easy, known to be reliable, choice. However, there are a few things about our situation which don’t necessarily make this the best fit. And so adding to my initial uncertainty about anything touching the well was the fact that I evaluated designs that aren’t conventional. It’s a bit nerve-wracking to question established wisdom having no practical experience on the matter. This is why it took me so long to get to a point where I thought I had it.
Here are the points which held me back from a conventional in-well setup:
- With a pump inside the well, one needs to run power to the well, and all the way down the well to where the pump lives. It requires extra trenching, extra conduit, extra wire, extra hole in the casing, et cetera. That’s a whole lot of work and infrastructure to maintain down the road.
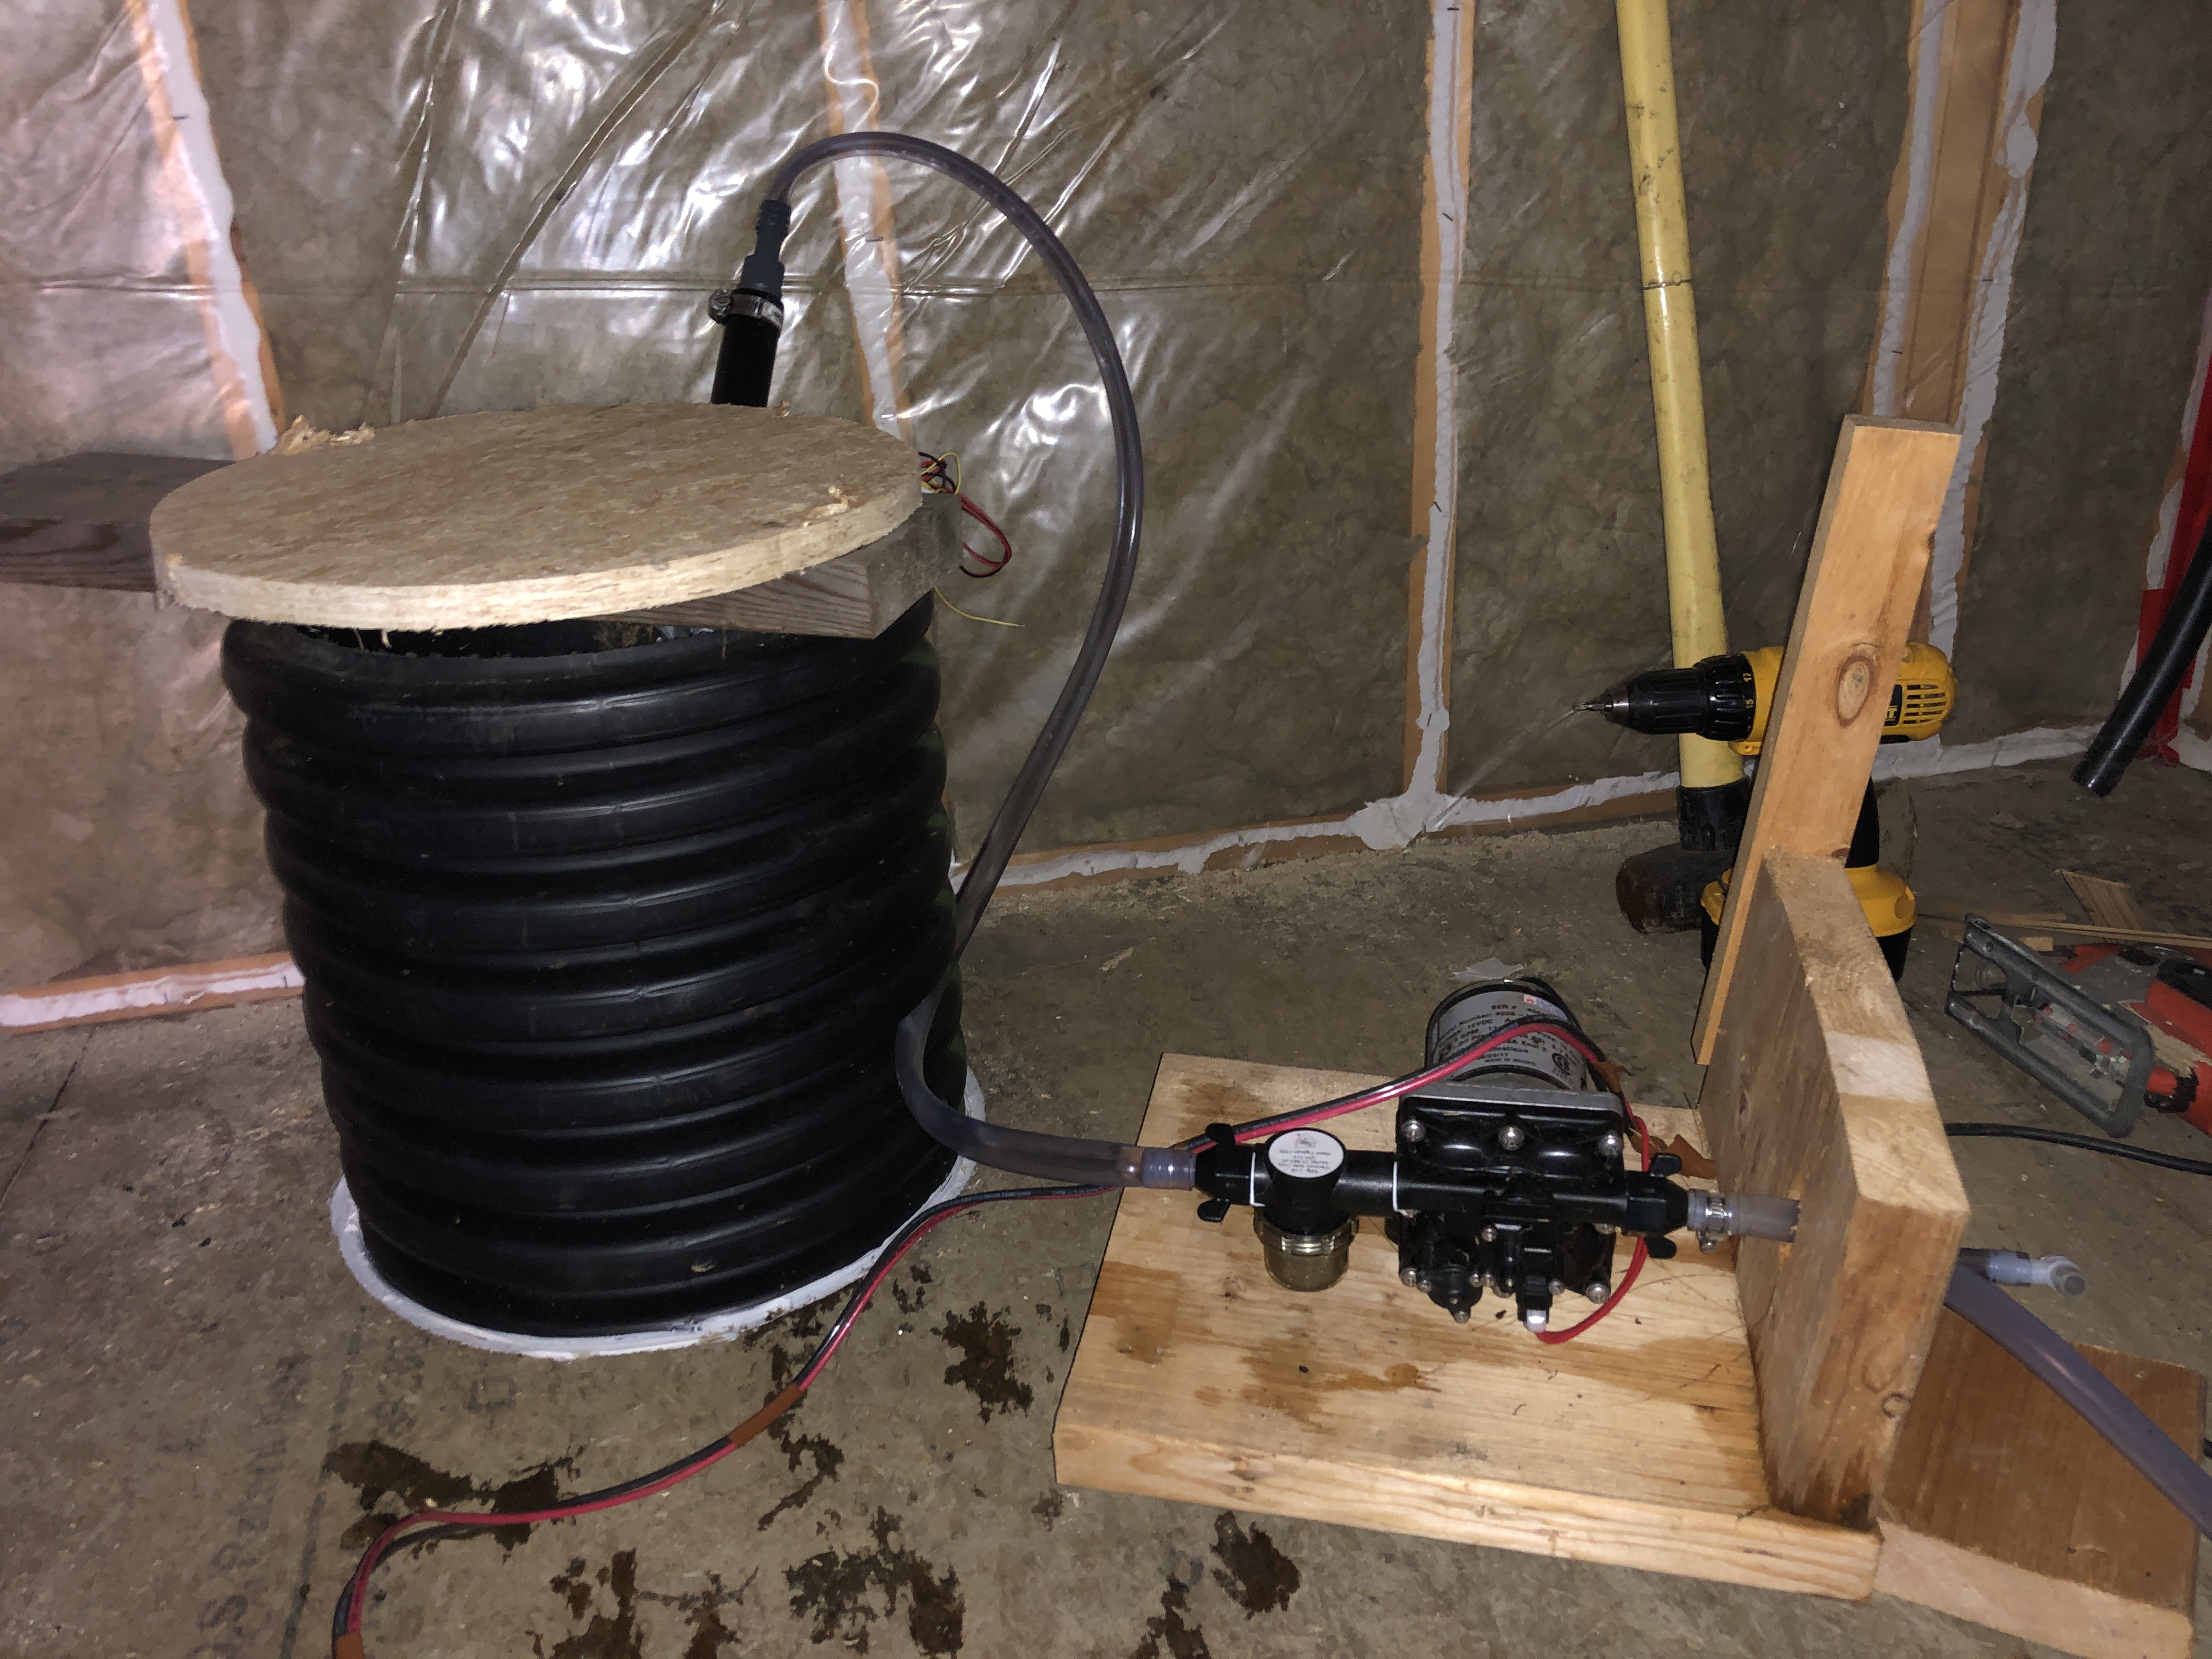
- I need to invert power (and lose efficiency) to run a 110V AC pump, that one’s easy enough, you can buy 12V DC ones.
- Maintenance of the pump requires a heavy operation of opening the well up and pulling it out.
- Our house is built on piers, there is a fairly exposed spot from the ground to the house floor where a water pipe goes that could freeze. Insulating 6 ways to Sunday is one thing, but ideally, I’d like the possibility of flushing the water out of there. A well pump can’t be asked to release the water it has pushed up back into the well.
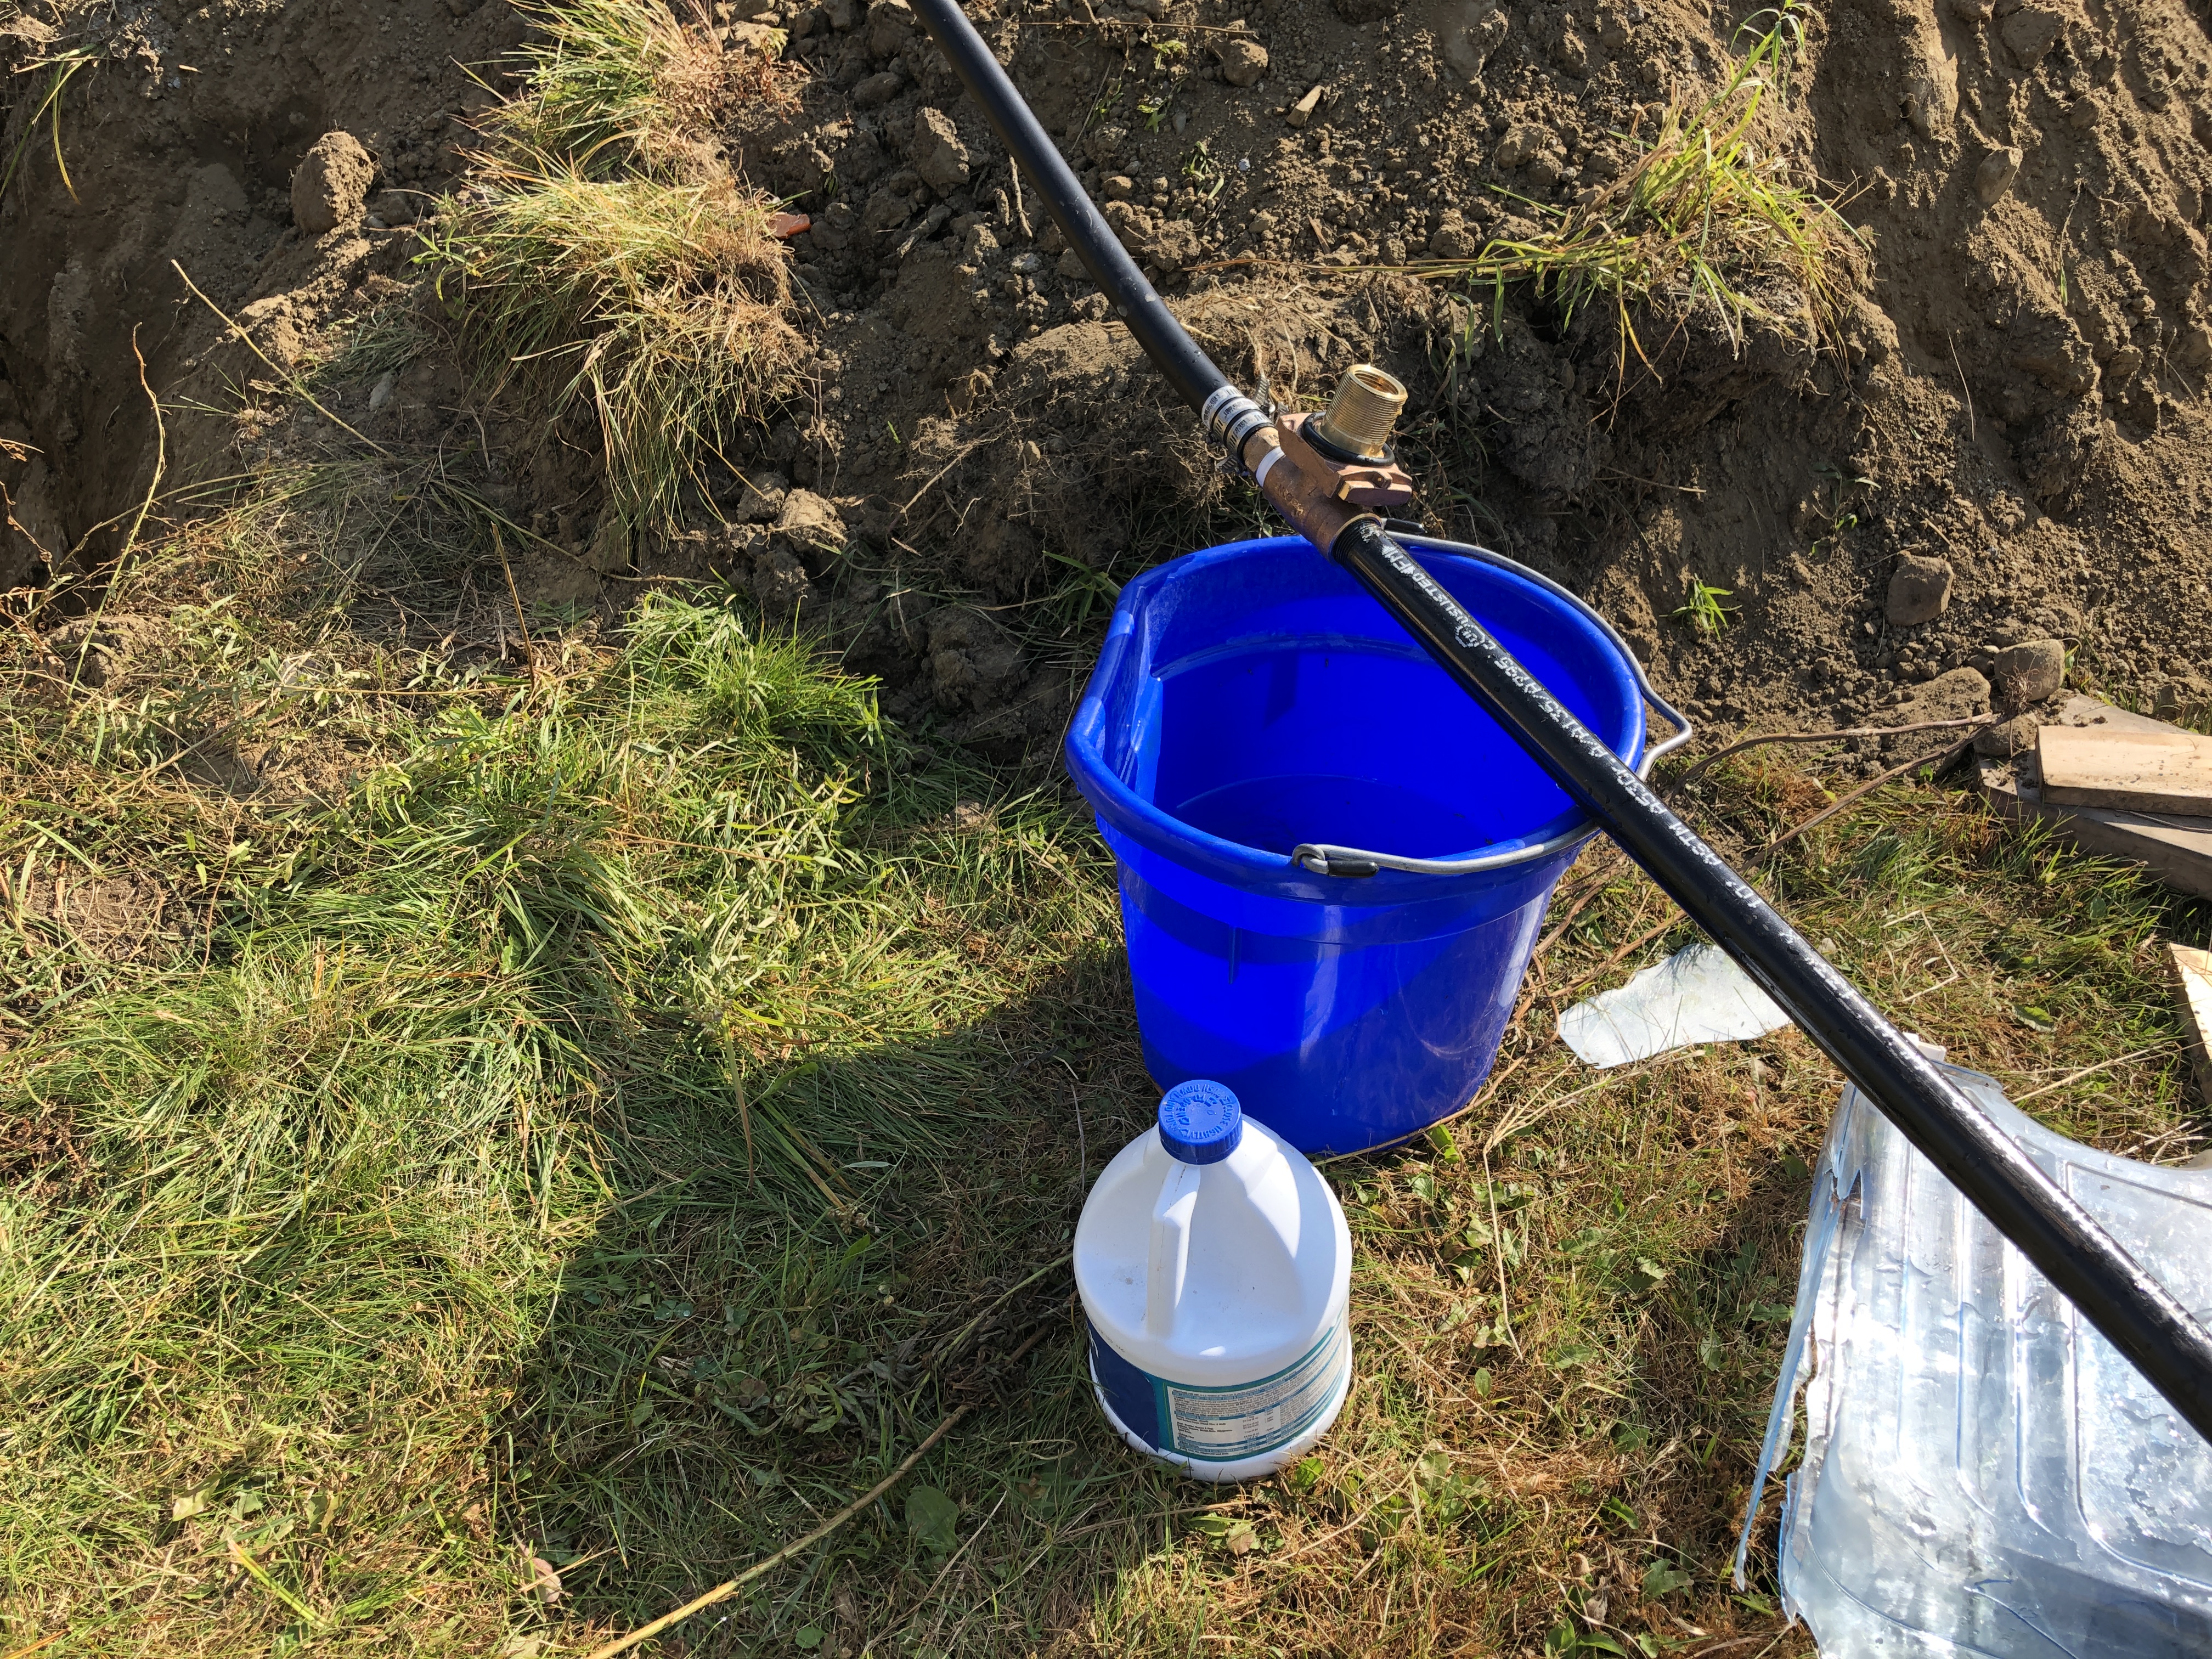
Now our well has a very high static level, in fact, water oozes out the top at about 4 gallons per hour which required us to create a whole way of disposing of it underground below the frost line so it wouldn’t freeze and damage the well & pump. This seems to be true even today, after a whole month of no rain in Vermont. I cursed my well for having us do all these disposal apparatus for a mere 4 gallons per hour, but the other side of that coin is that it is unaffected by very dry spells when we hear of friends’ wells running dry. I realized that water pumps are rated for how many feet of height they can call water from. A super cheap pump I’ve been moving sap & stream water with can call up to 10′, better more expensive pumps can self-prime up to 20′, anything more than that starts to require specialty pumps. There is just about 10′ between where the well static level is (enforced by the overflow disposal) and where the floor of the house is. Could I have the pump in the house and call the water from the well?
I climbed up a 10′ ladder with the pump to test the assertion and sure enough, it pulls water up just fine. This meant we can have a super cheap pump right inside the house where we can work on it if we need to, with electricity right there. Even better, I can put a simple valve right there to let air in the pipe and all the water will go back into the well, leaving no chance of freezing on the super cold days.
That’s for the somewhat unconventional design, it remained to be seen if all would work in practice. It was time for action.
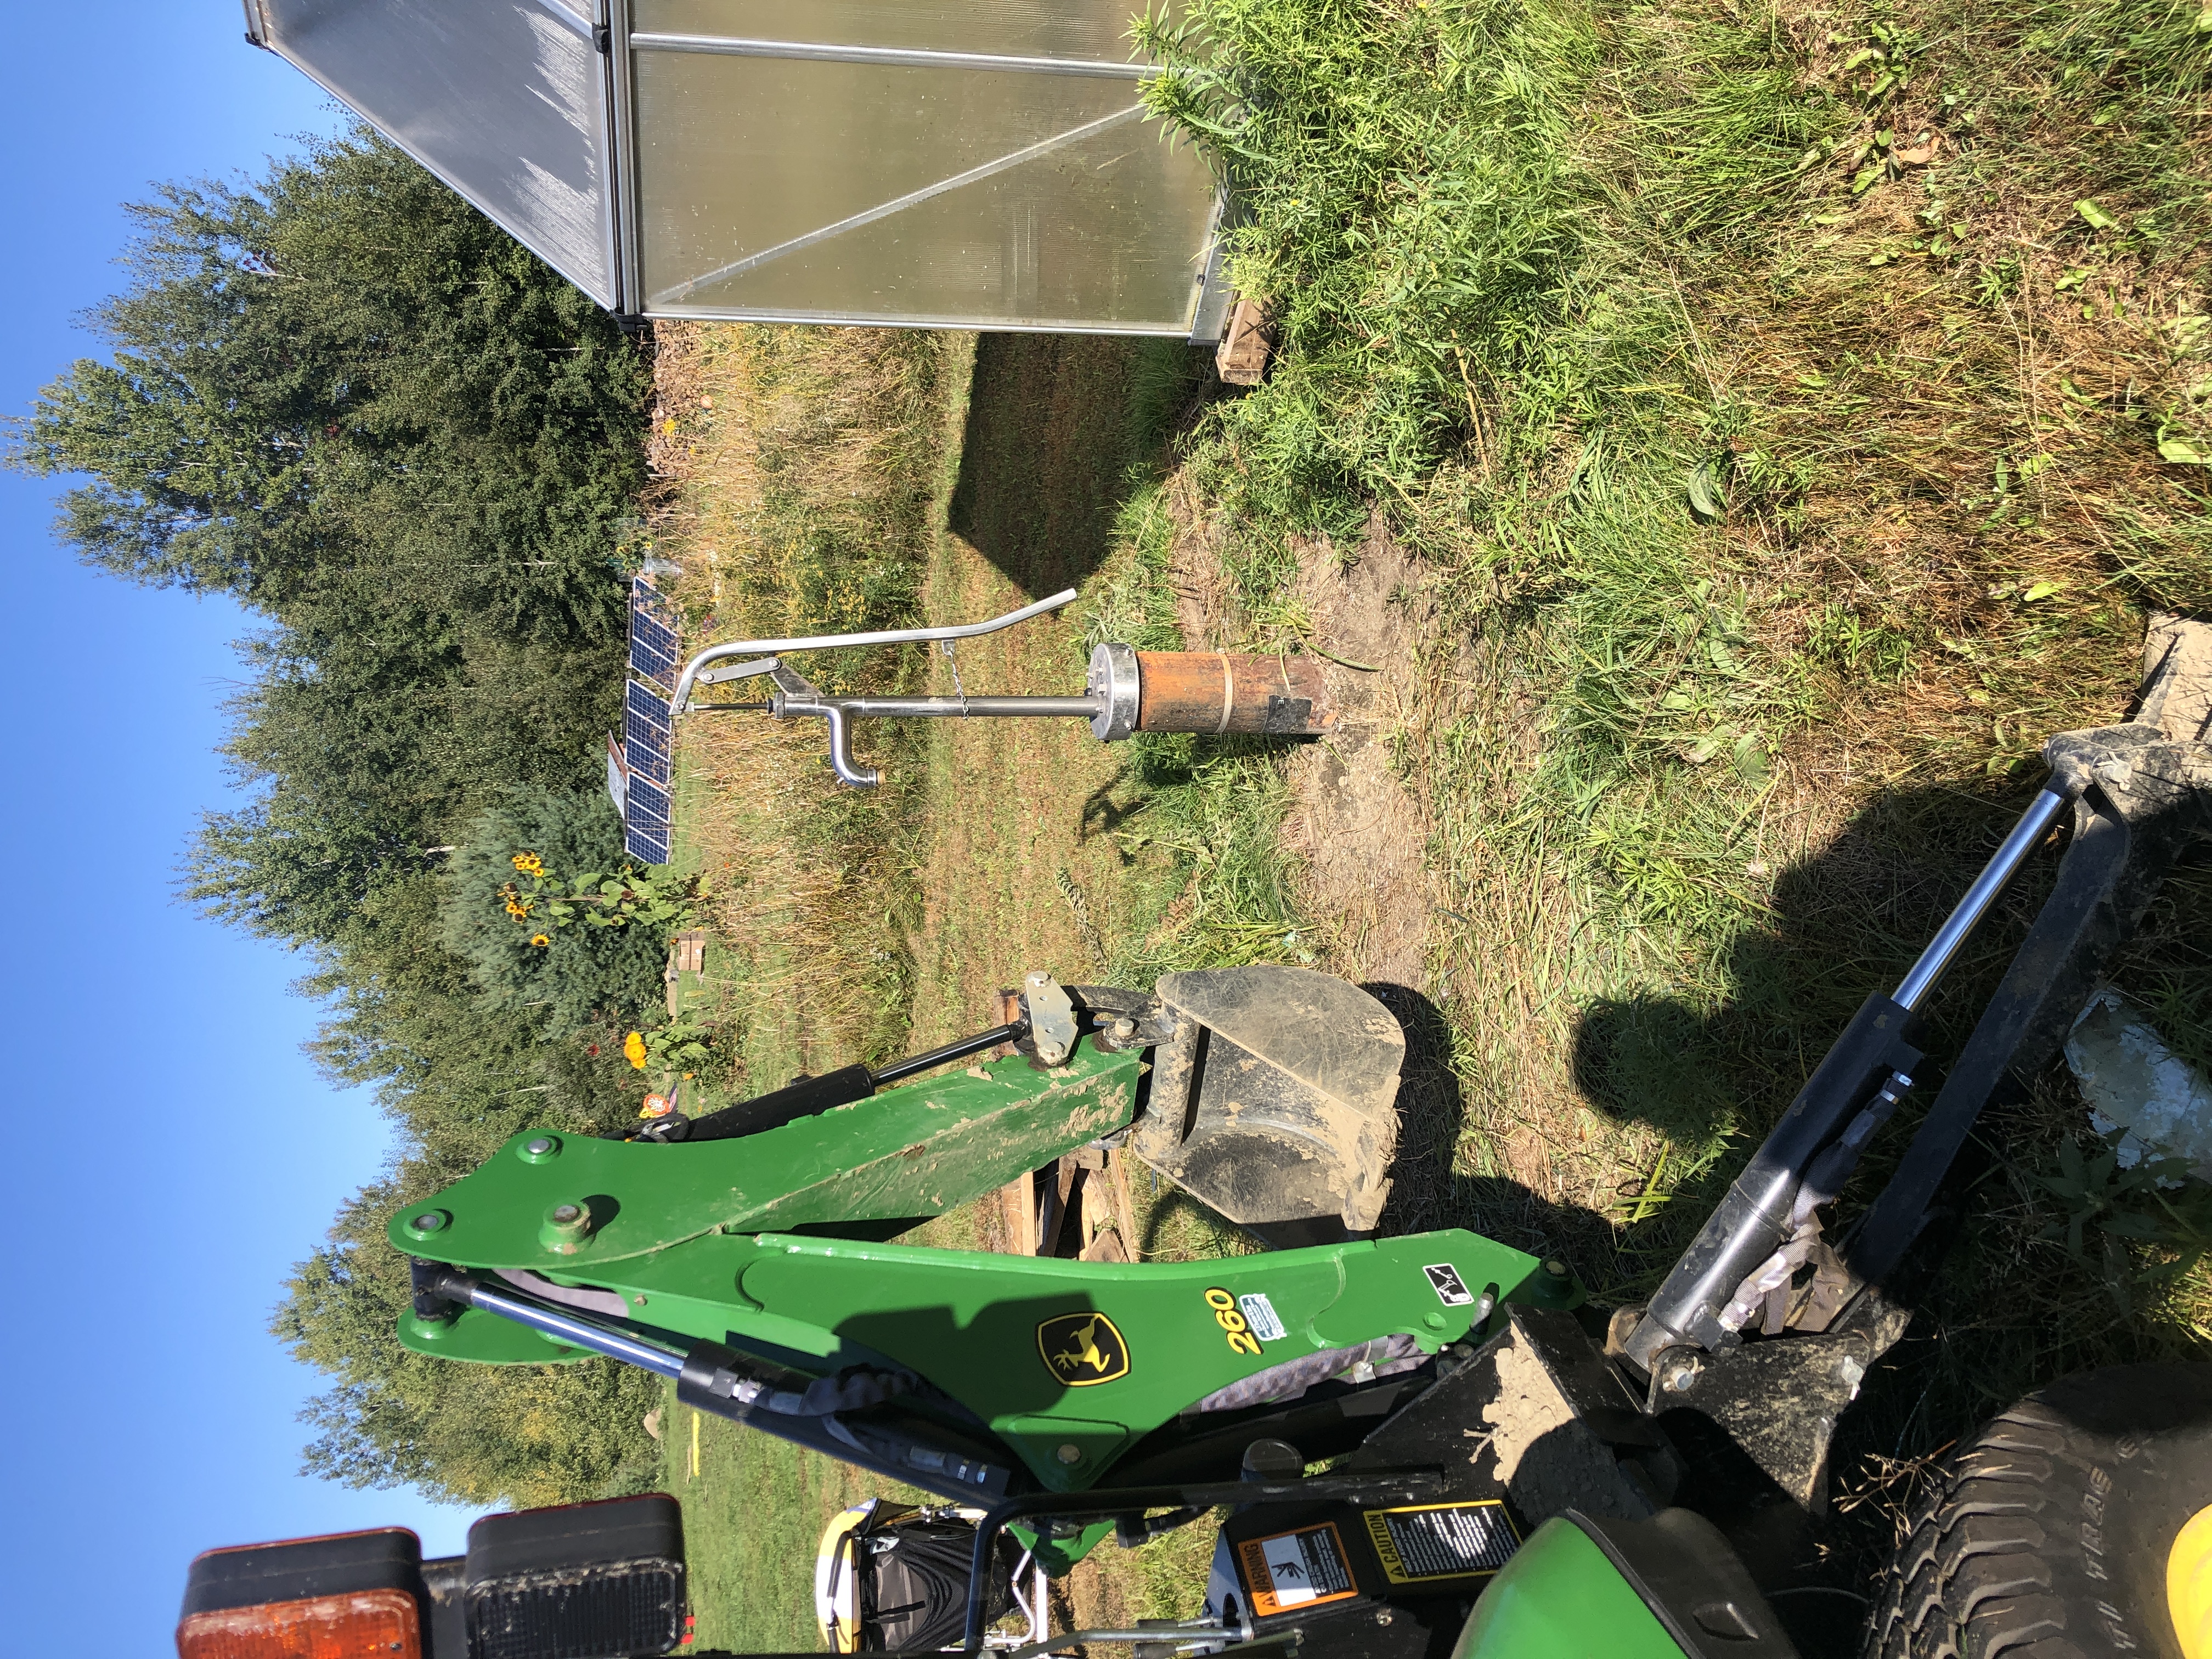
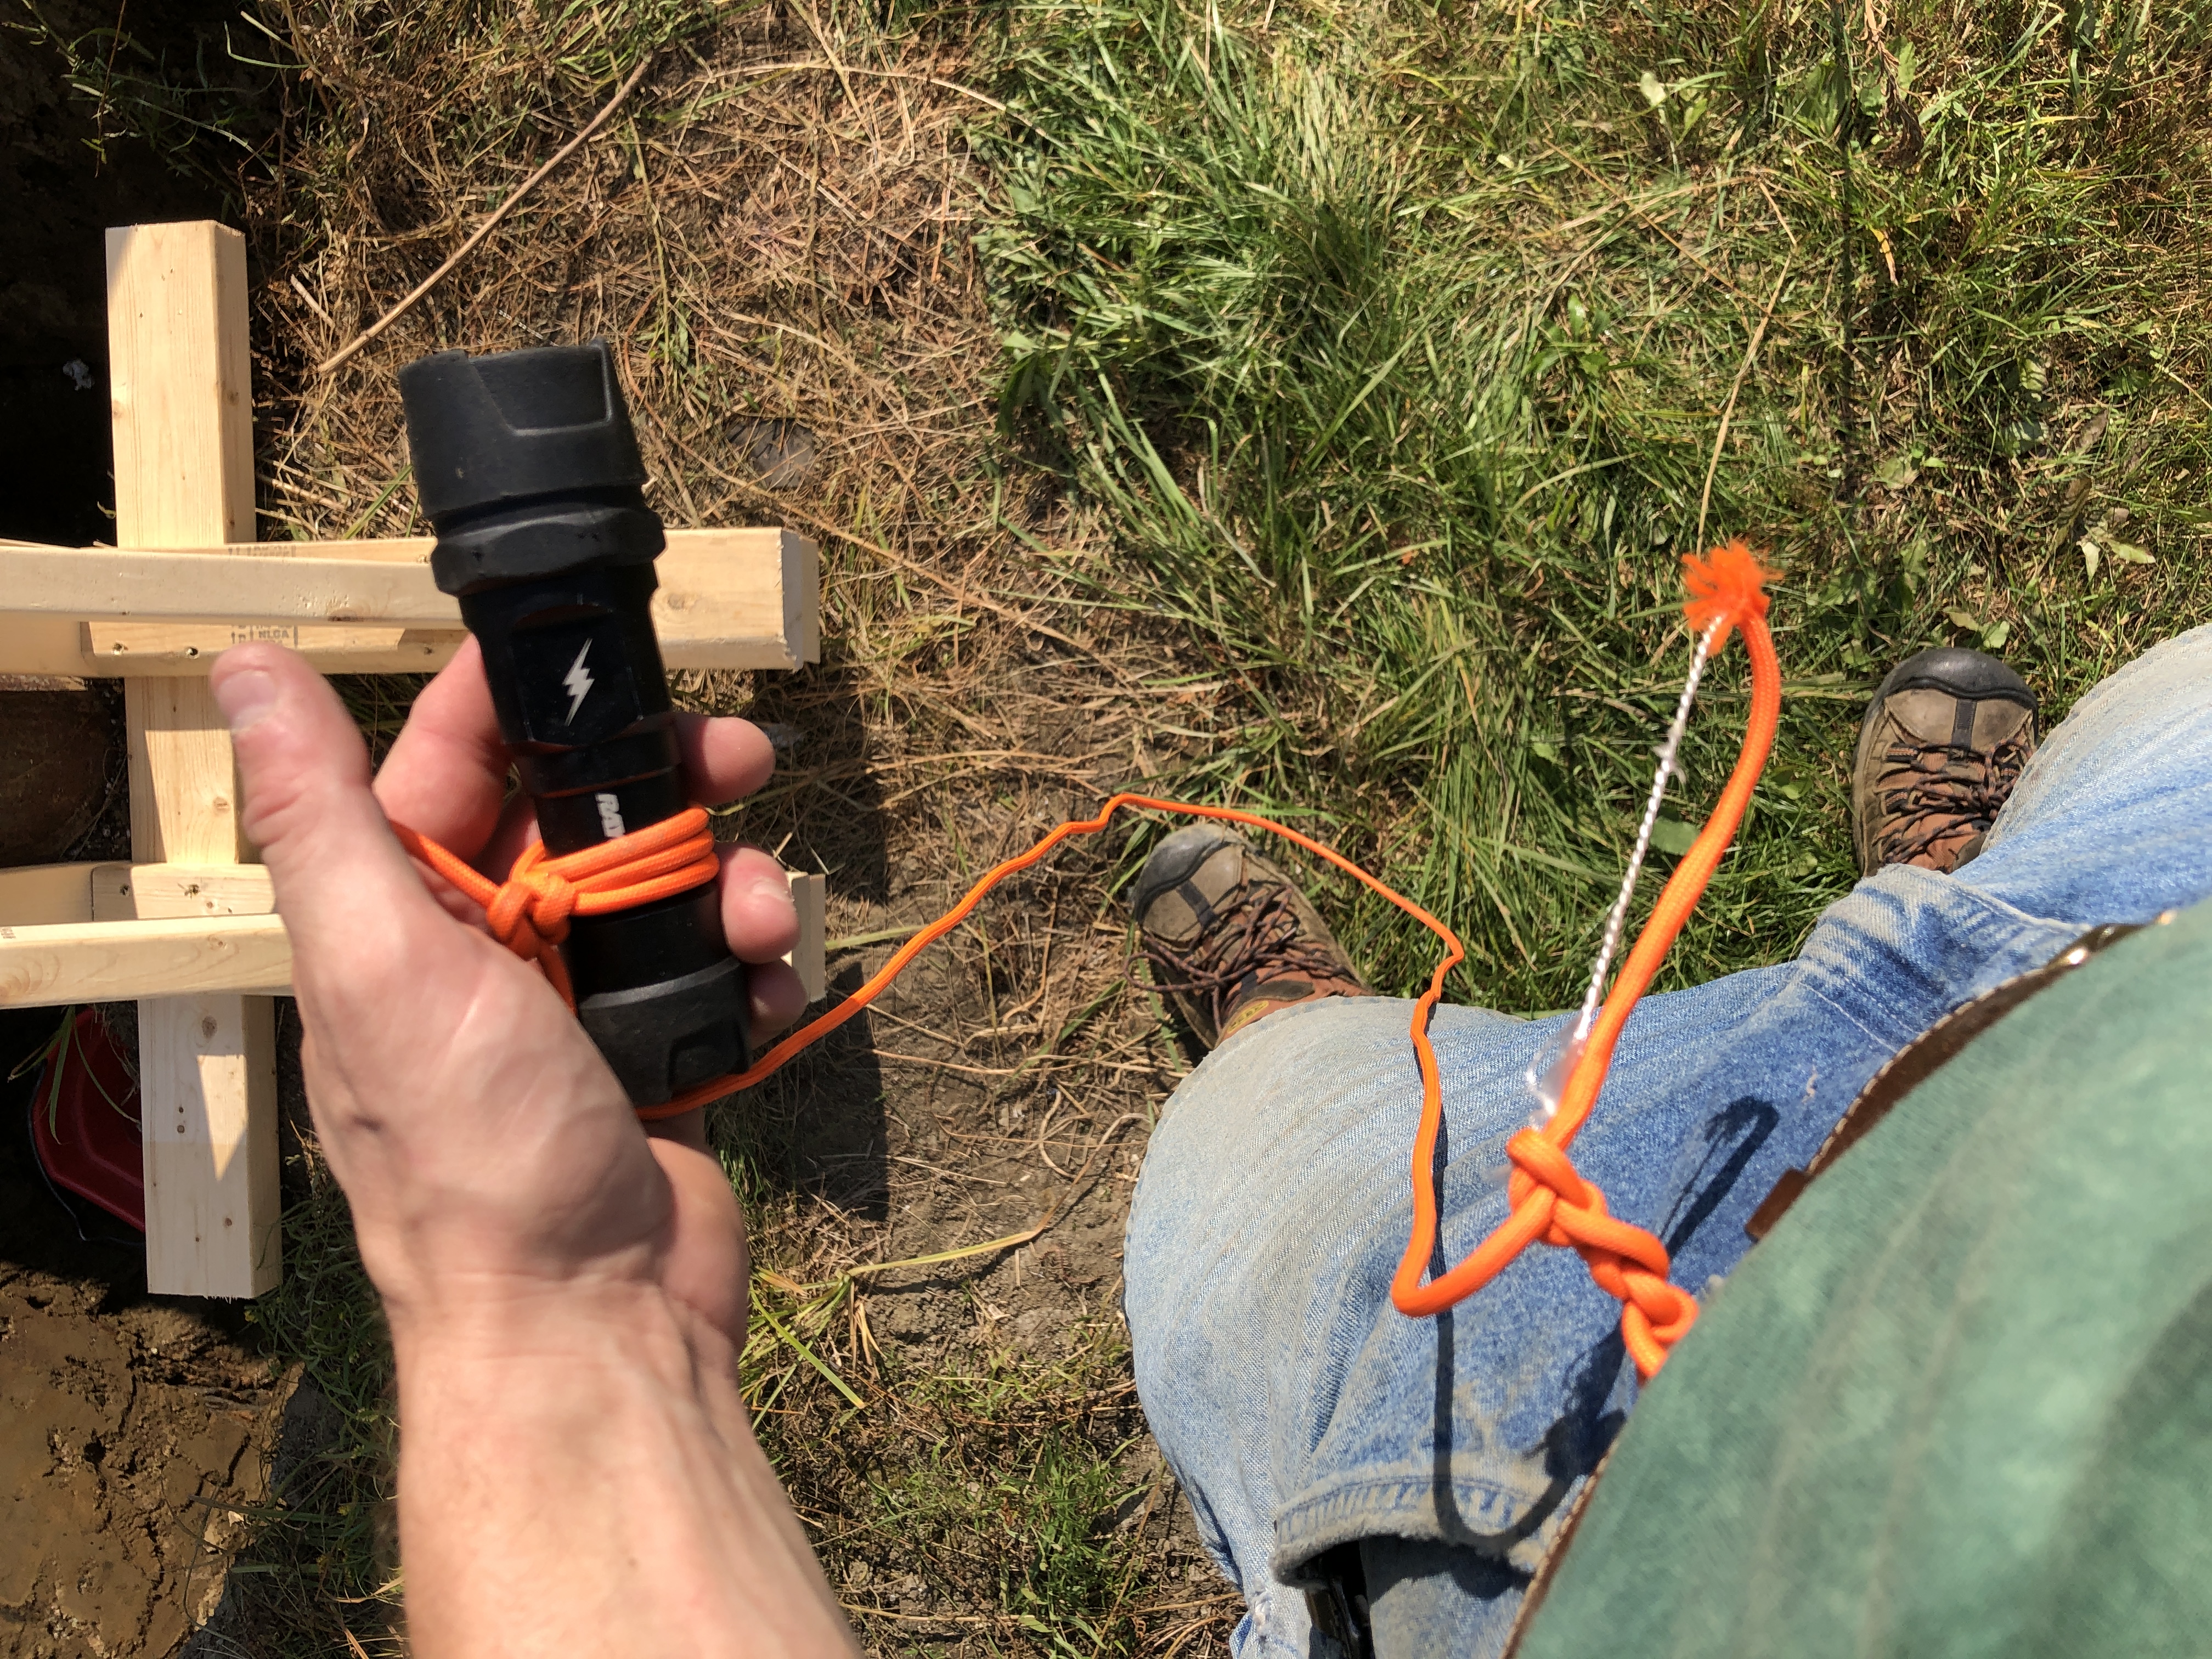
So with this successful test, I knew I could proceed with the well work. I removed the hand pump and realized I’d need to think about the logistics of moving around it more. I might need someone else, I might need to disassemble it, or I might need some sort of rig to hold it while I work on the rest.
I really didn’t want to disassemble it, it just needs to be out of the way enough that I can work in the well. It does weight quite a bit with the 72′ of piping in the well.
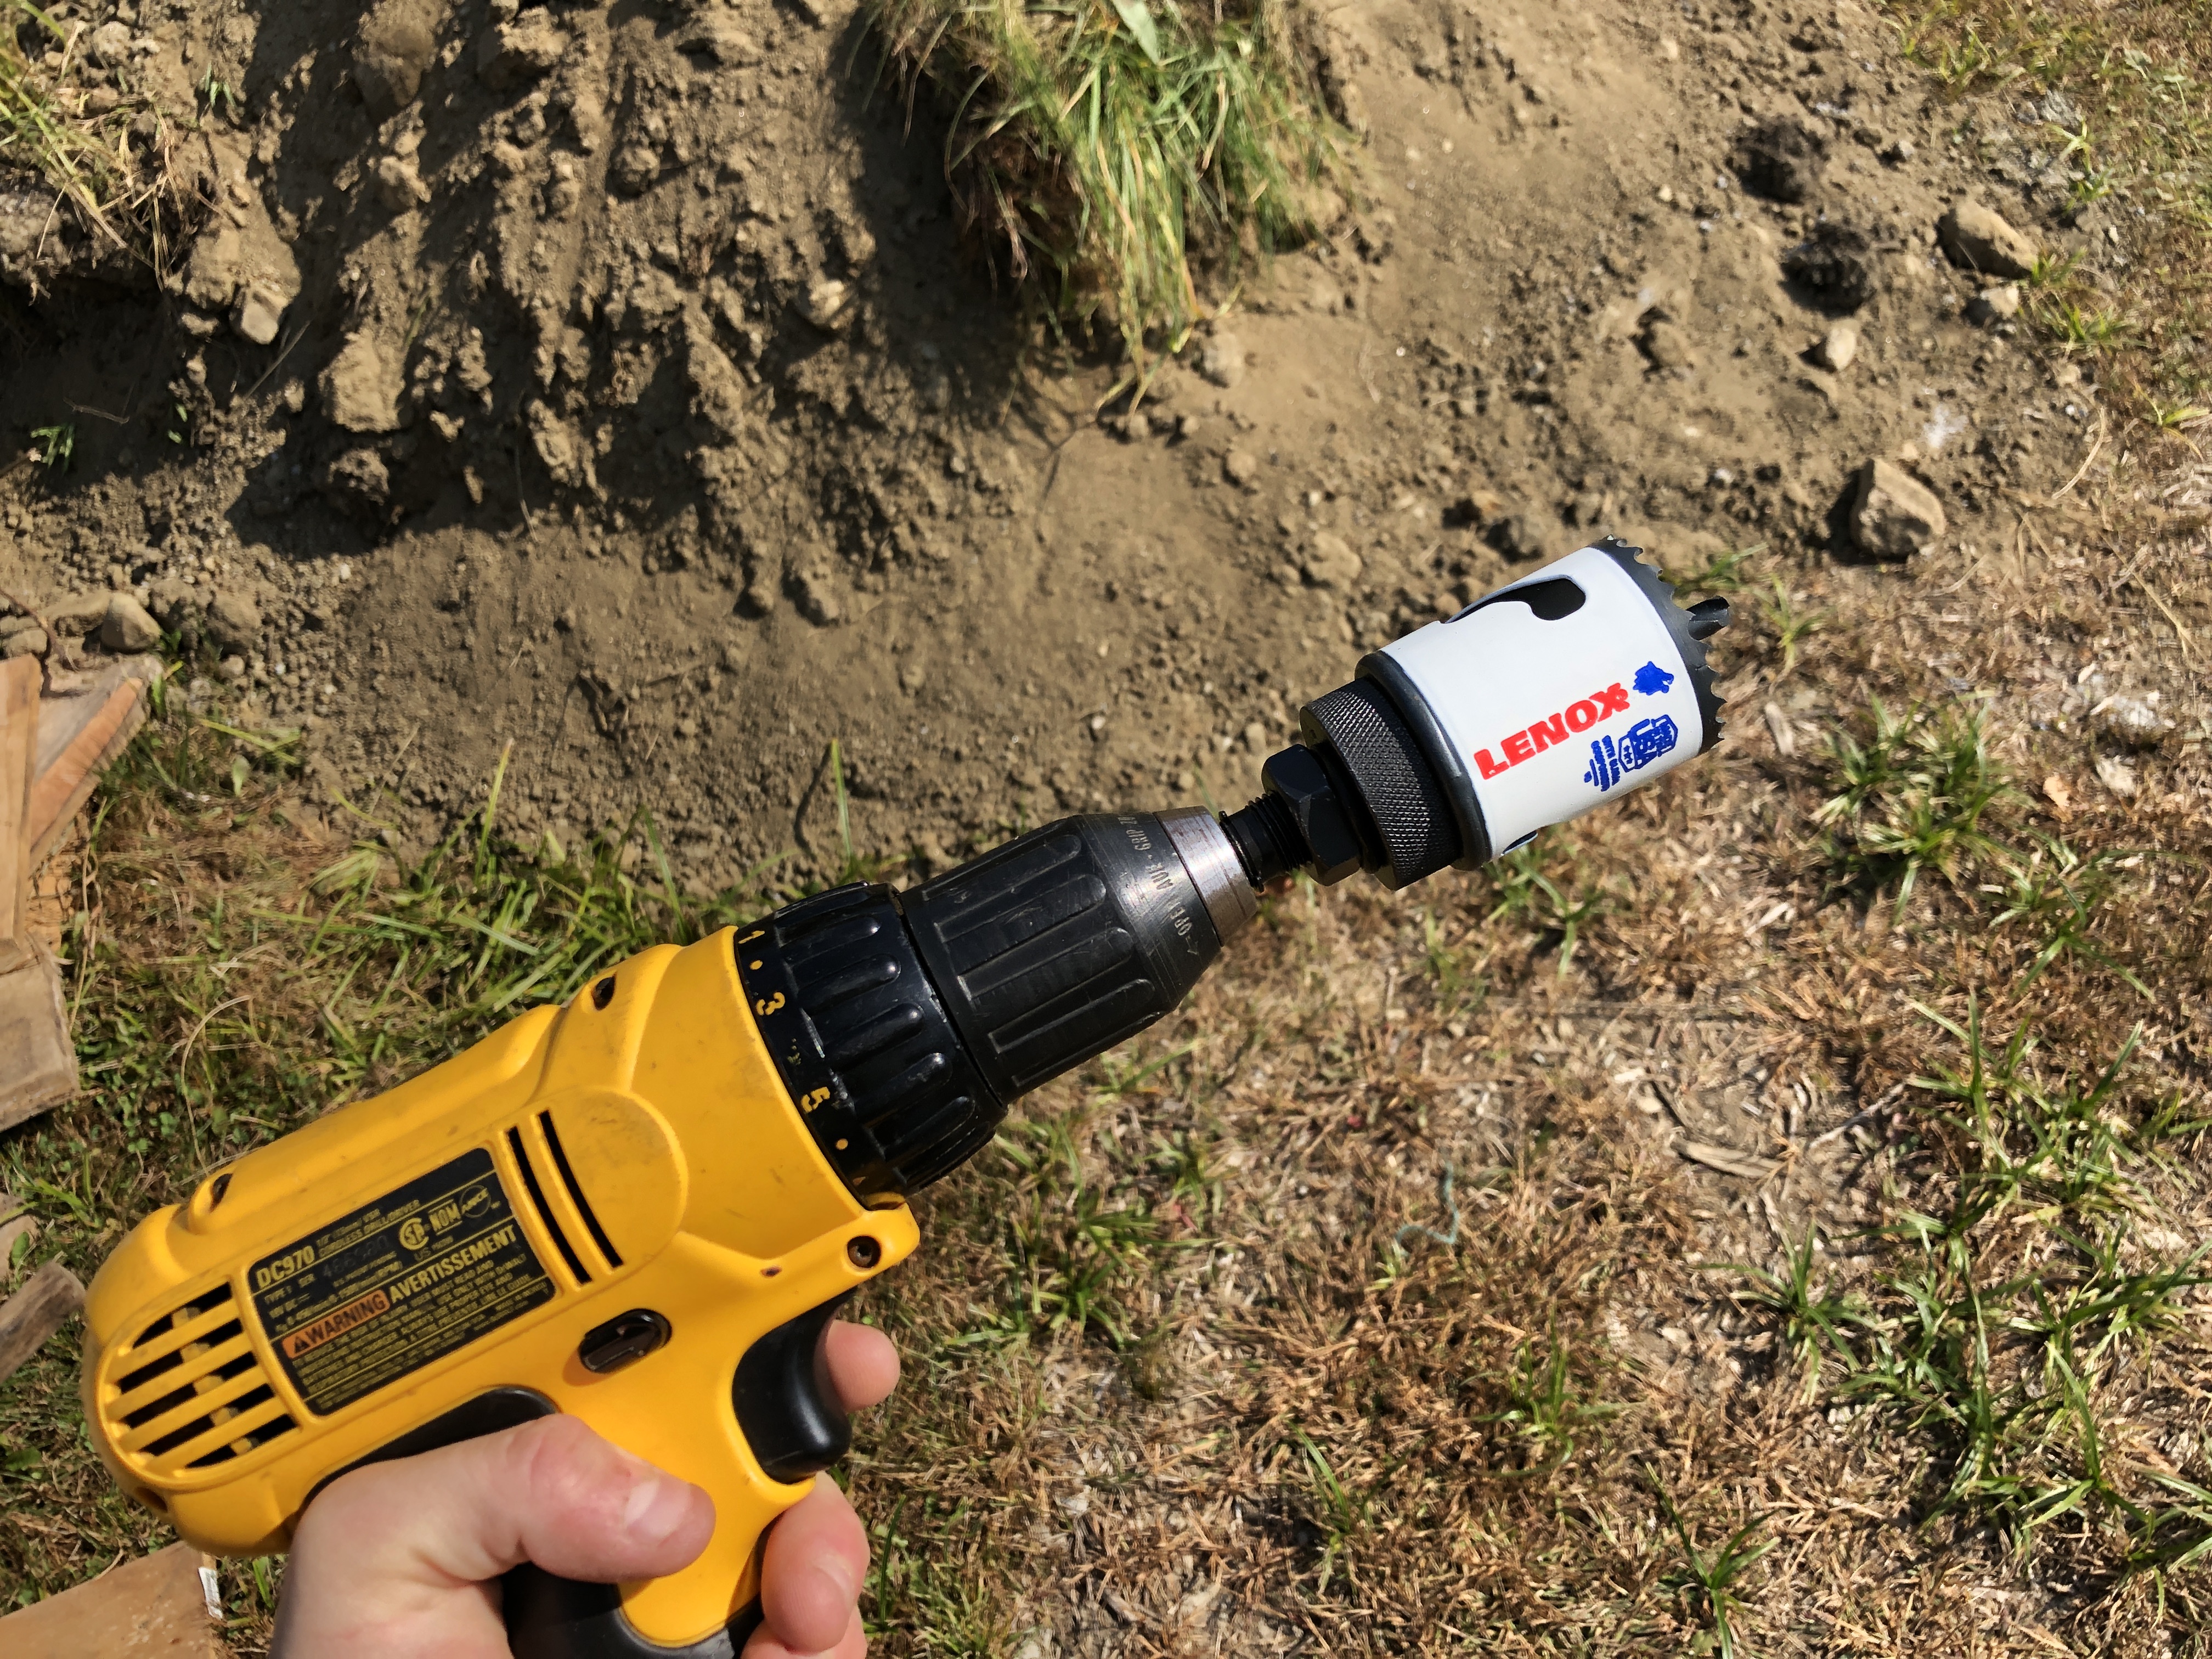
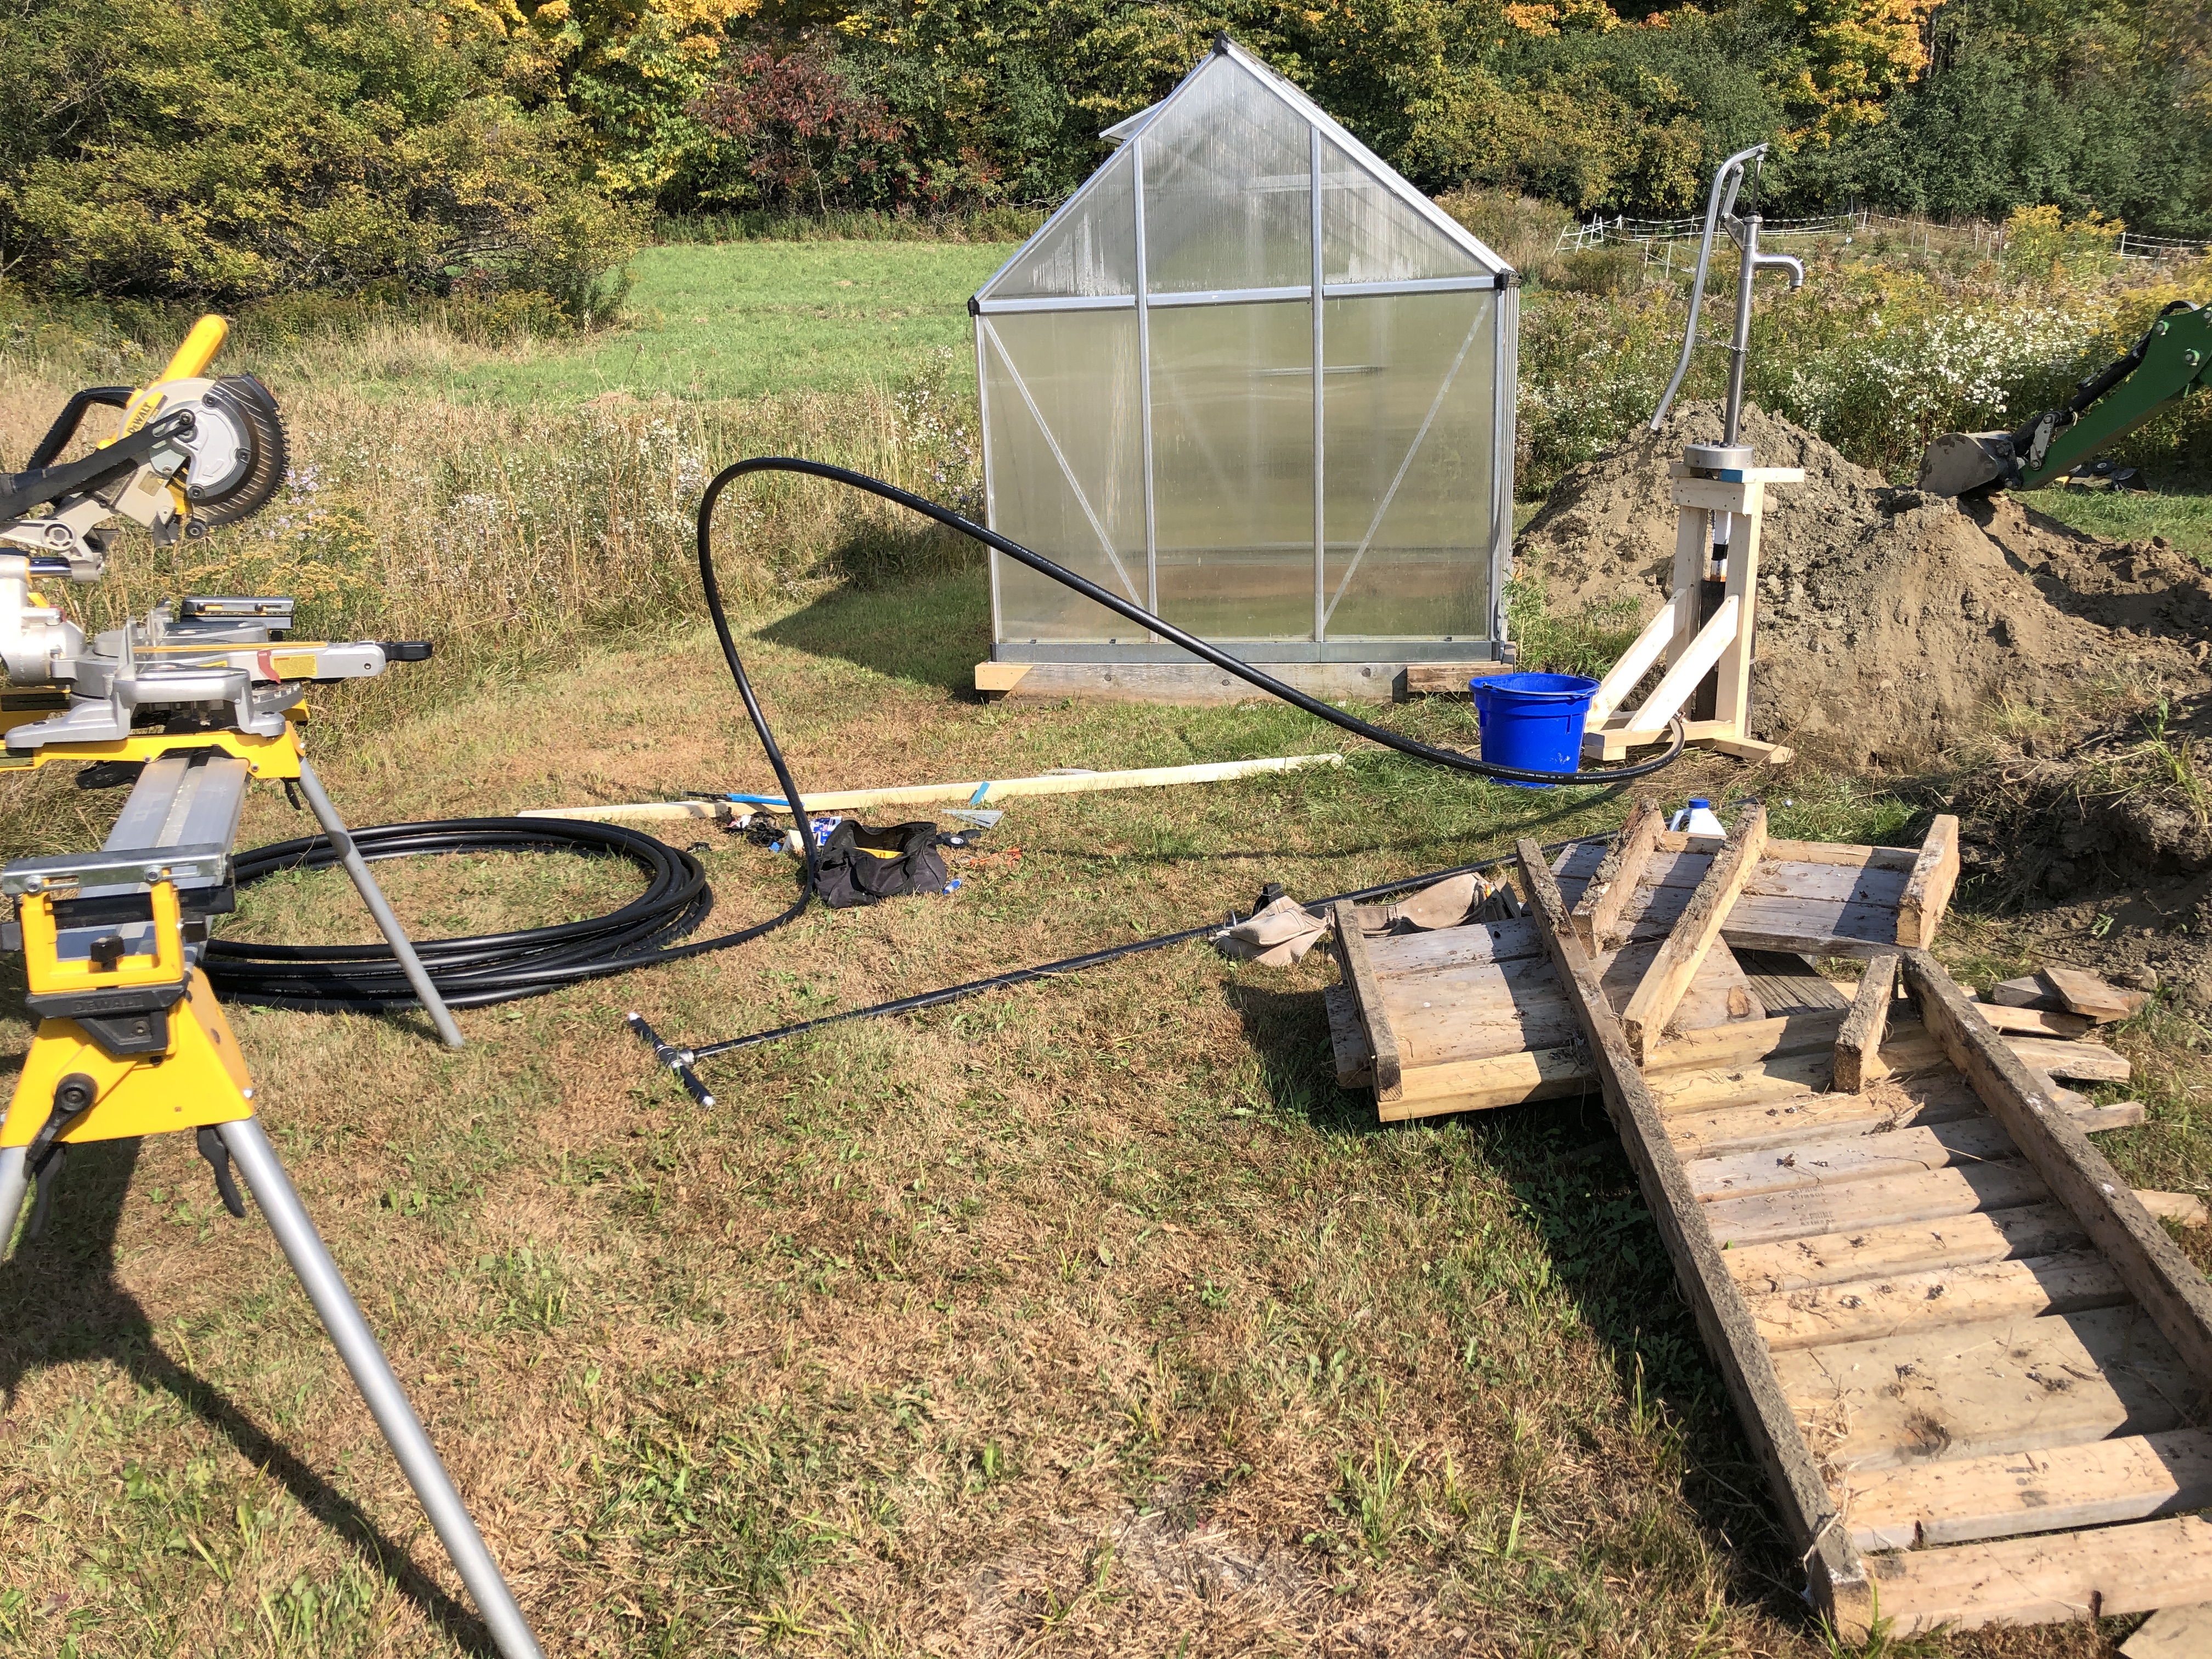

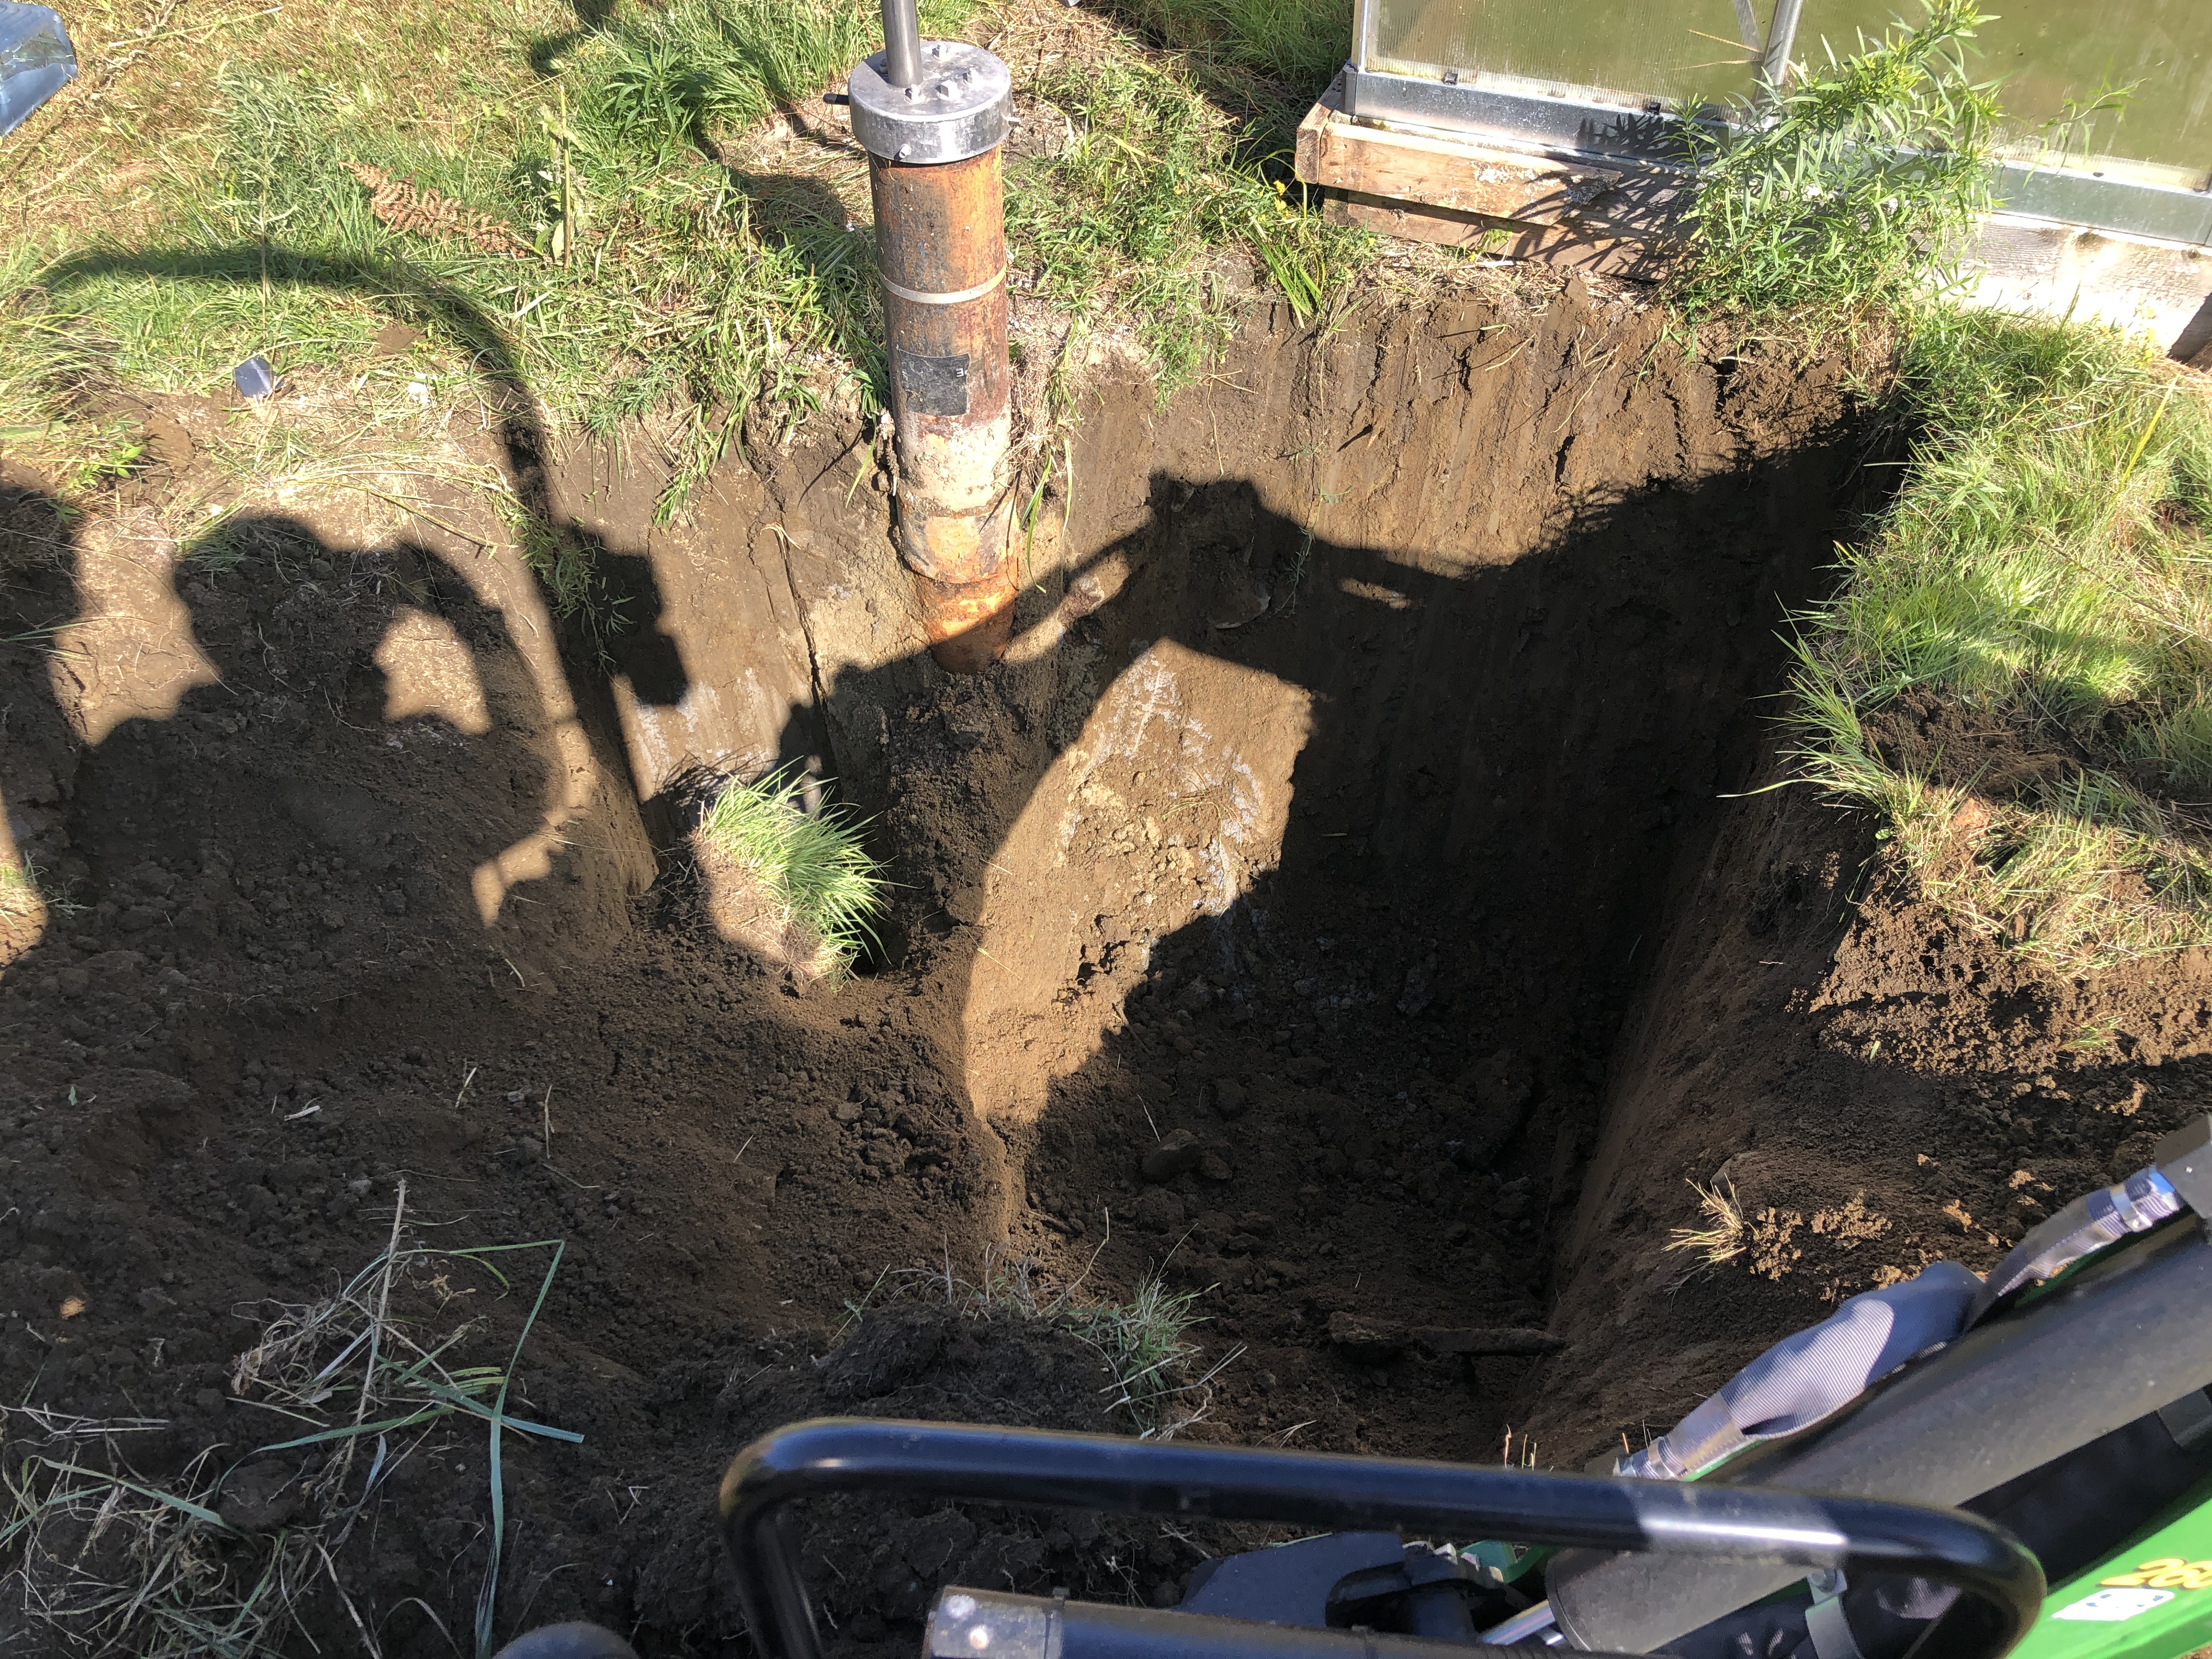
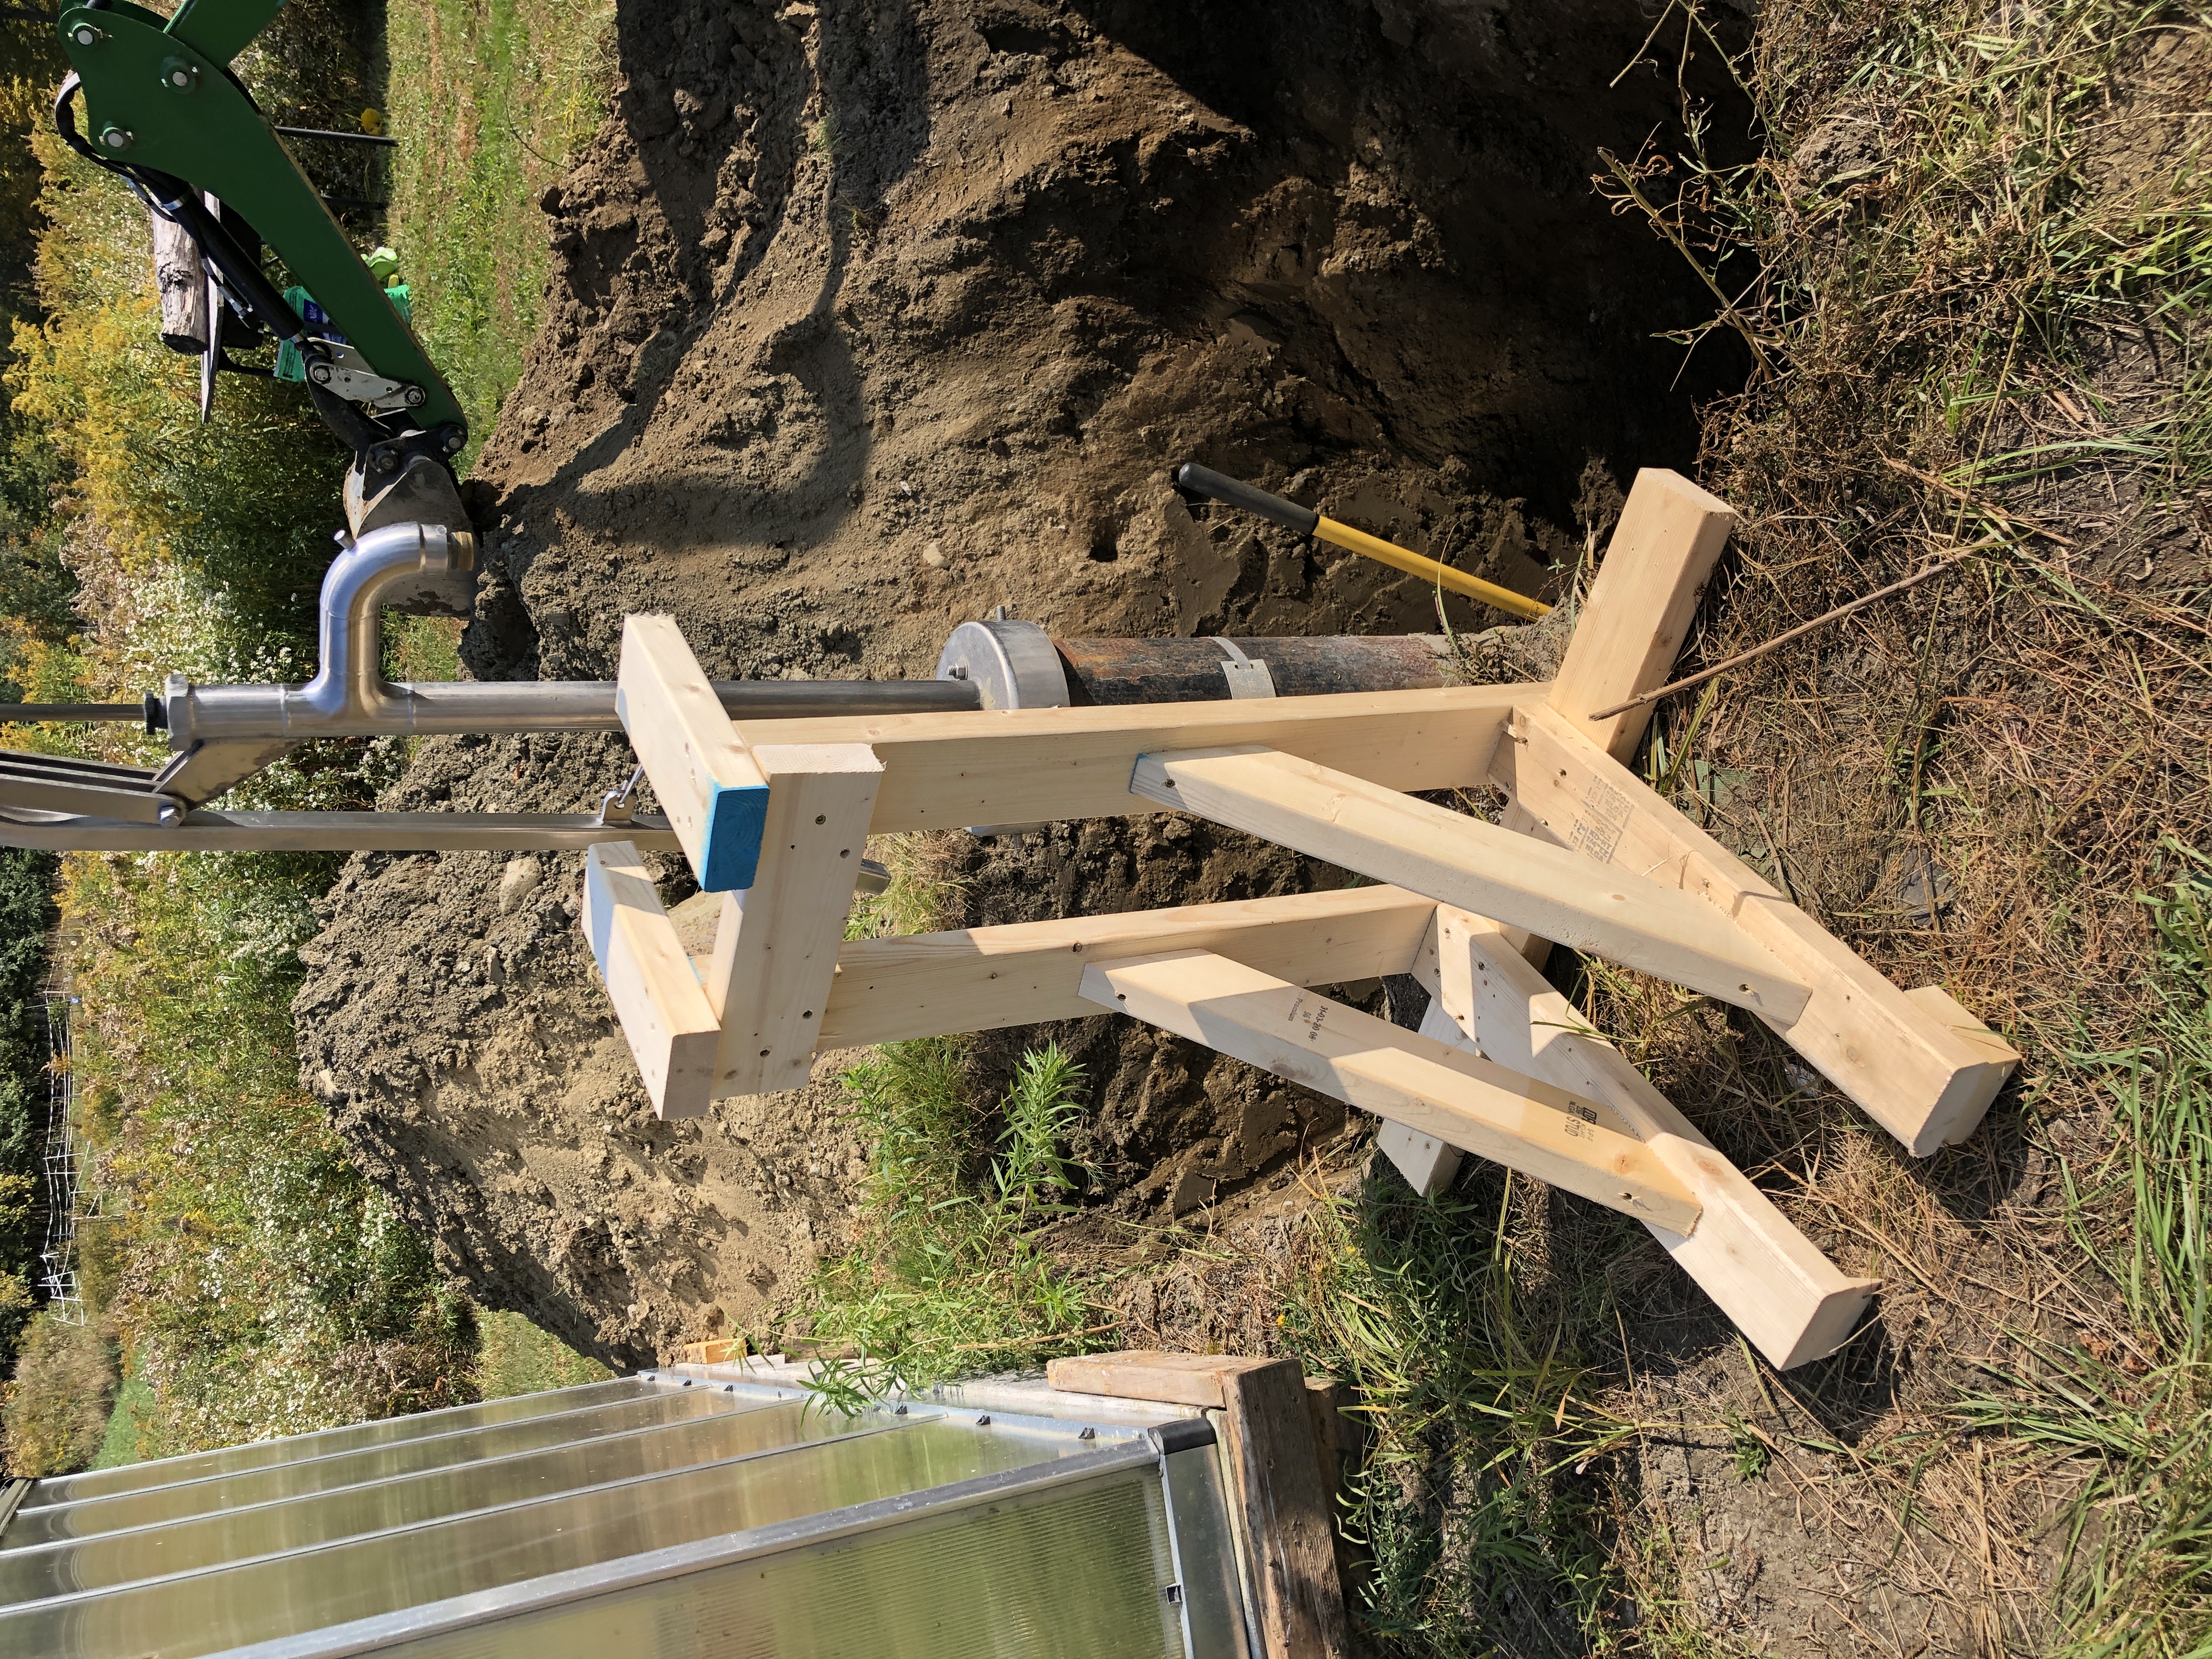
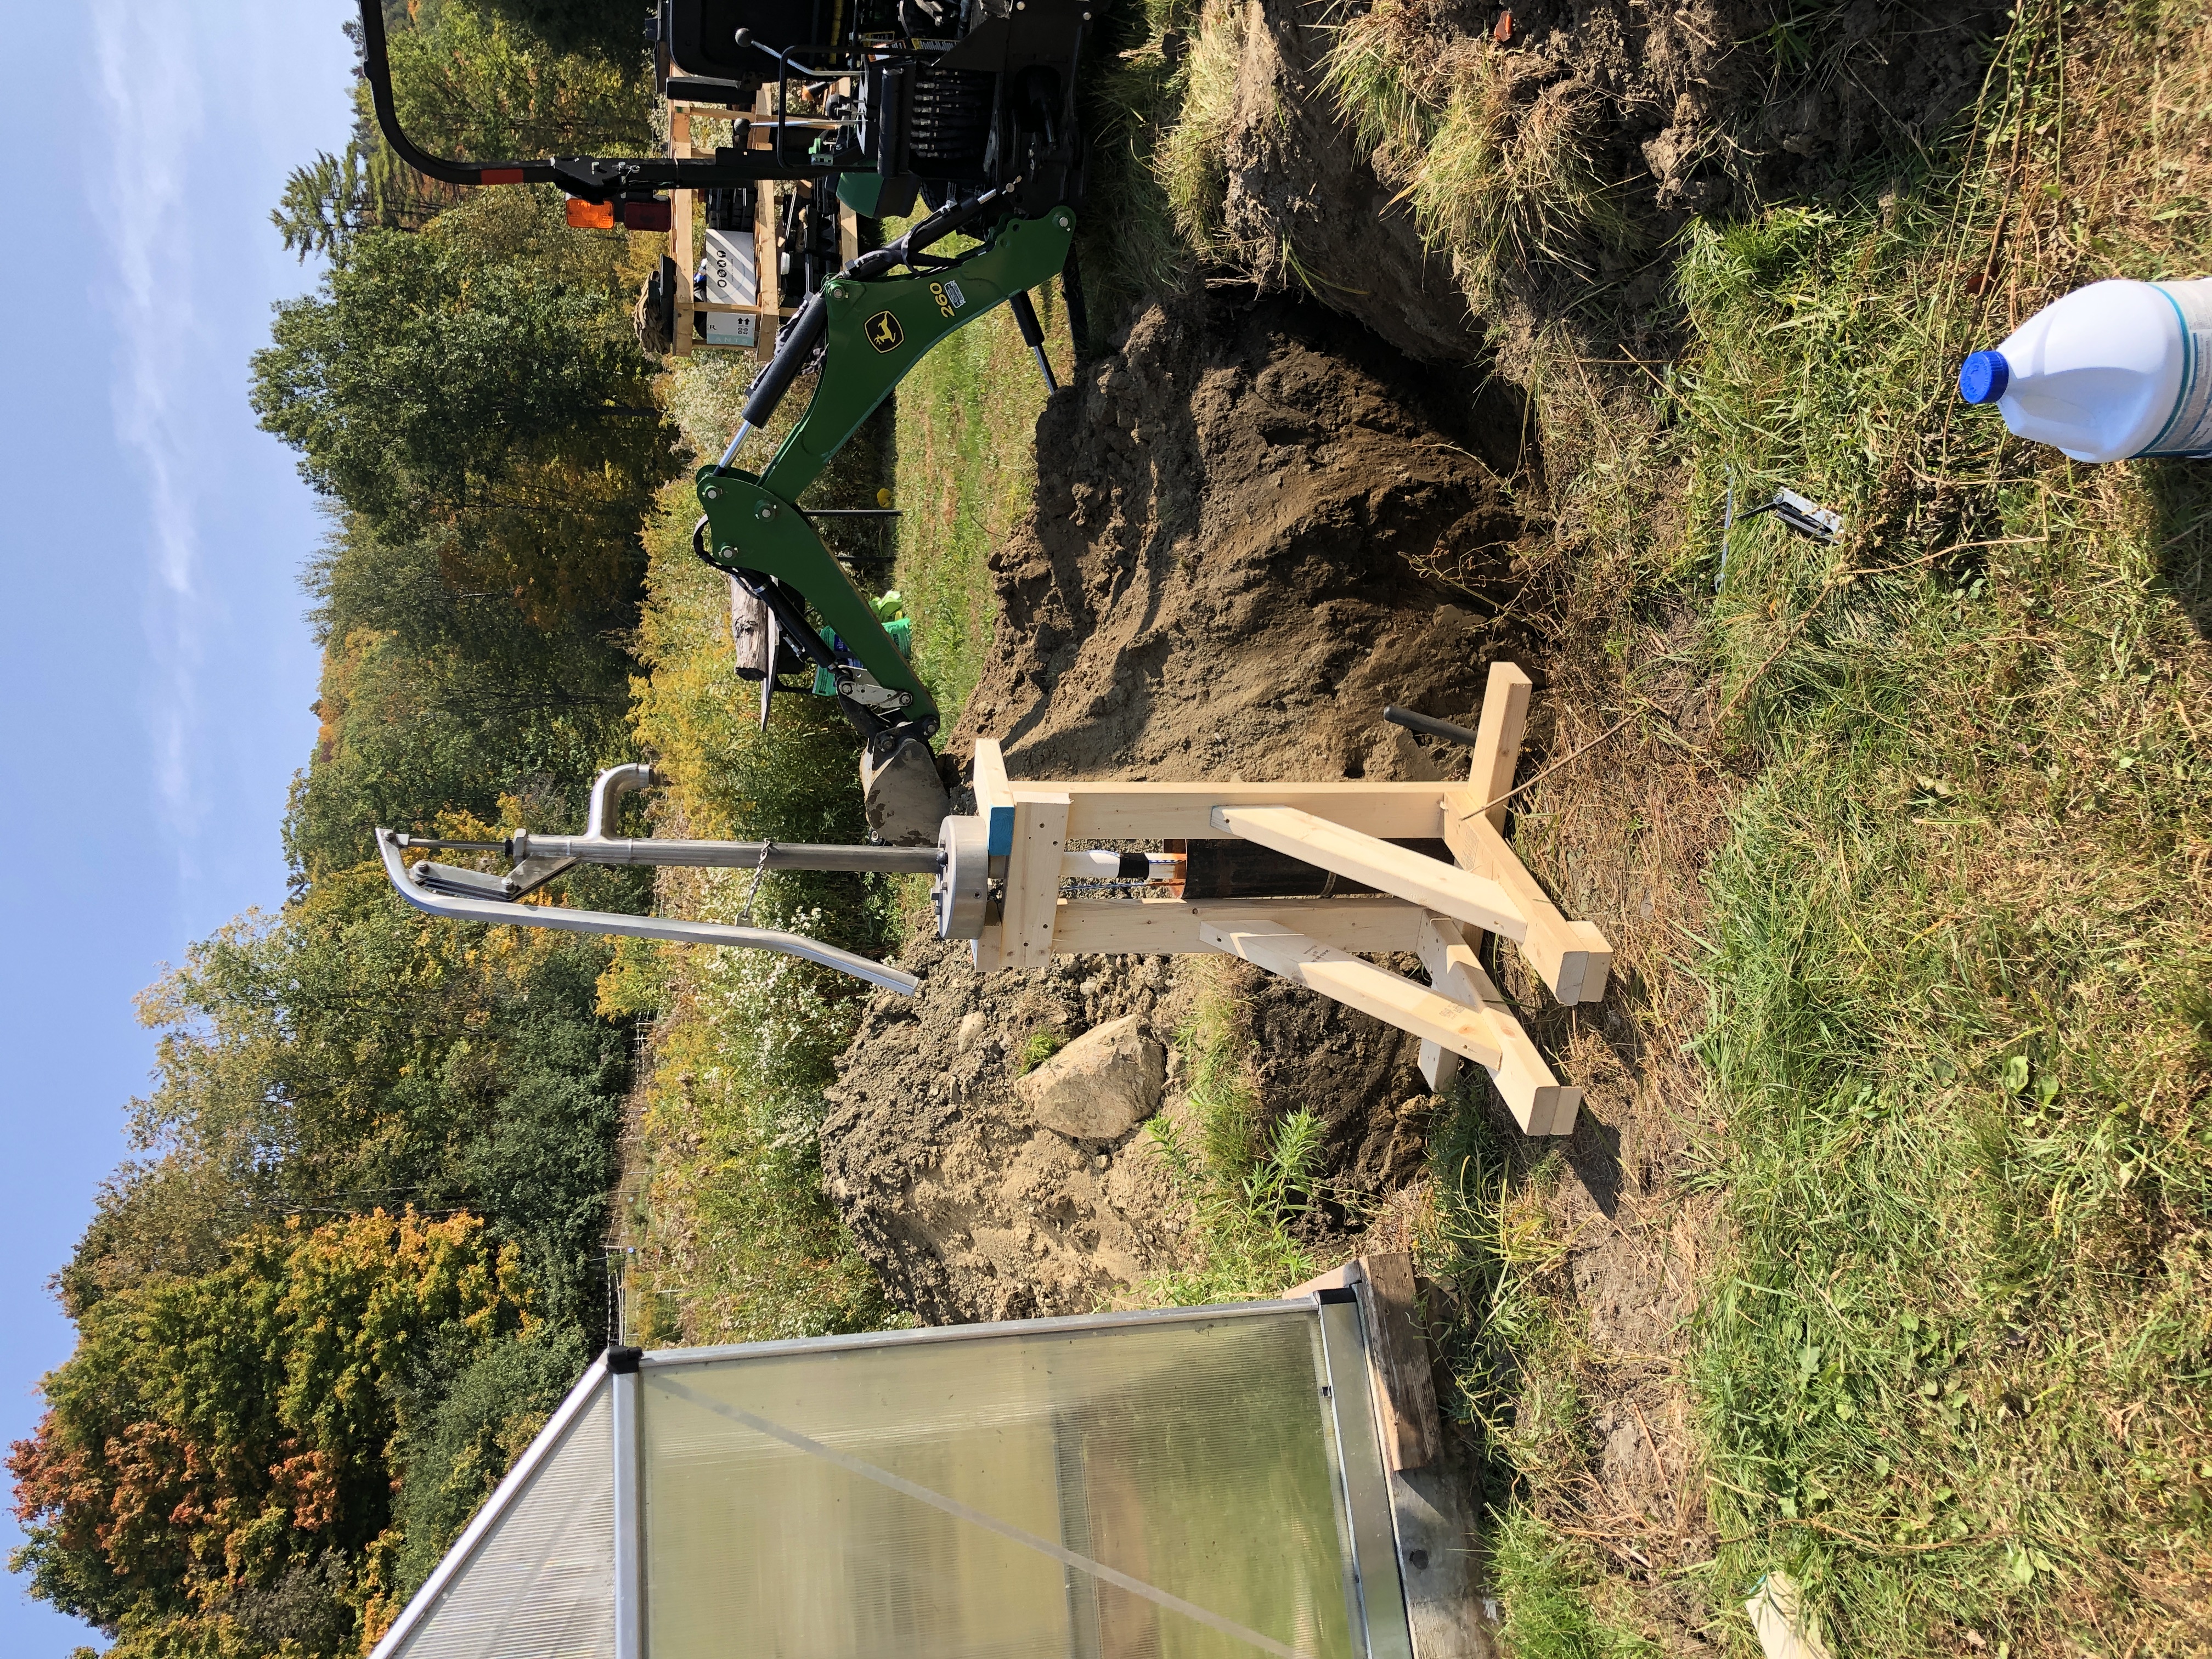
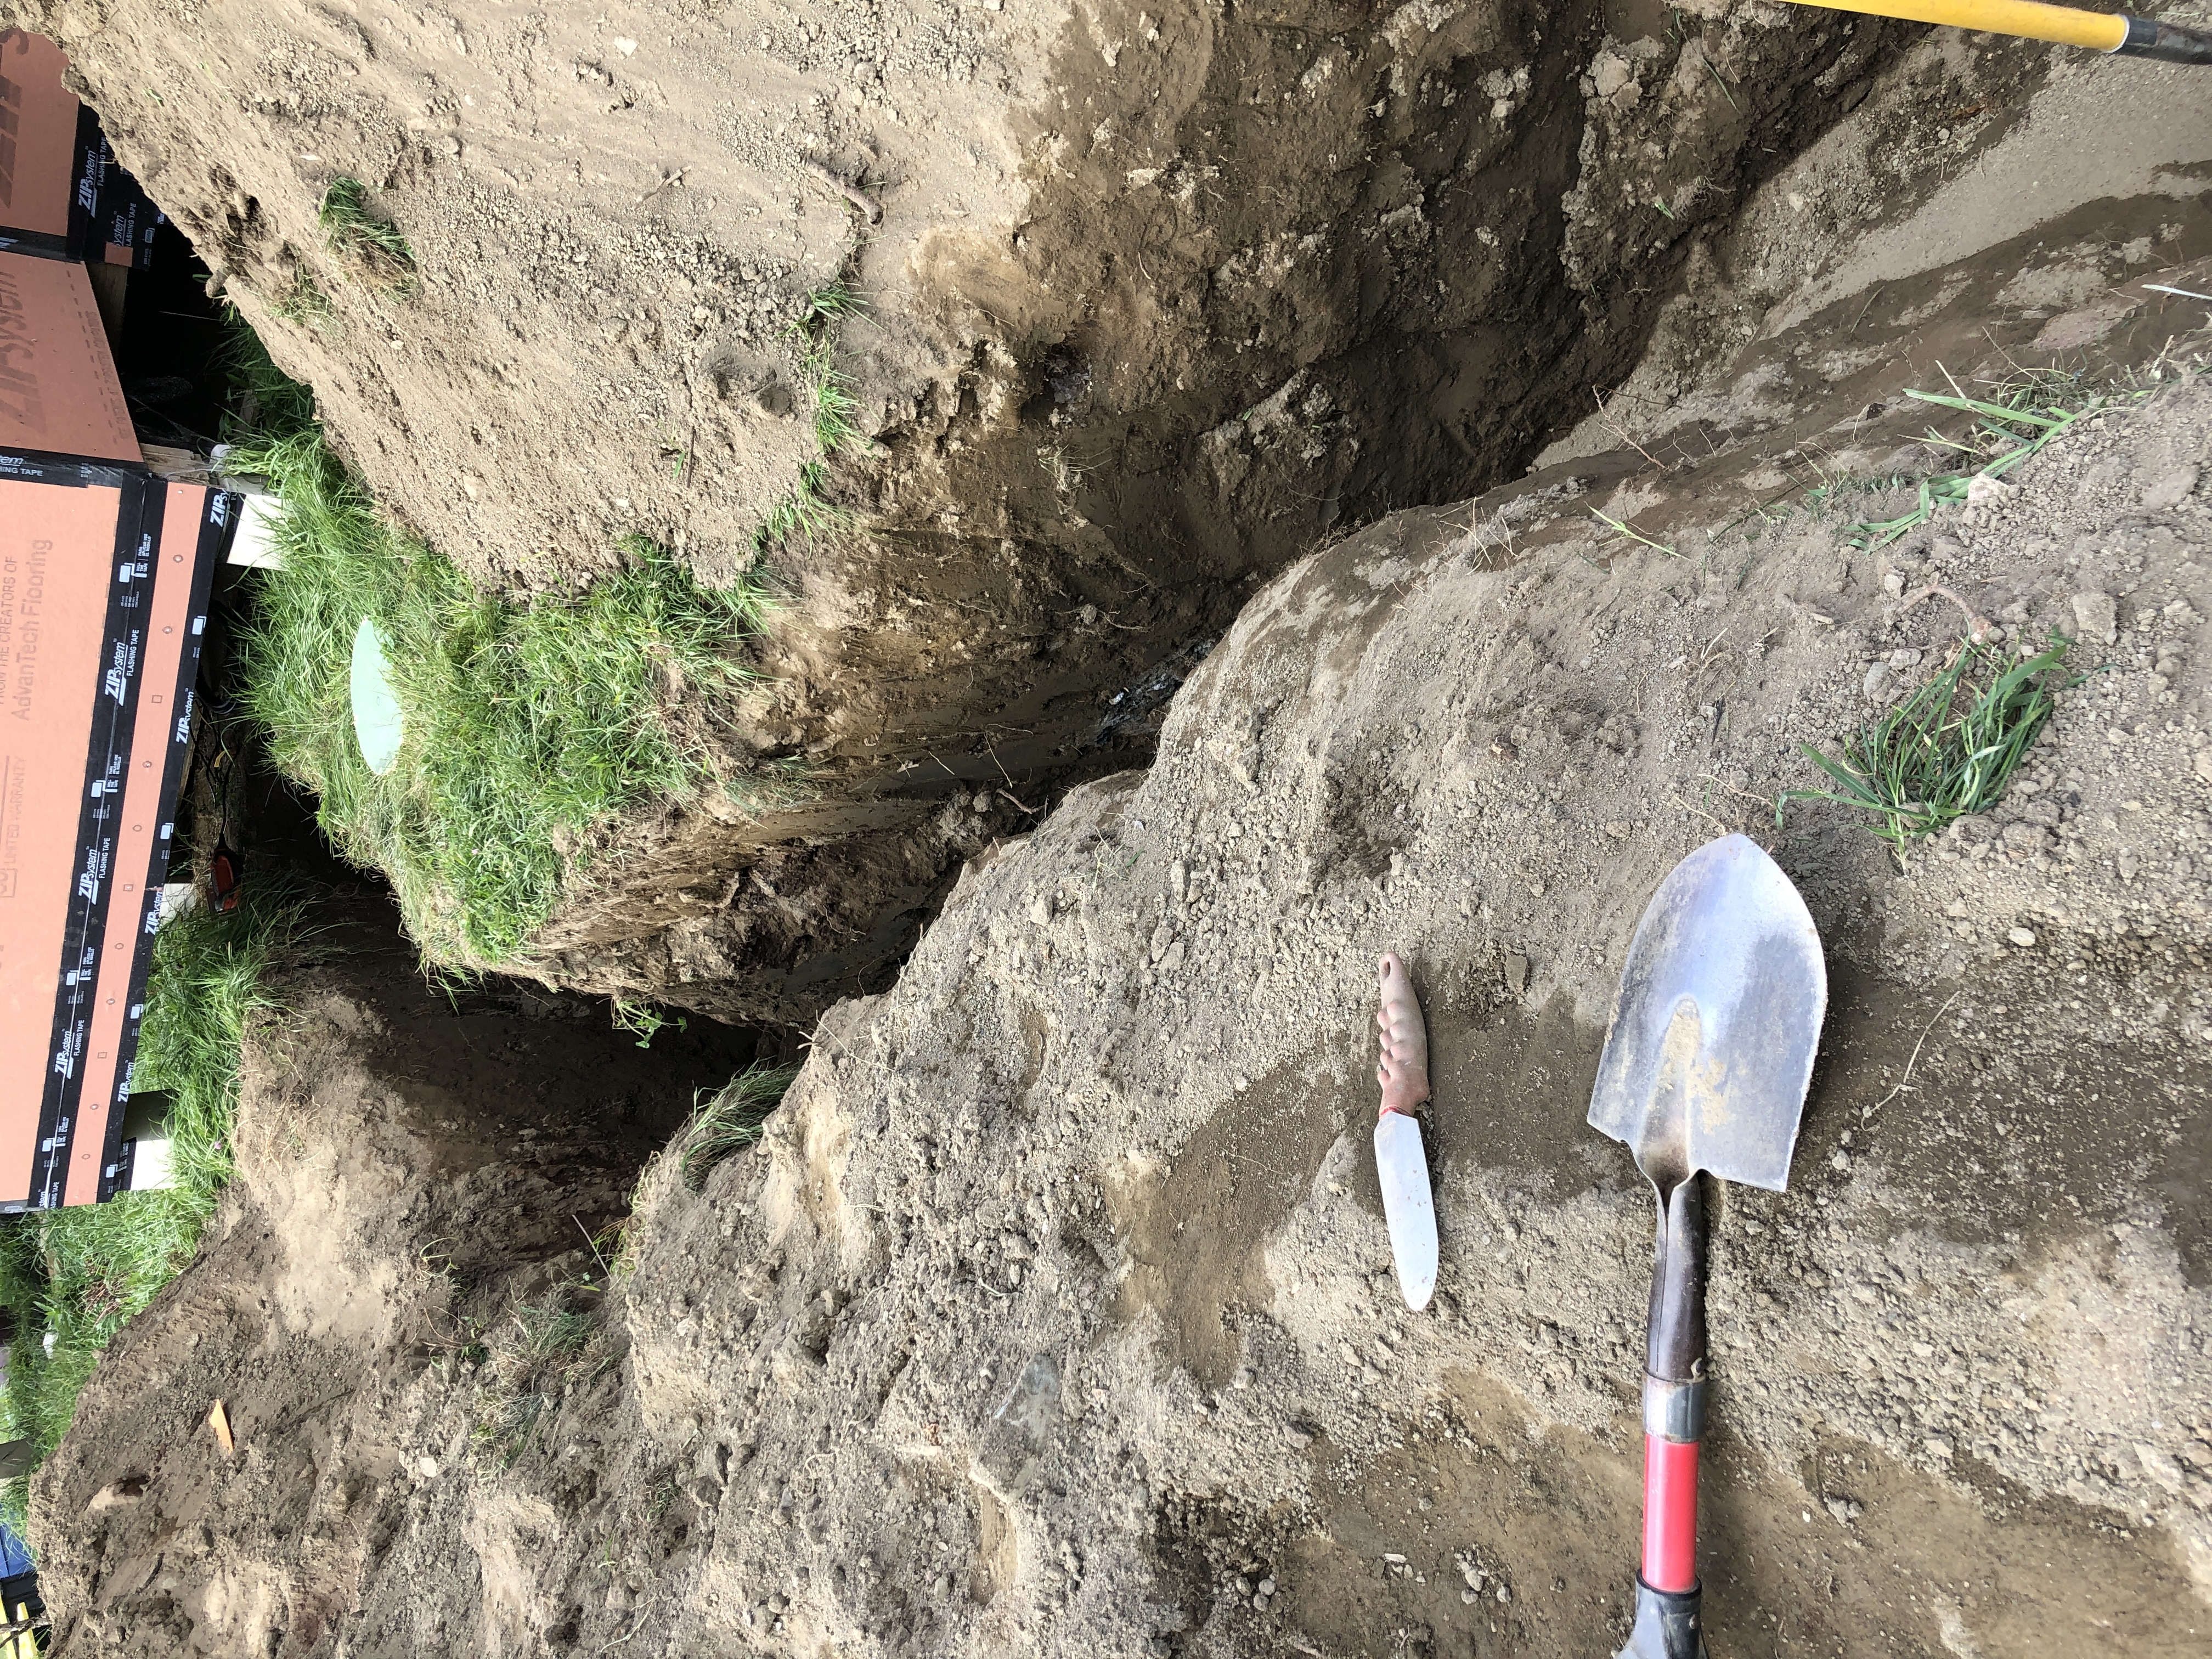
Then you thread the pull pipe on the pitless and bring it down into the well, where the hole is. I bleached the ever living shit out of anything that touches the well.

Not the easiest operation but not the worst thing I’ve done either.
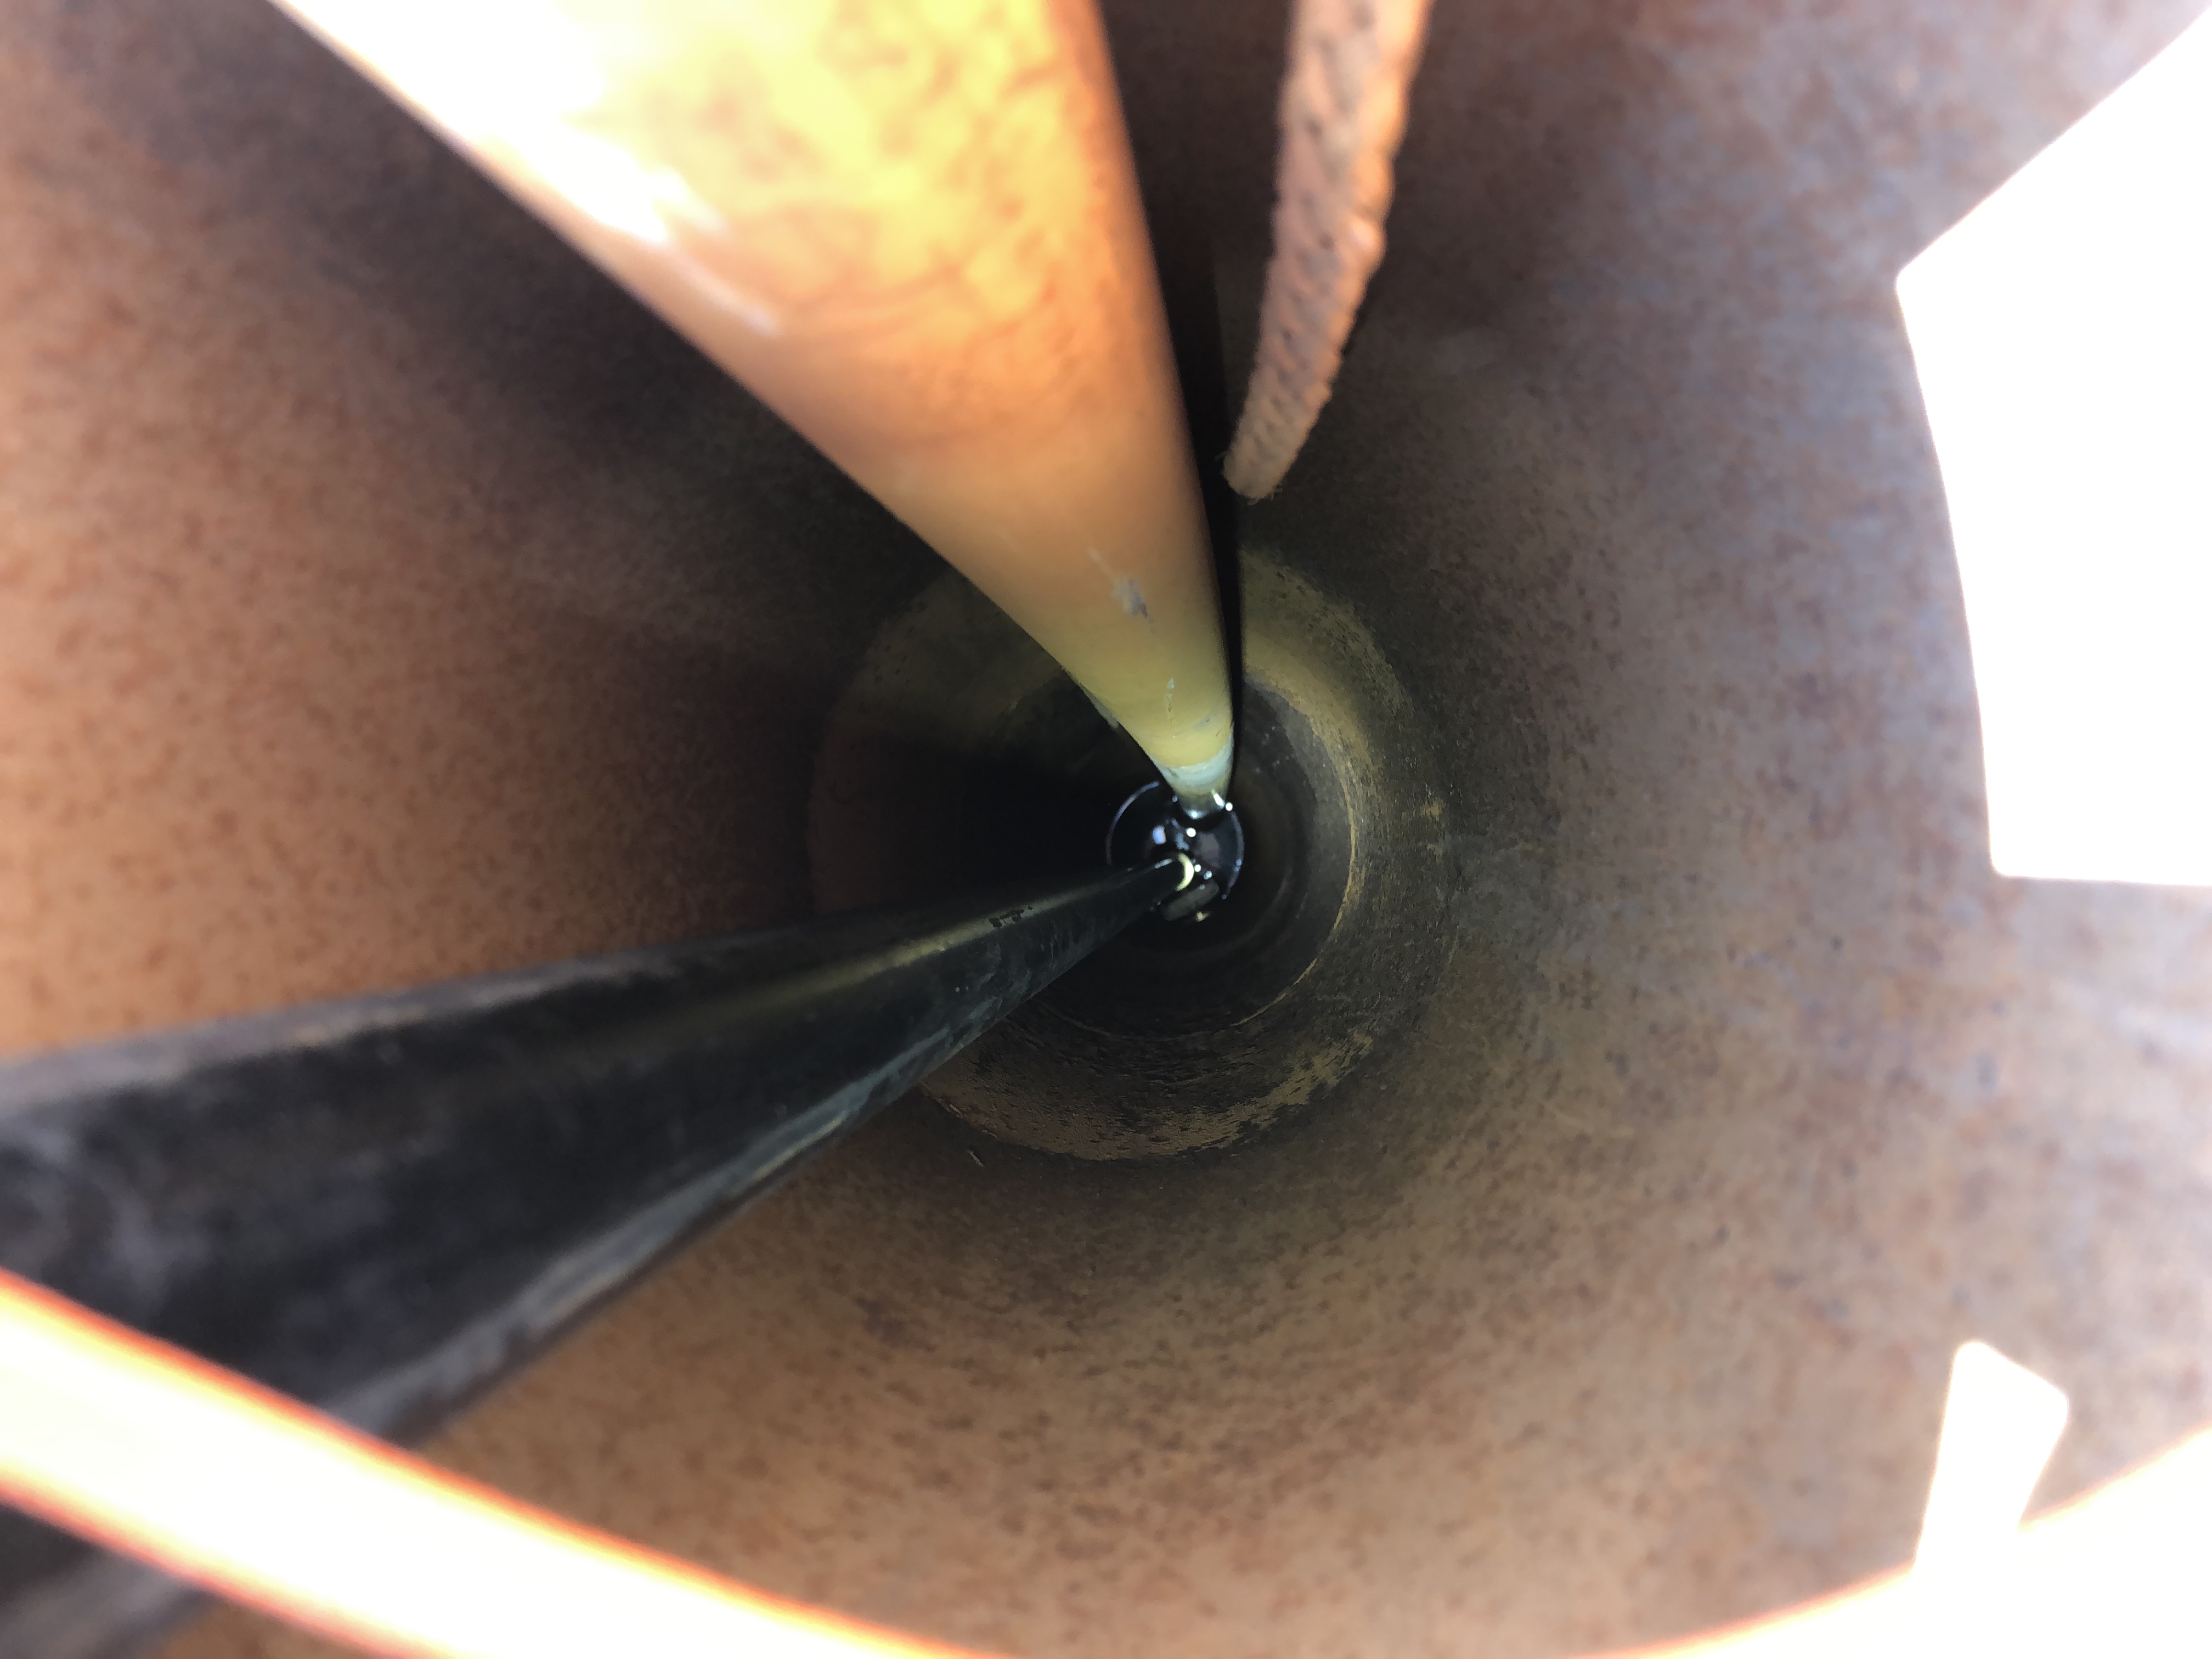
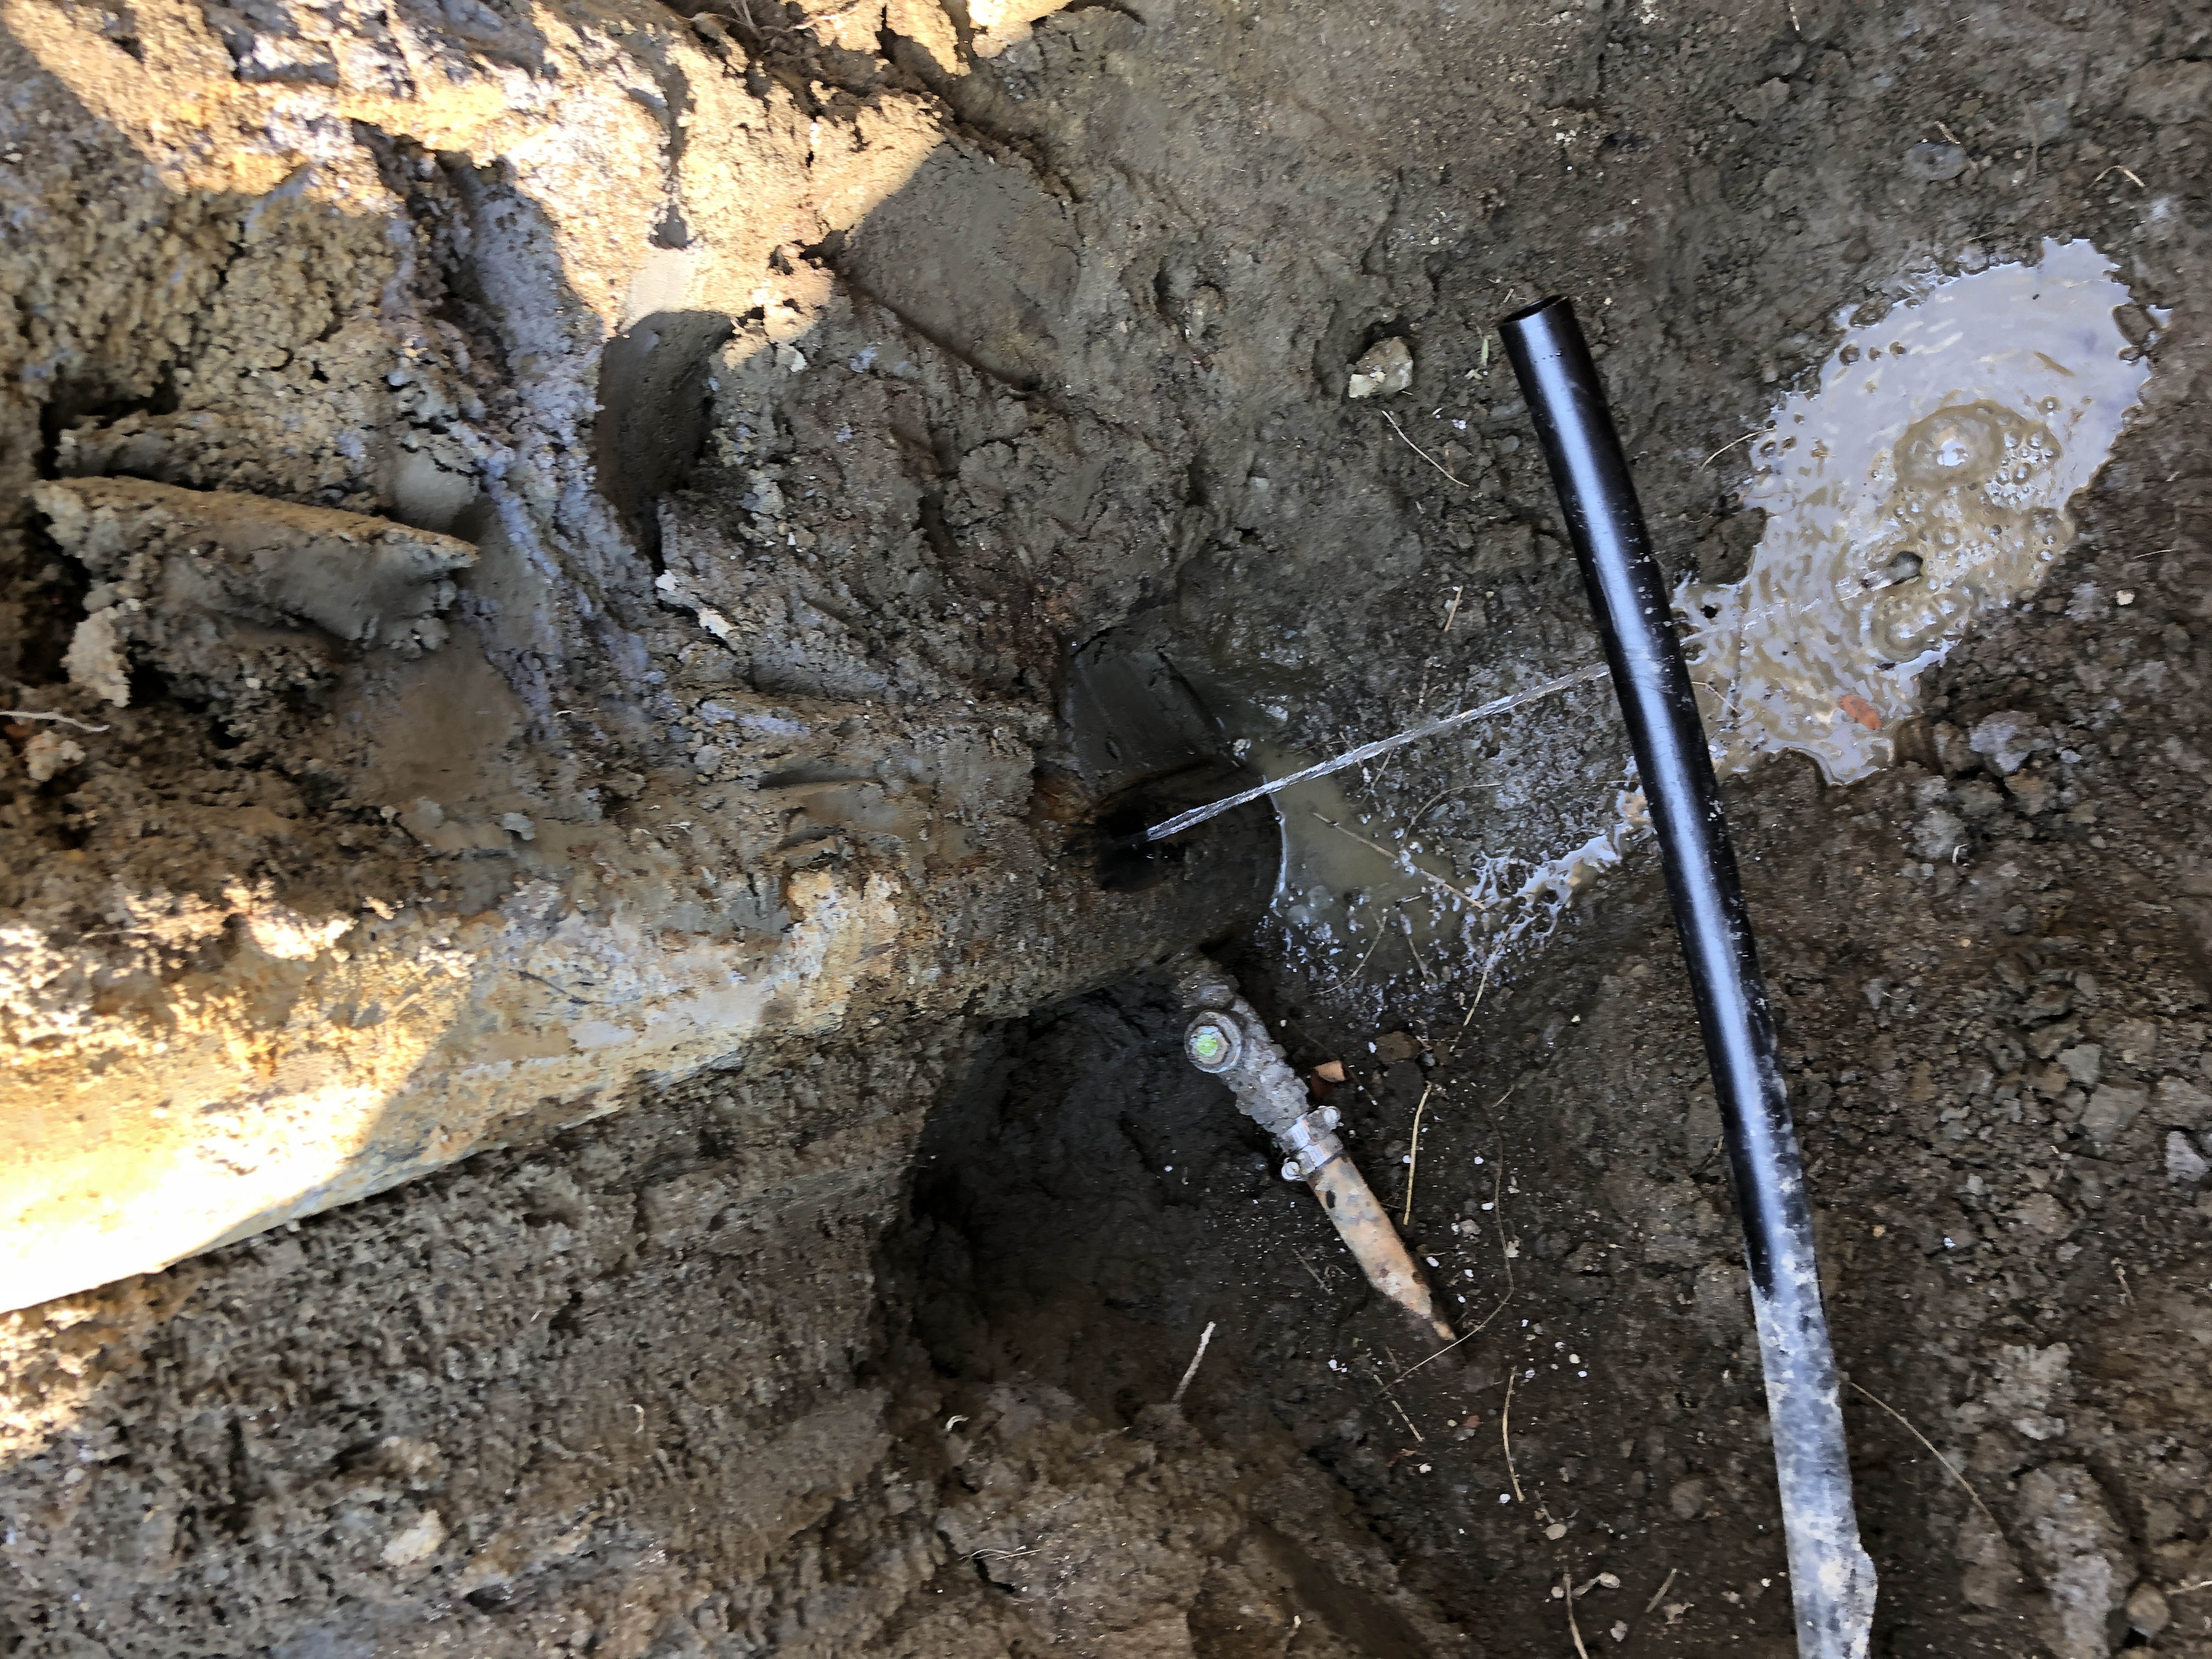
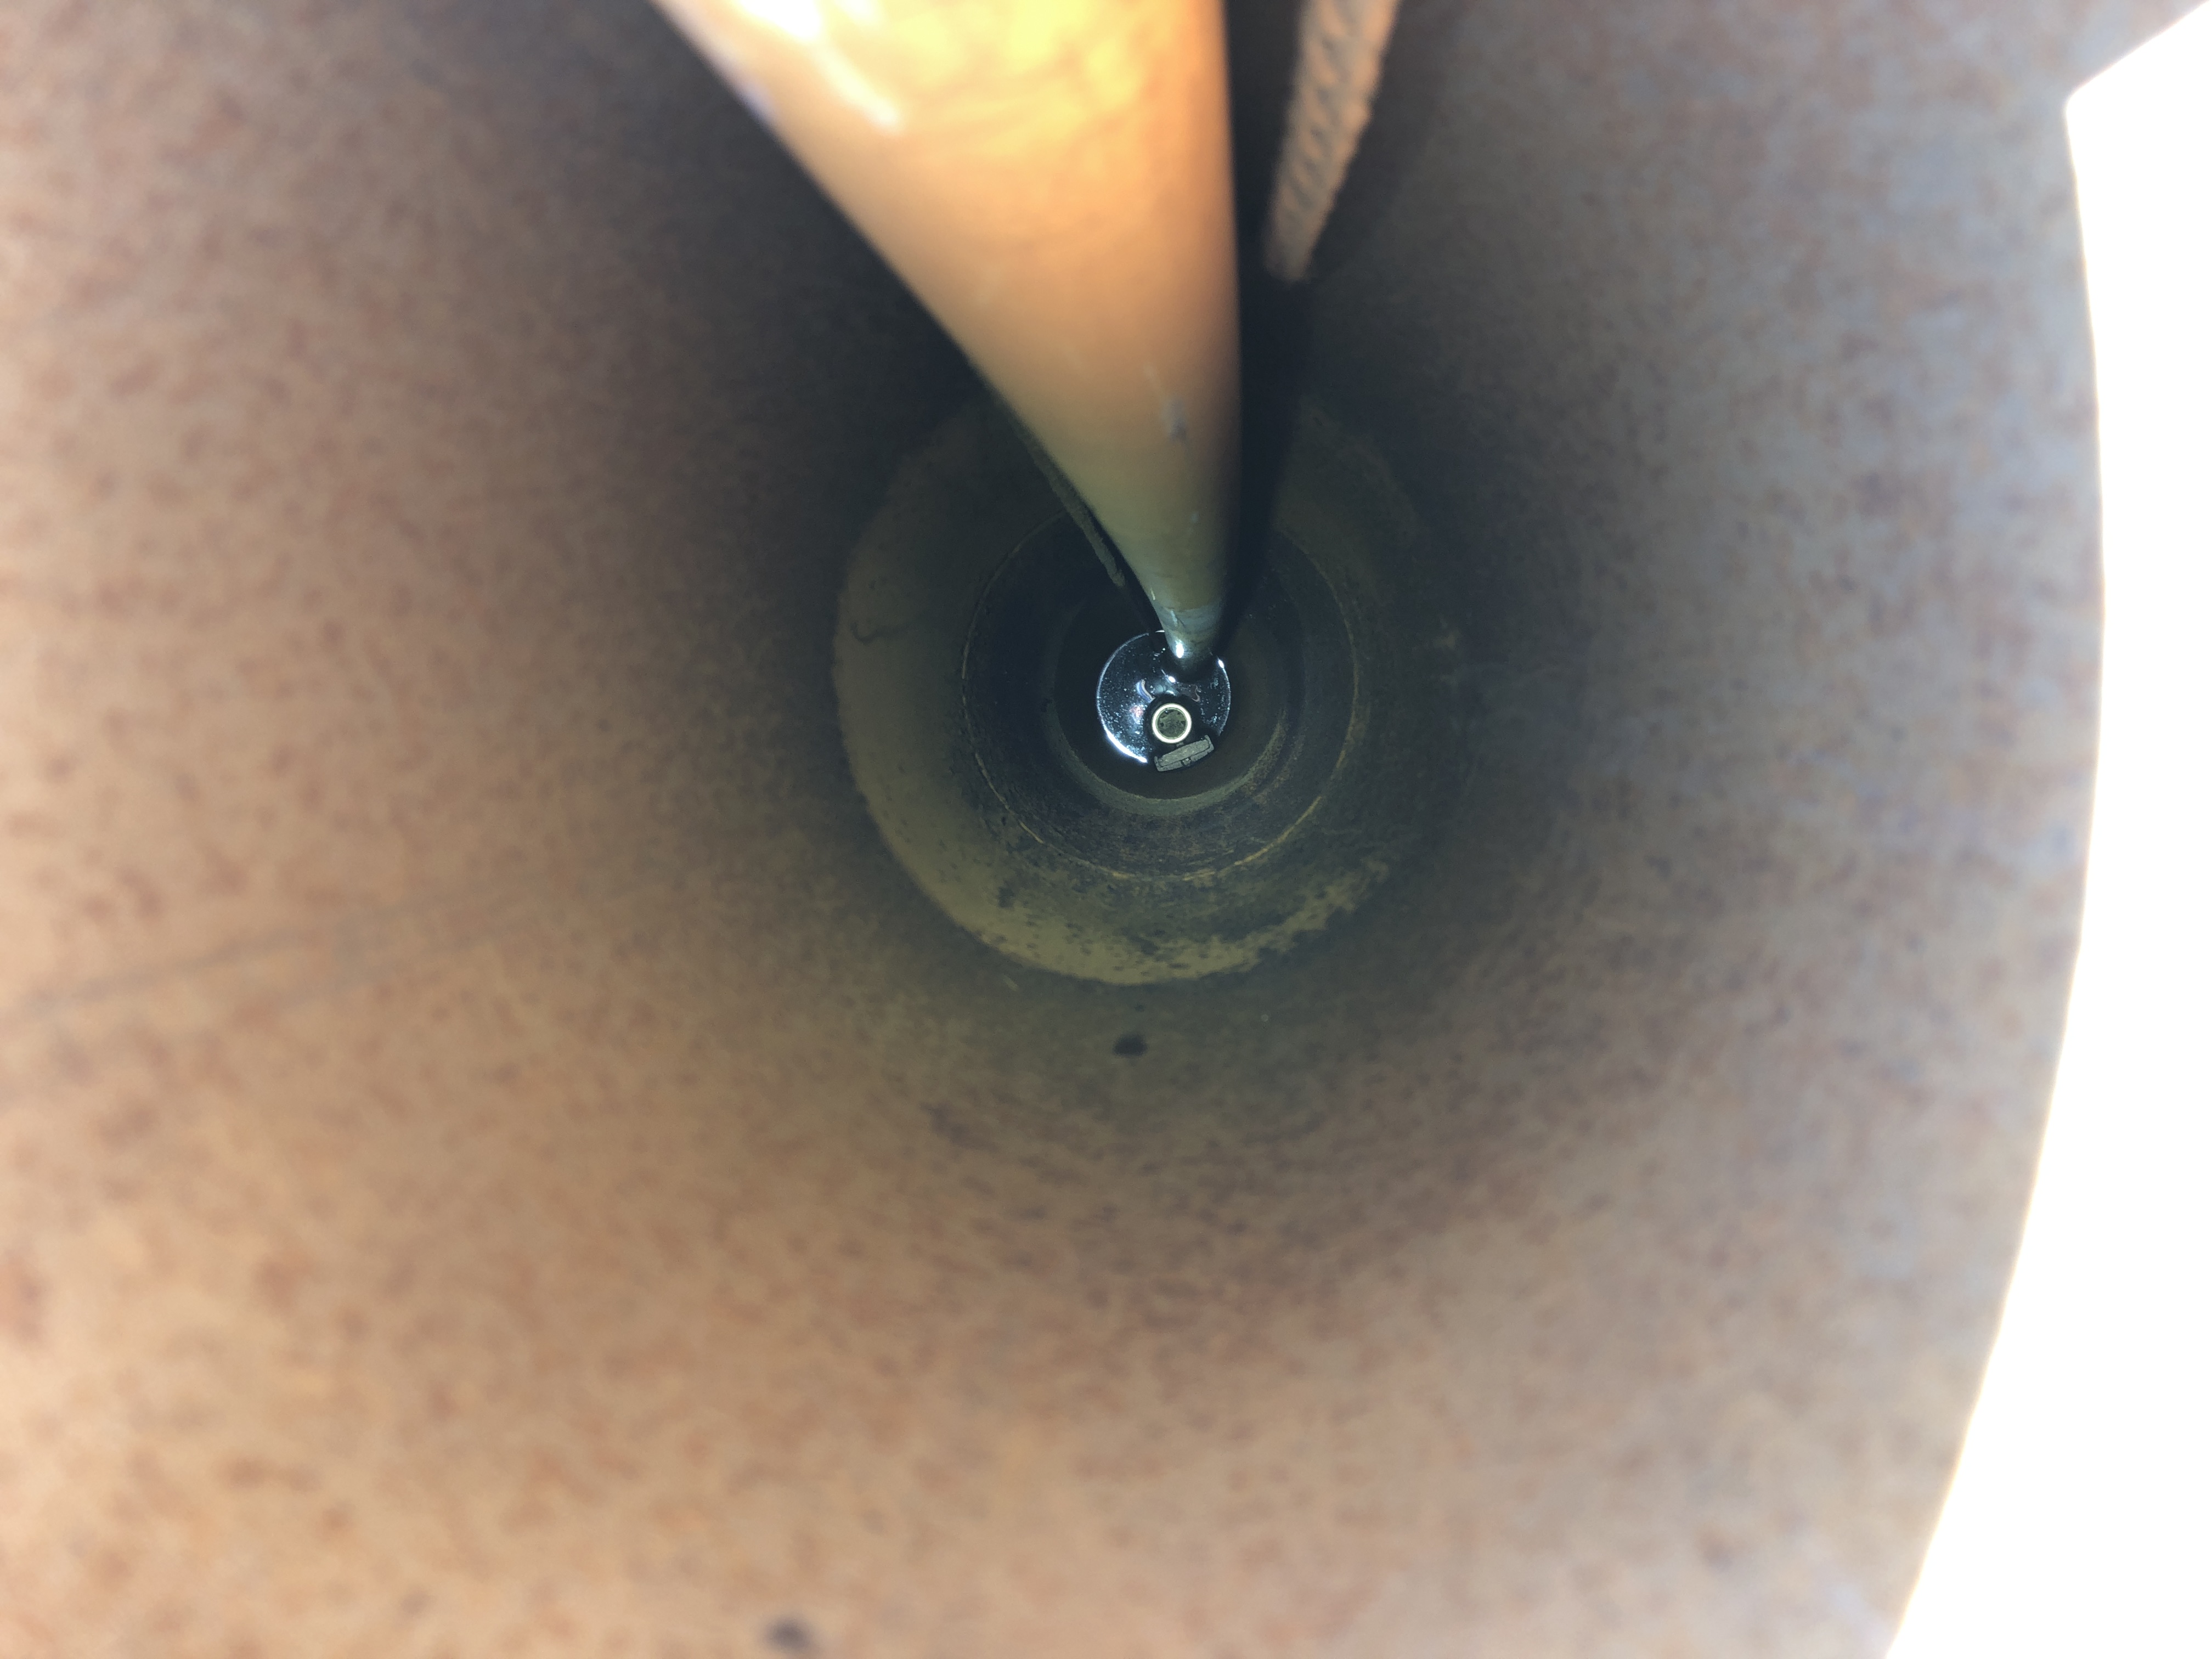
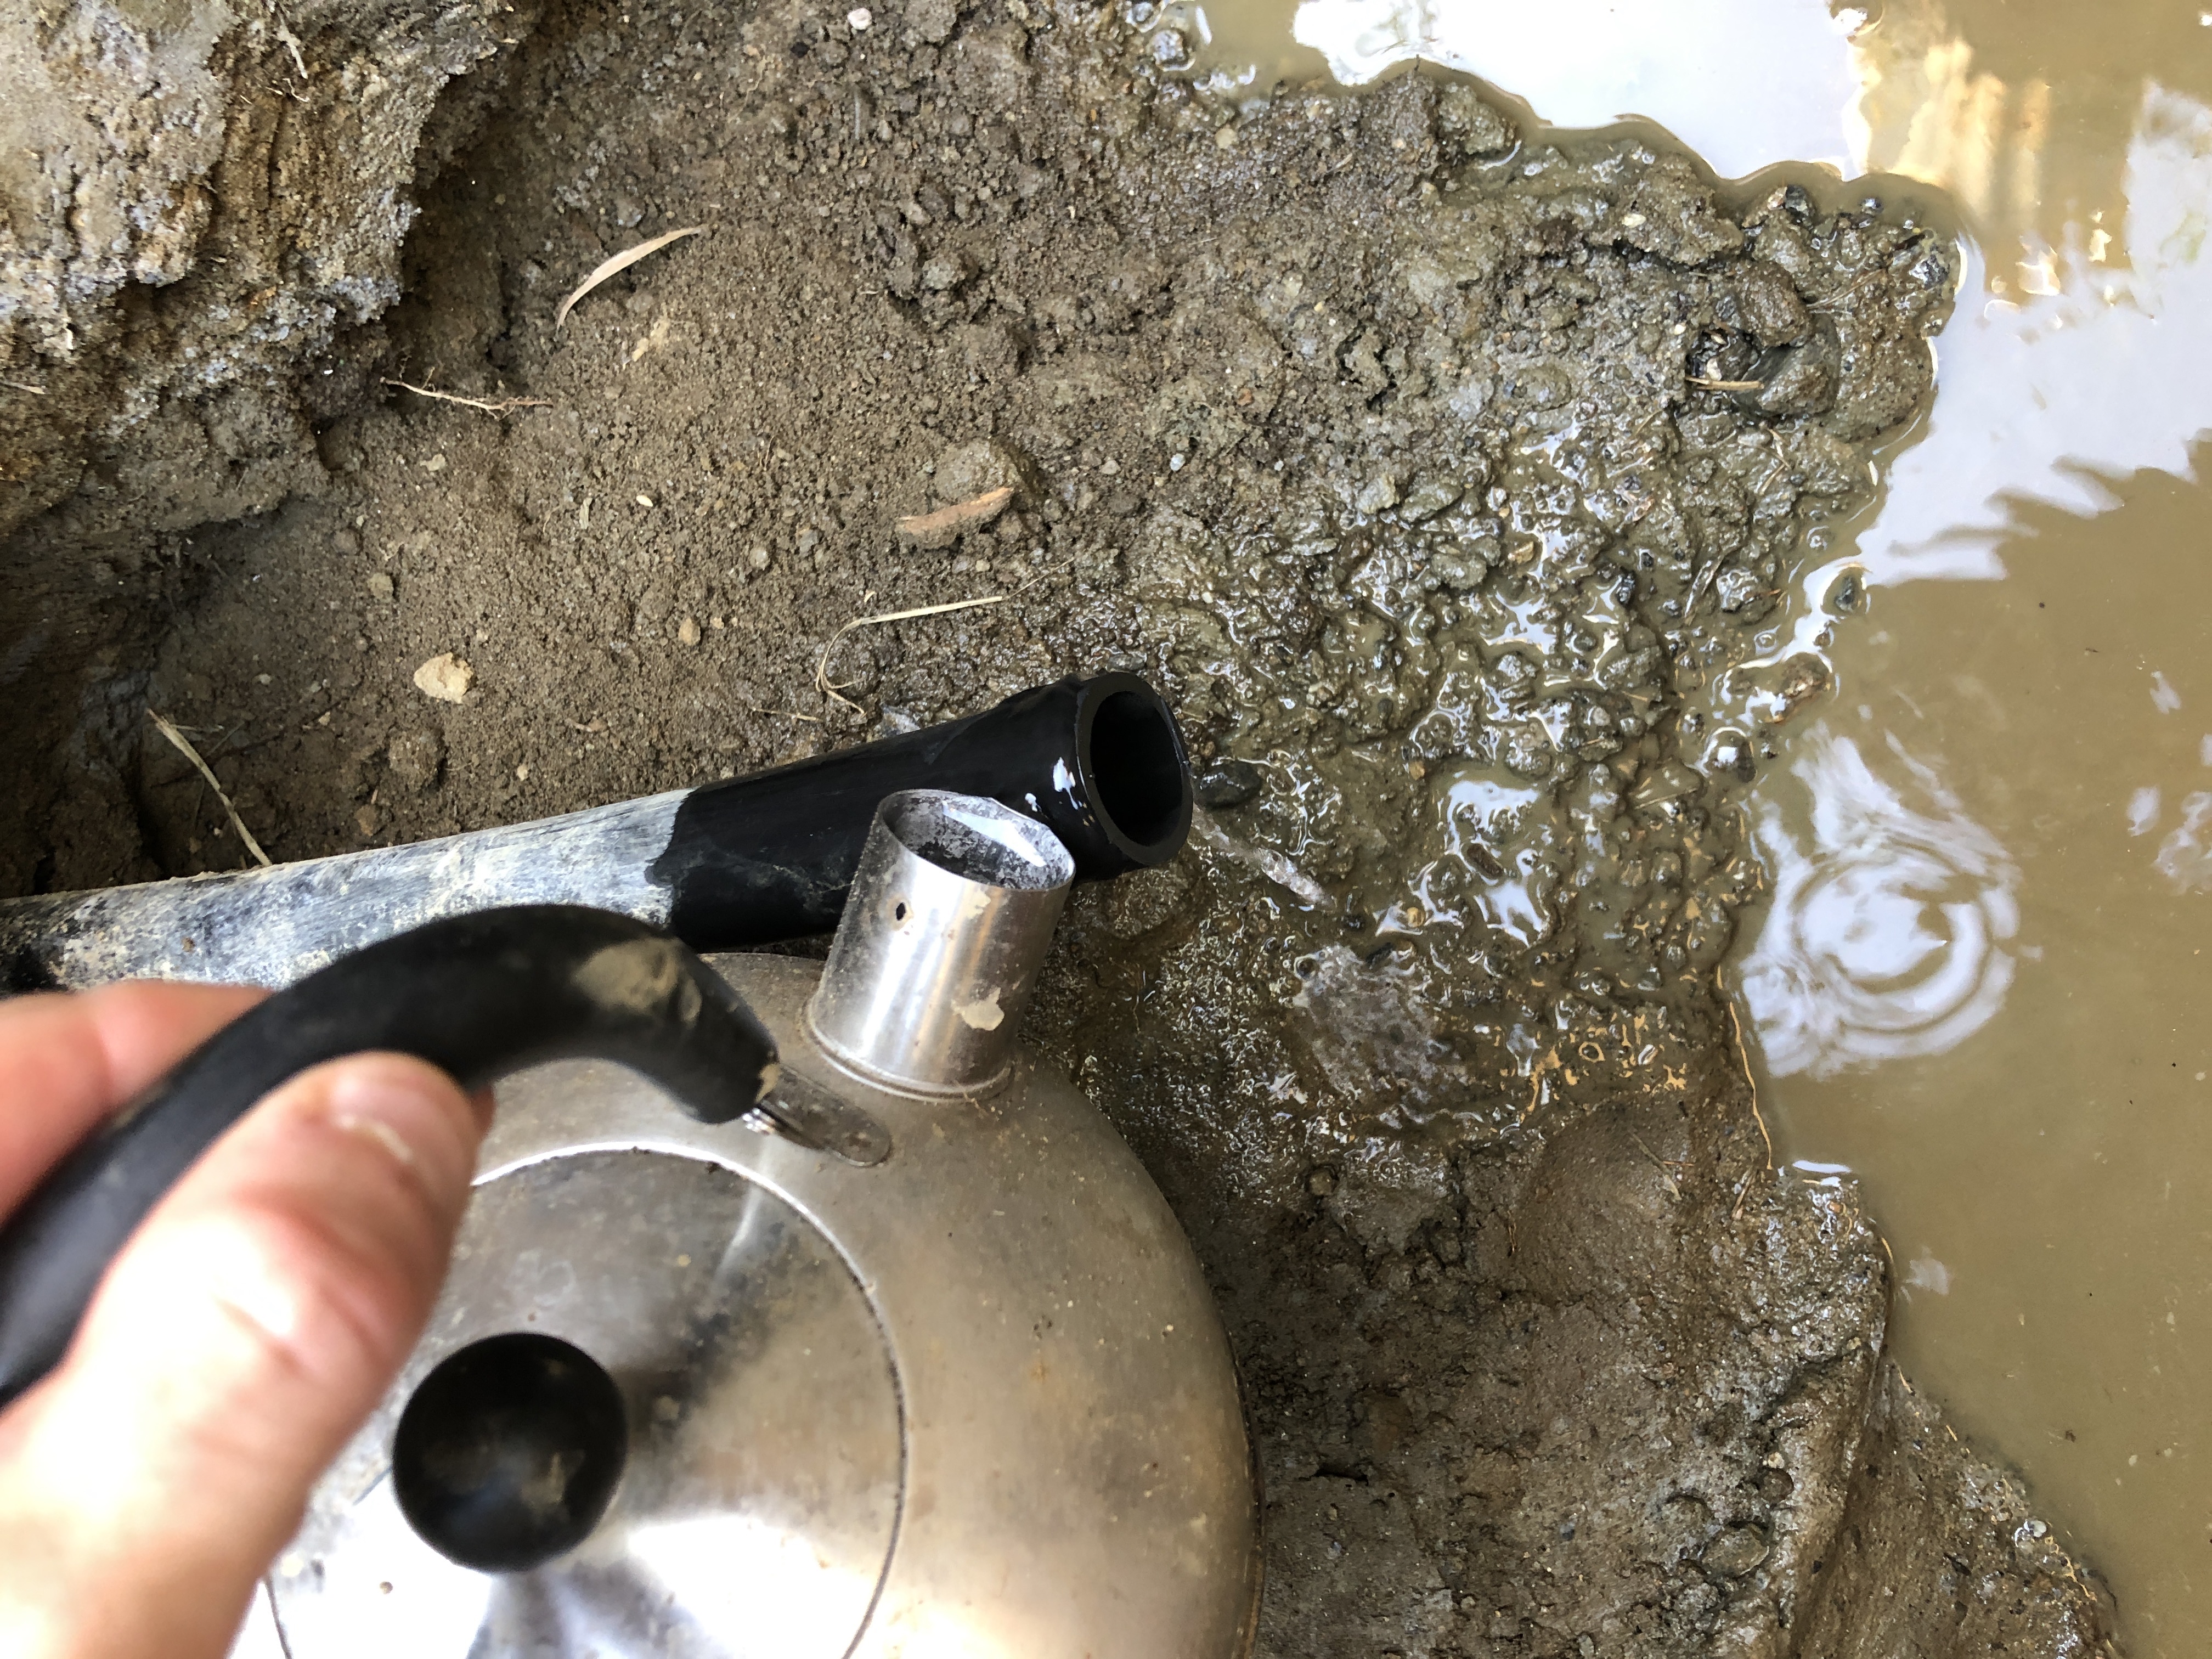
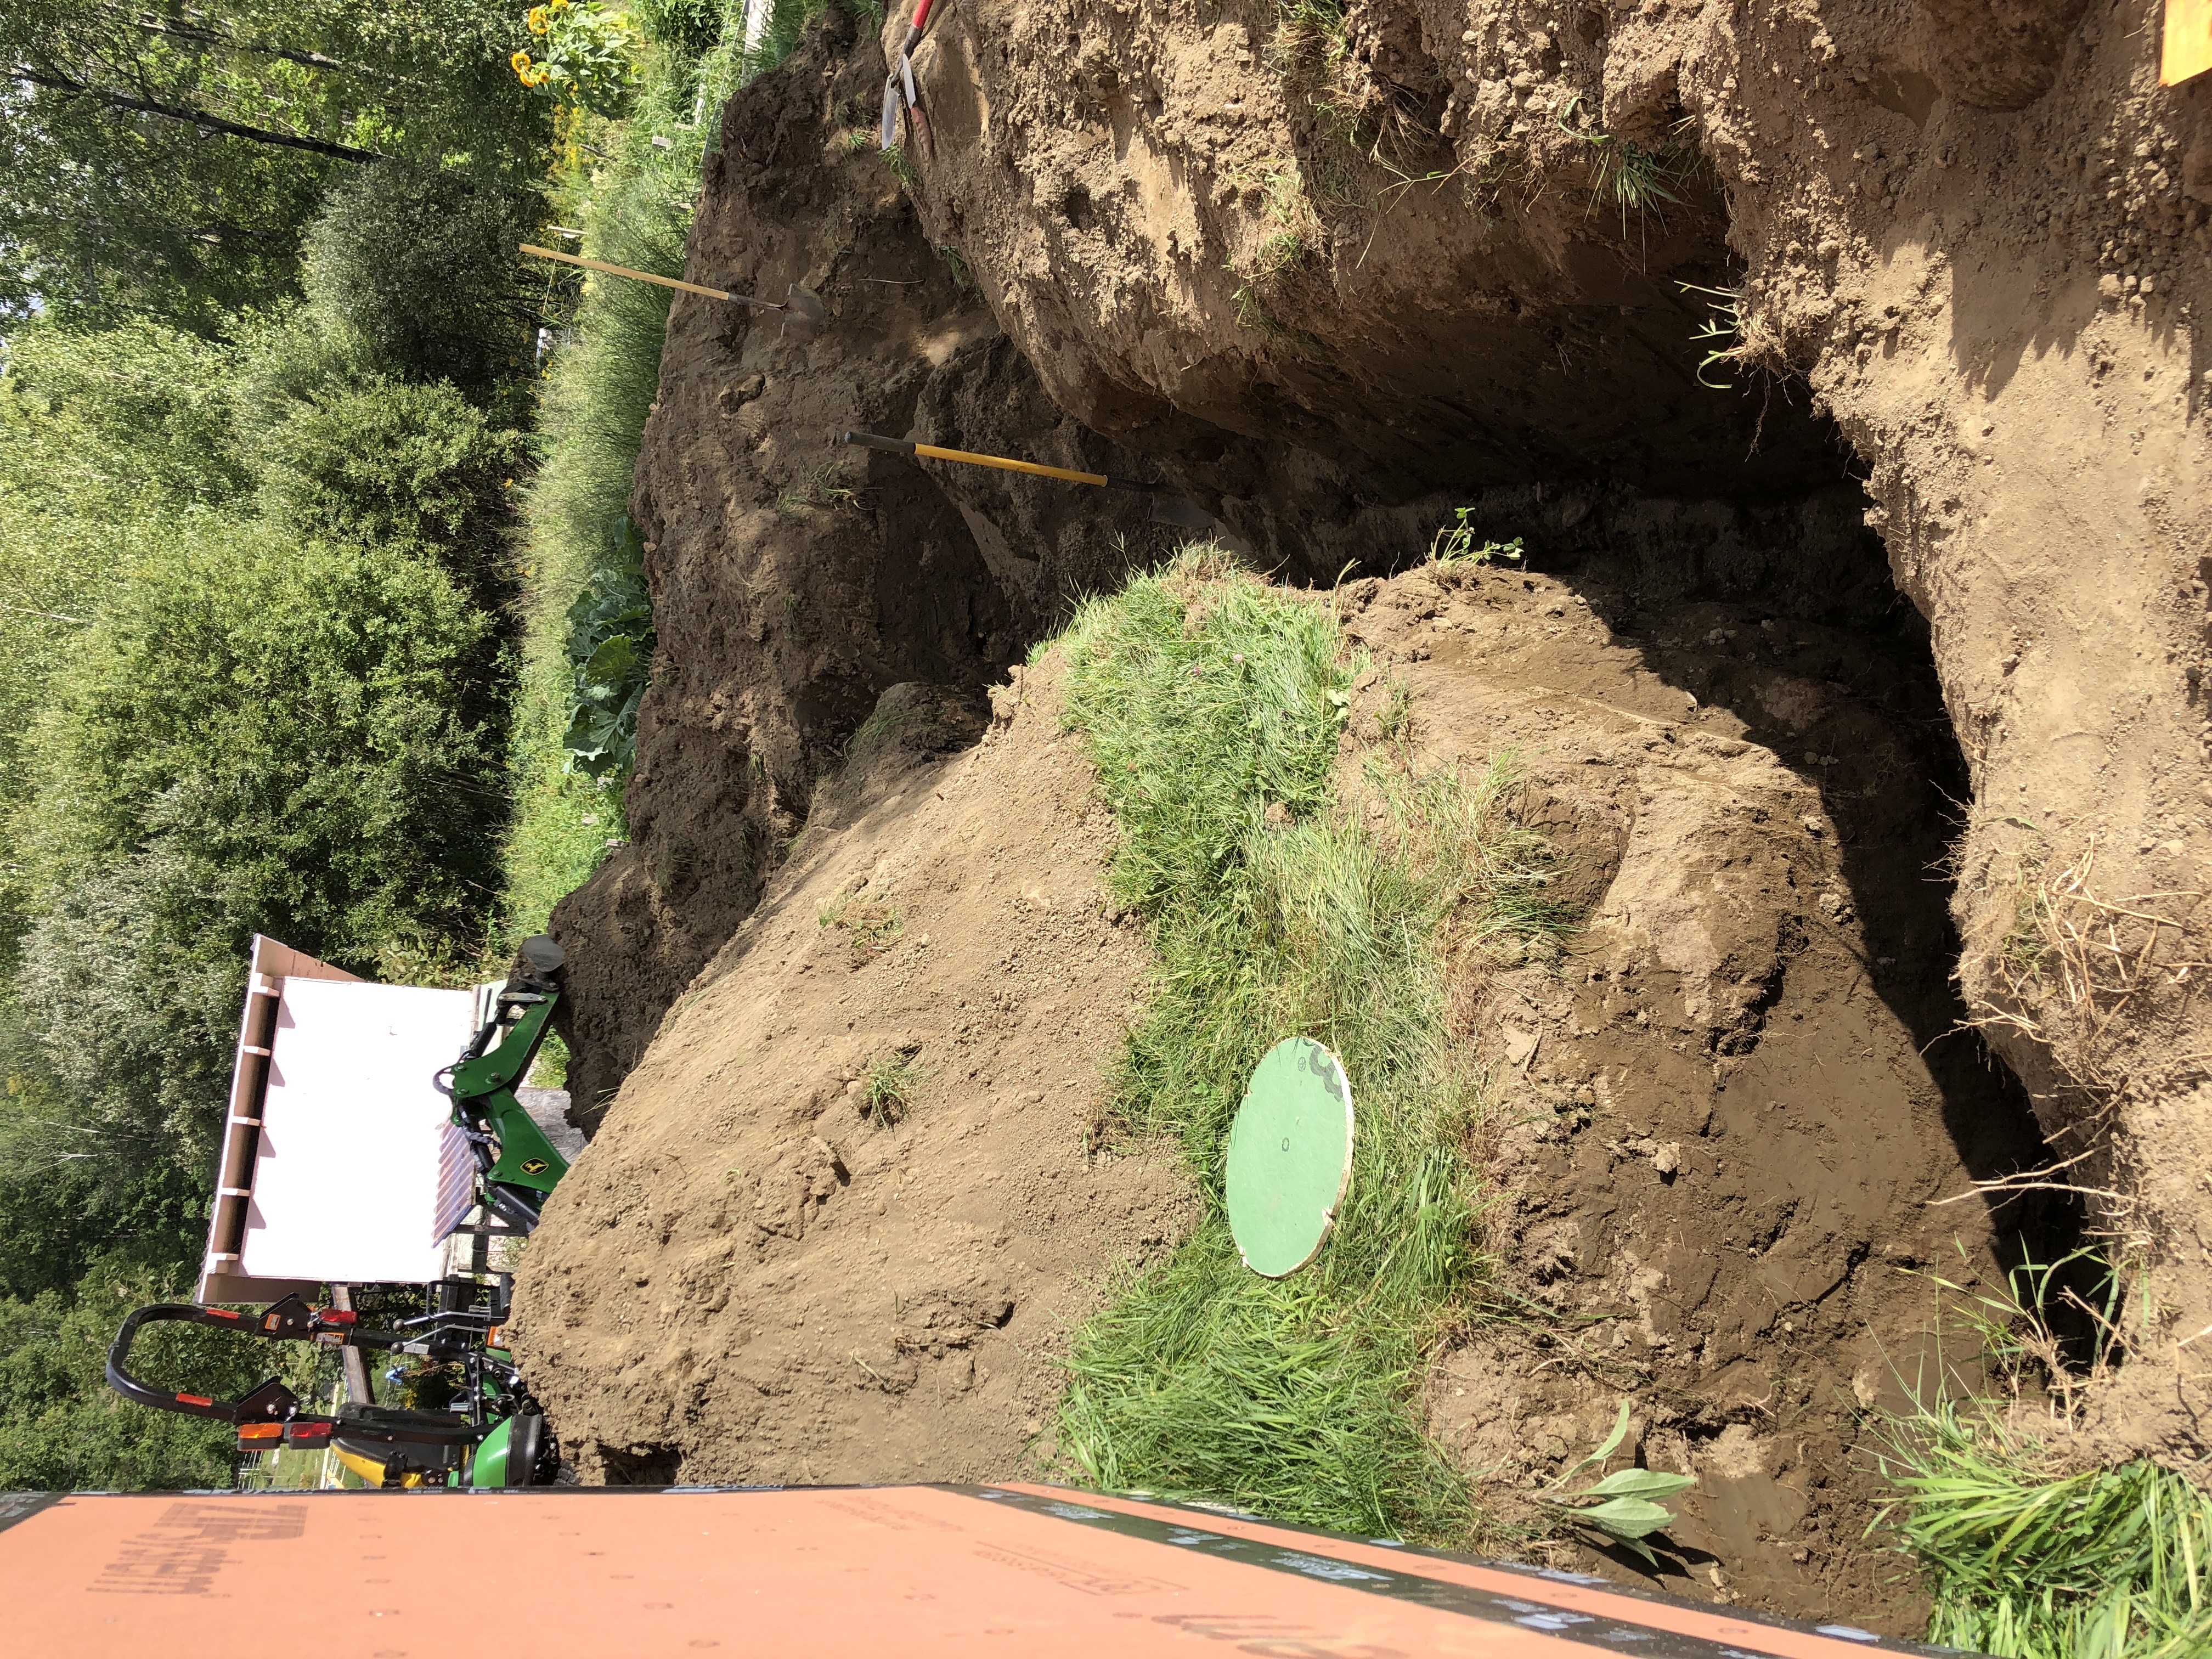
Inside the well, white is the hand pump pipe, it’s secured with a string. The pull pipe and the pitless adapter further down.
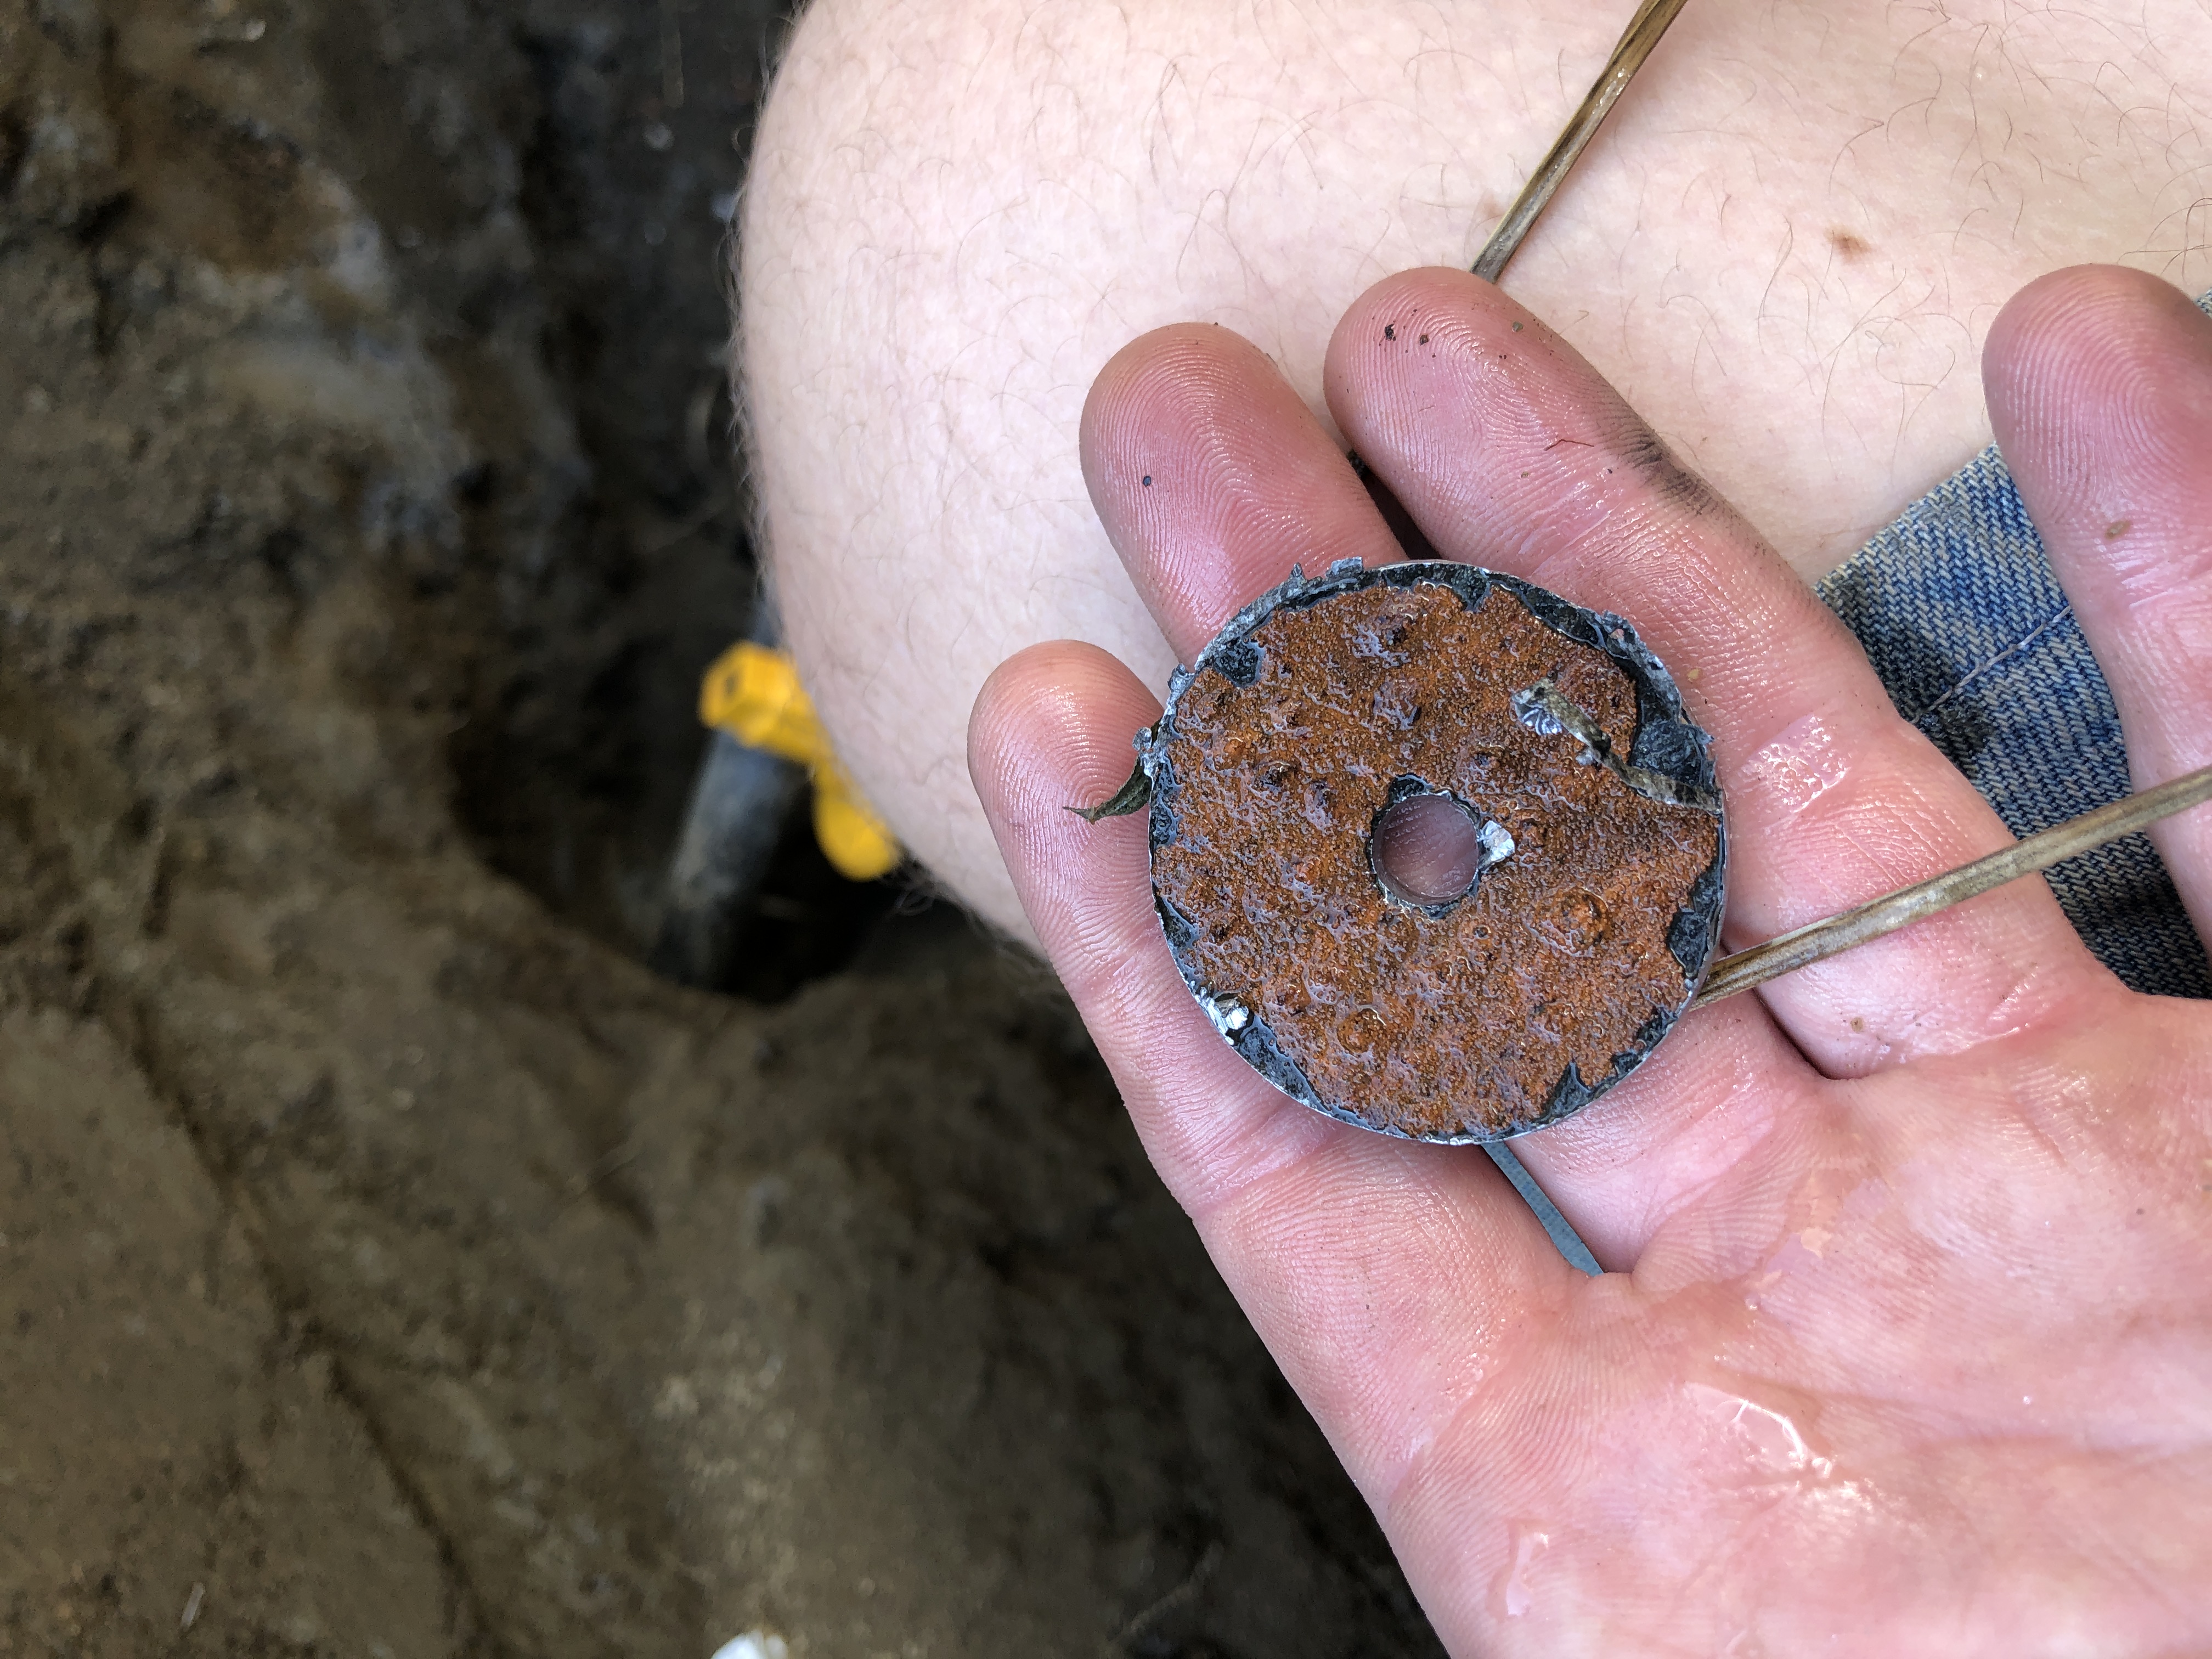
You do NOT want to lose anything in the well.
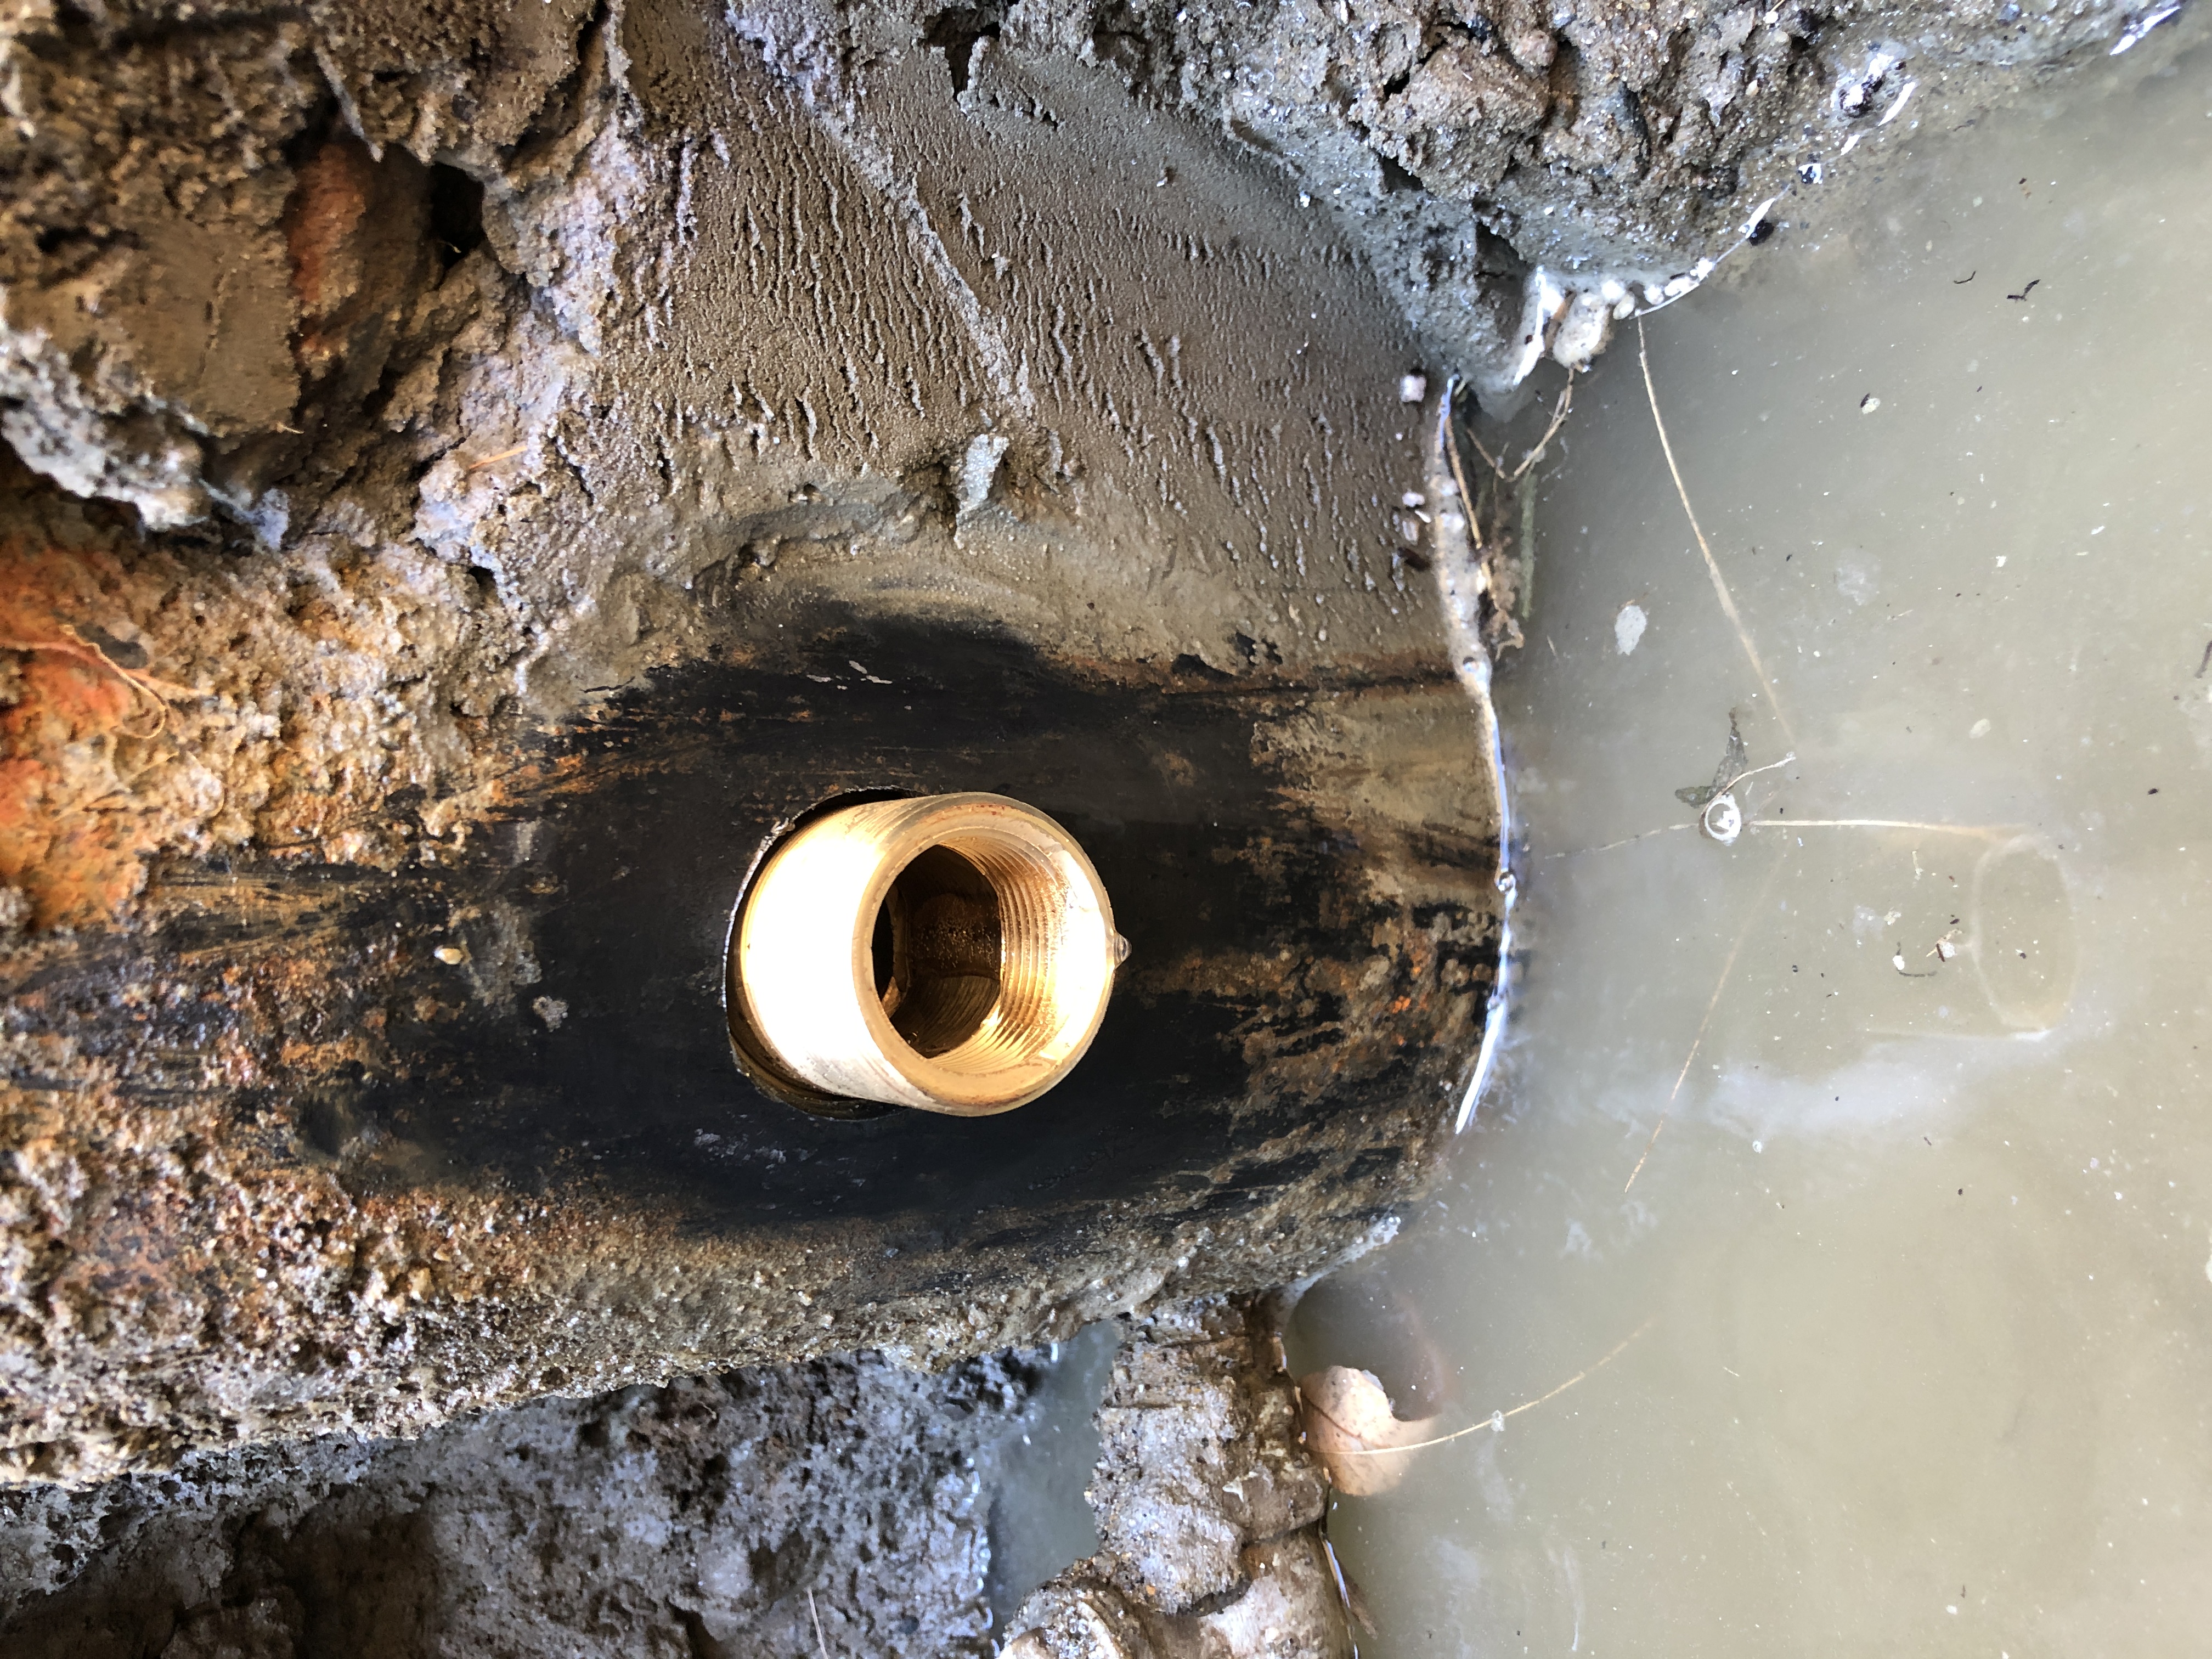
Outside the casing, this is starting to smell like success.
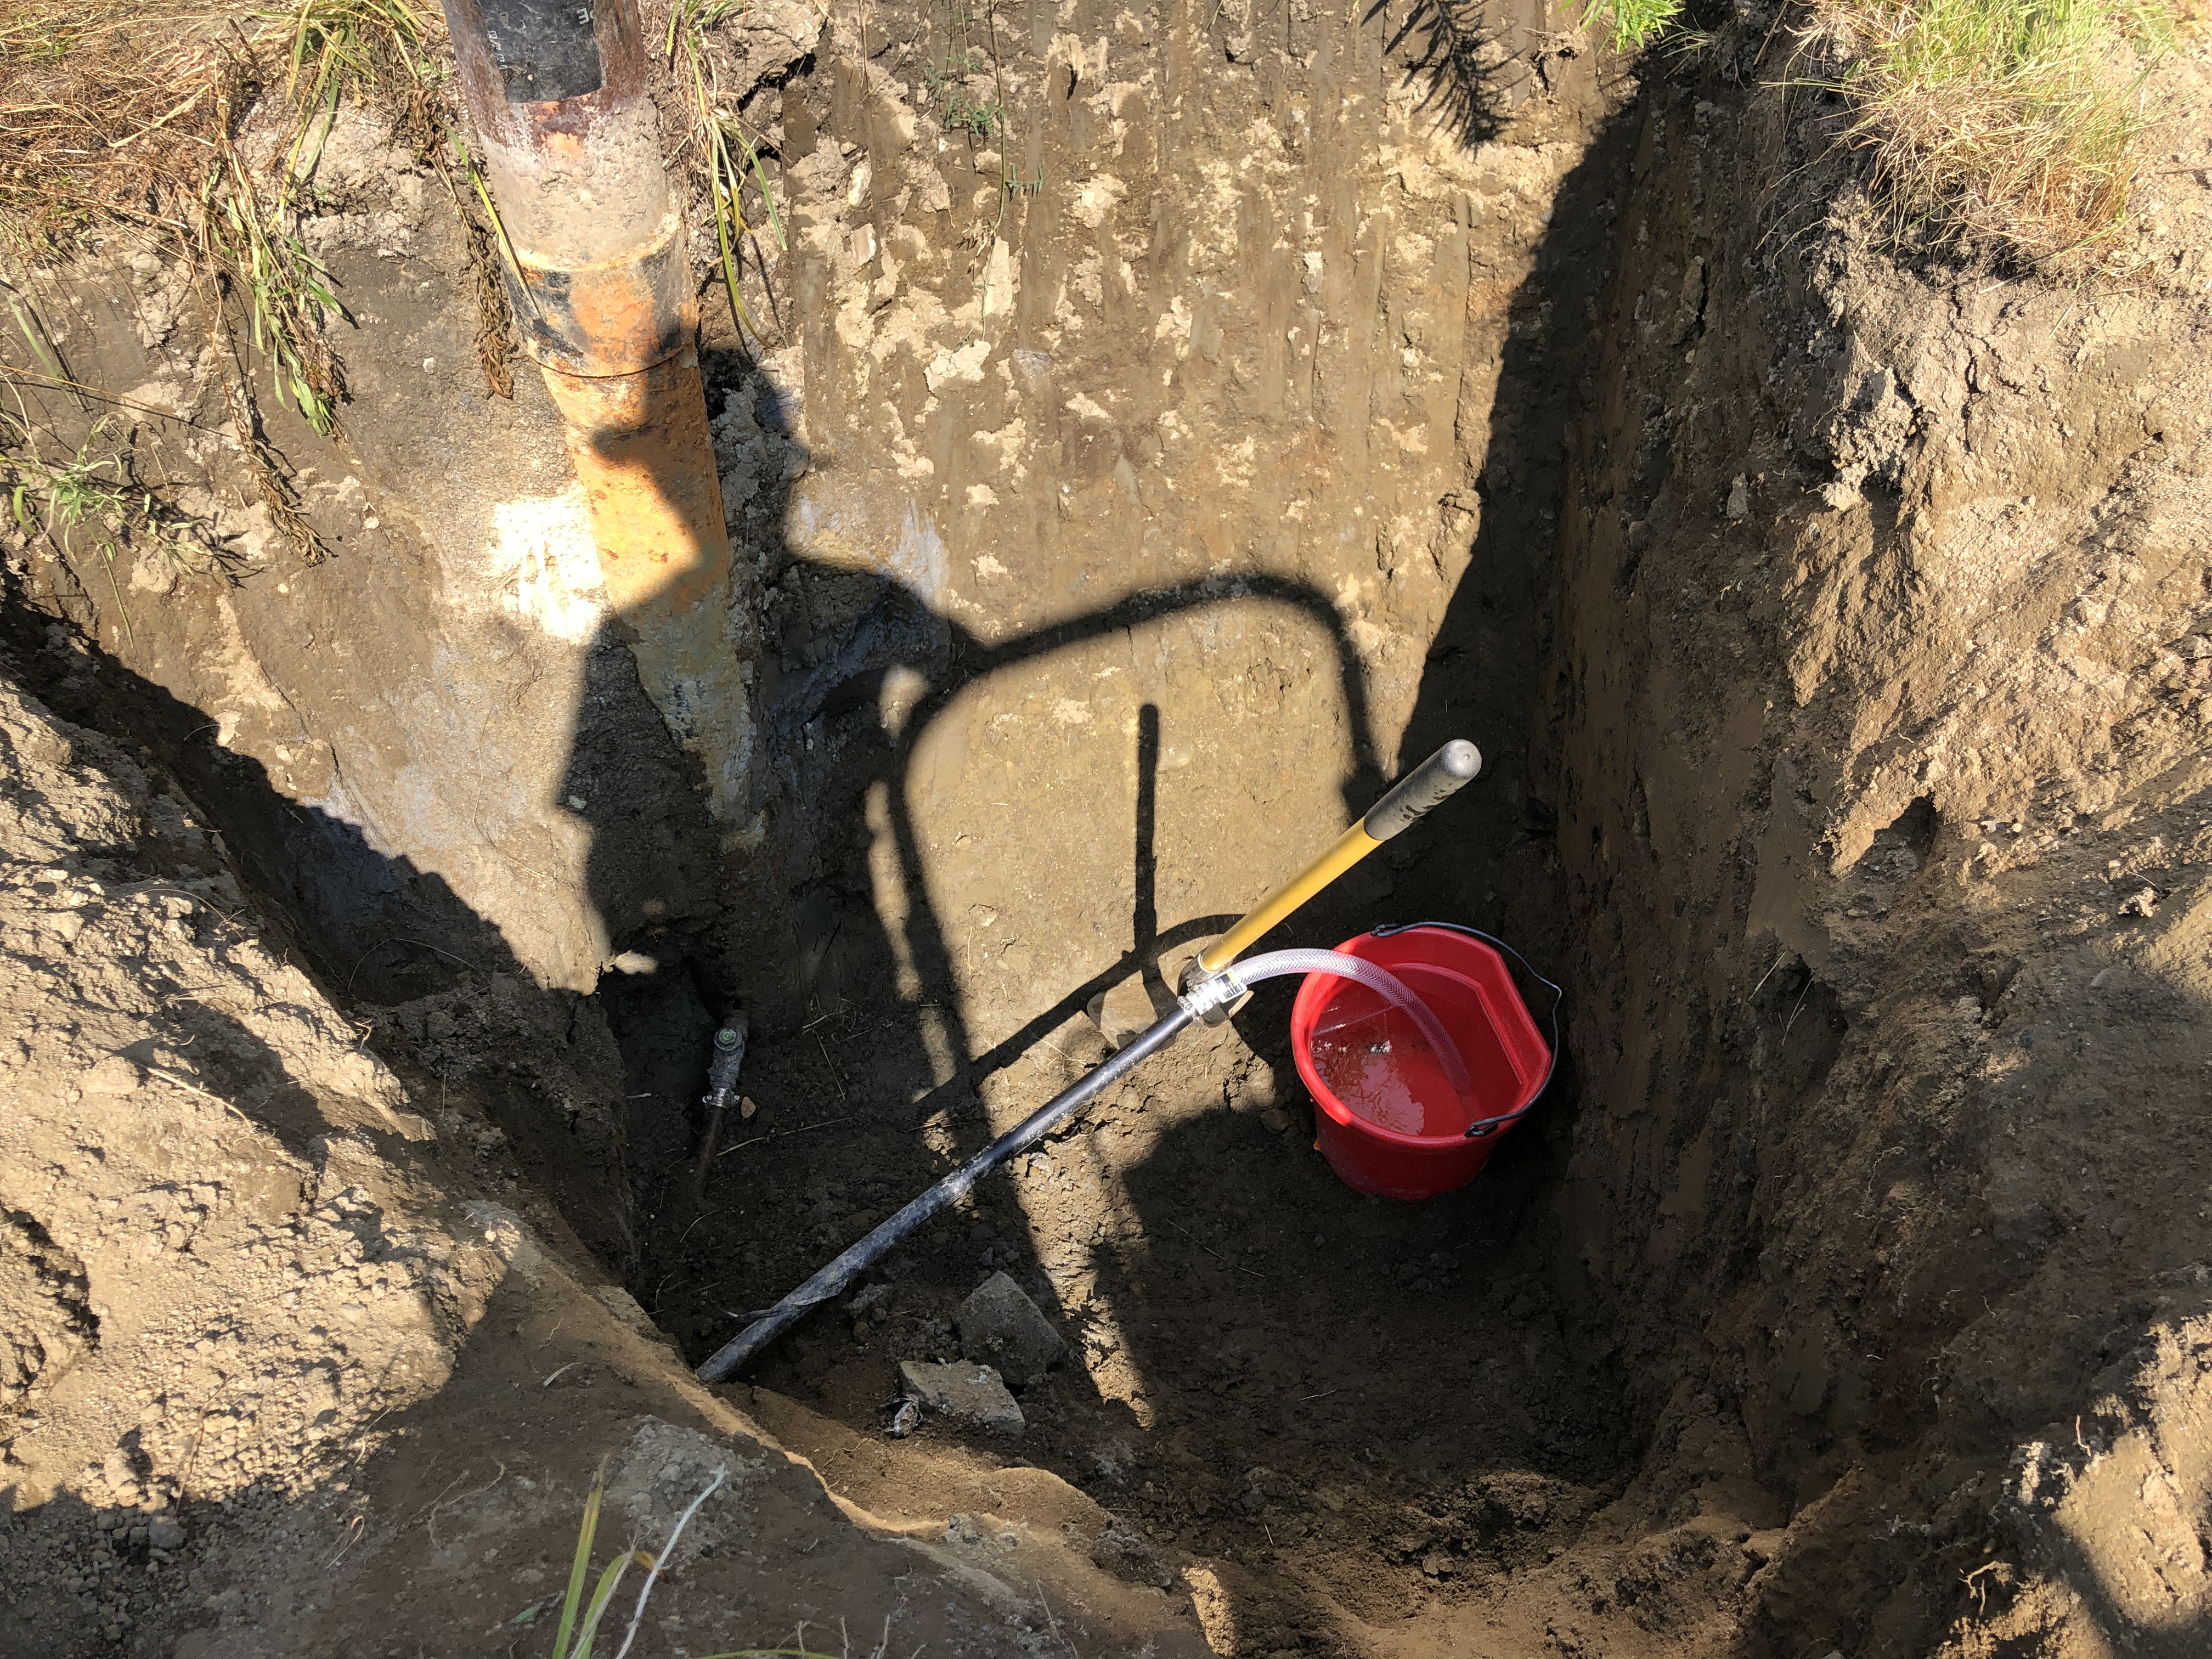
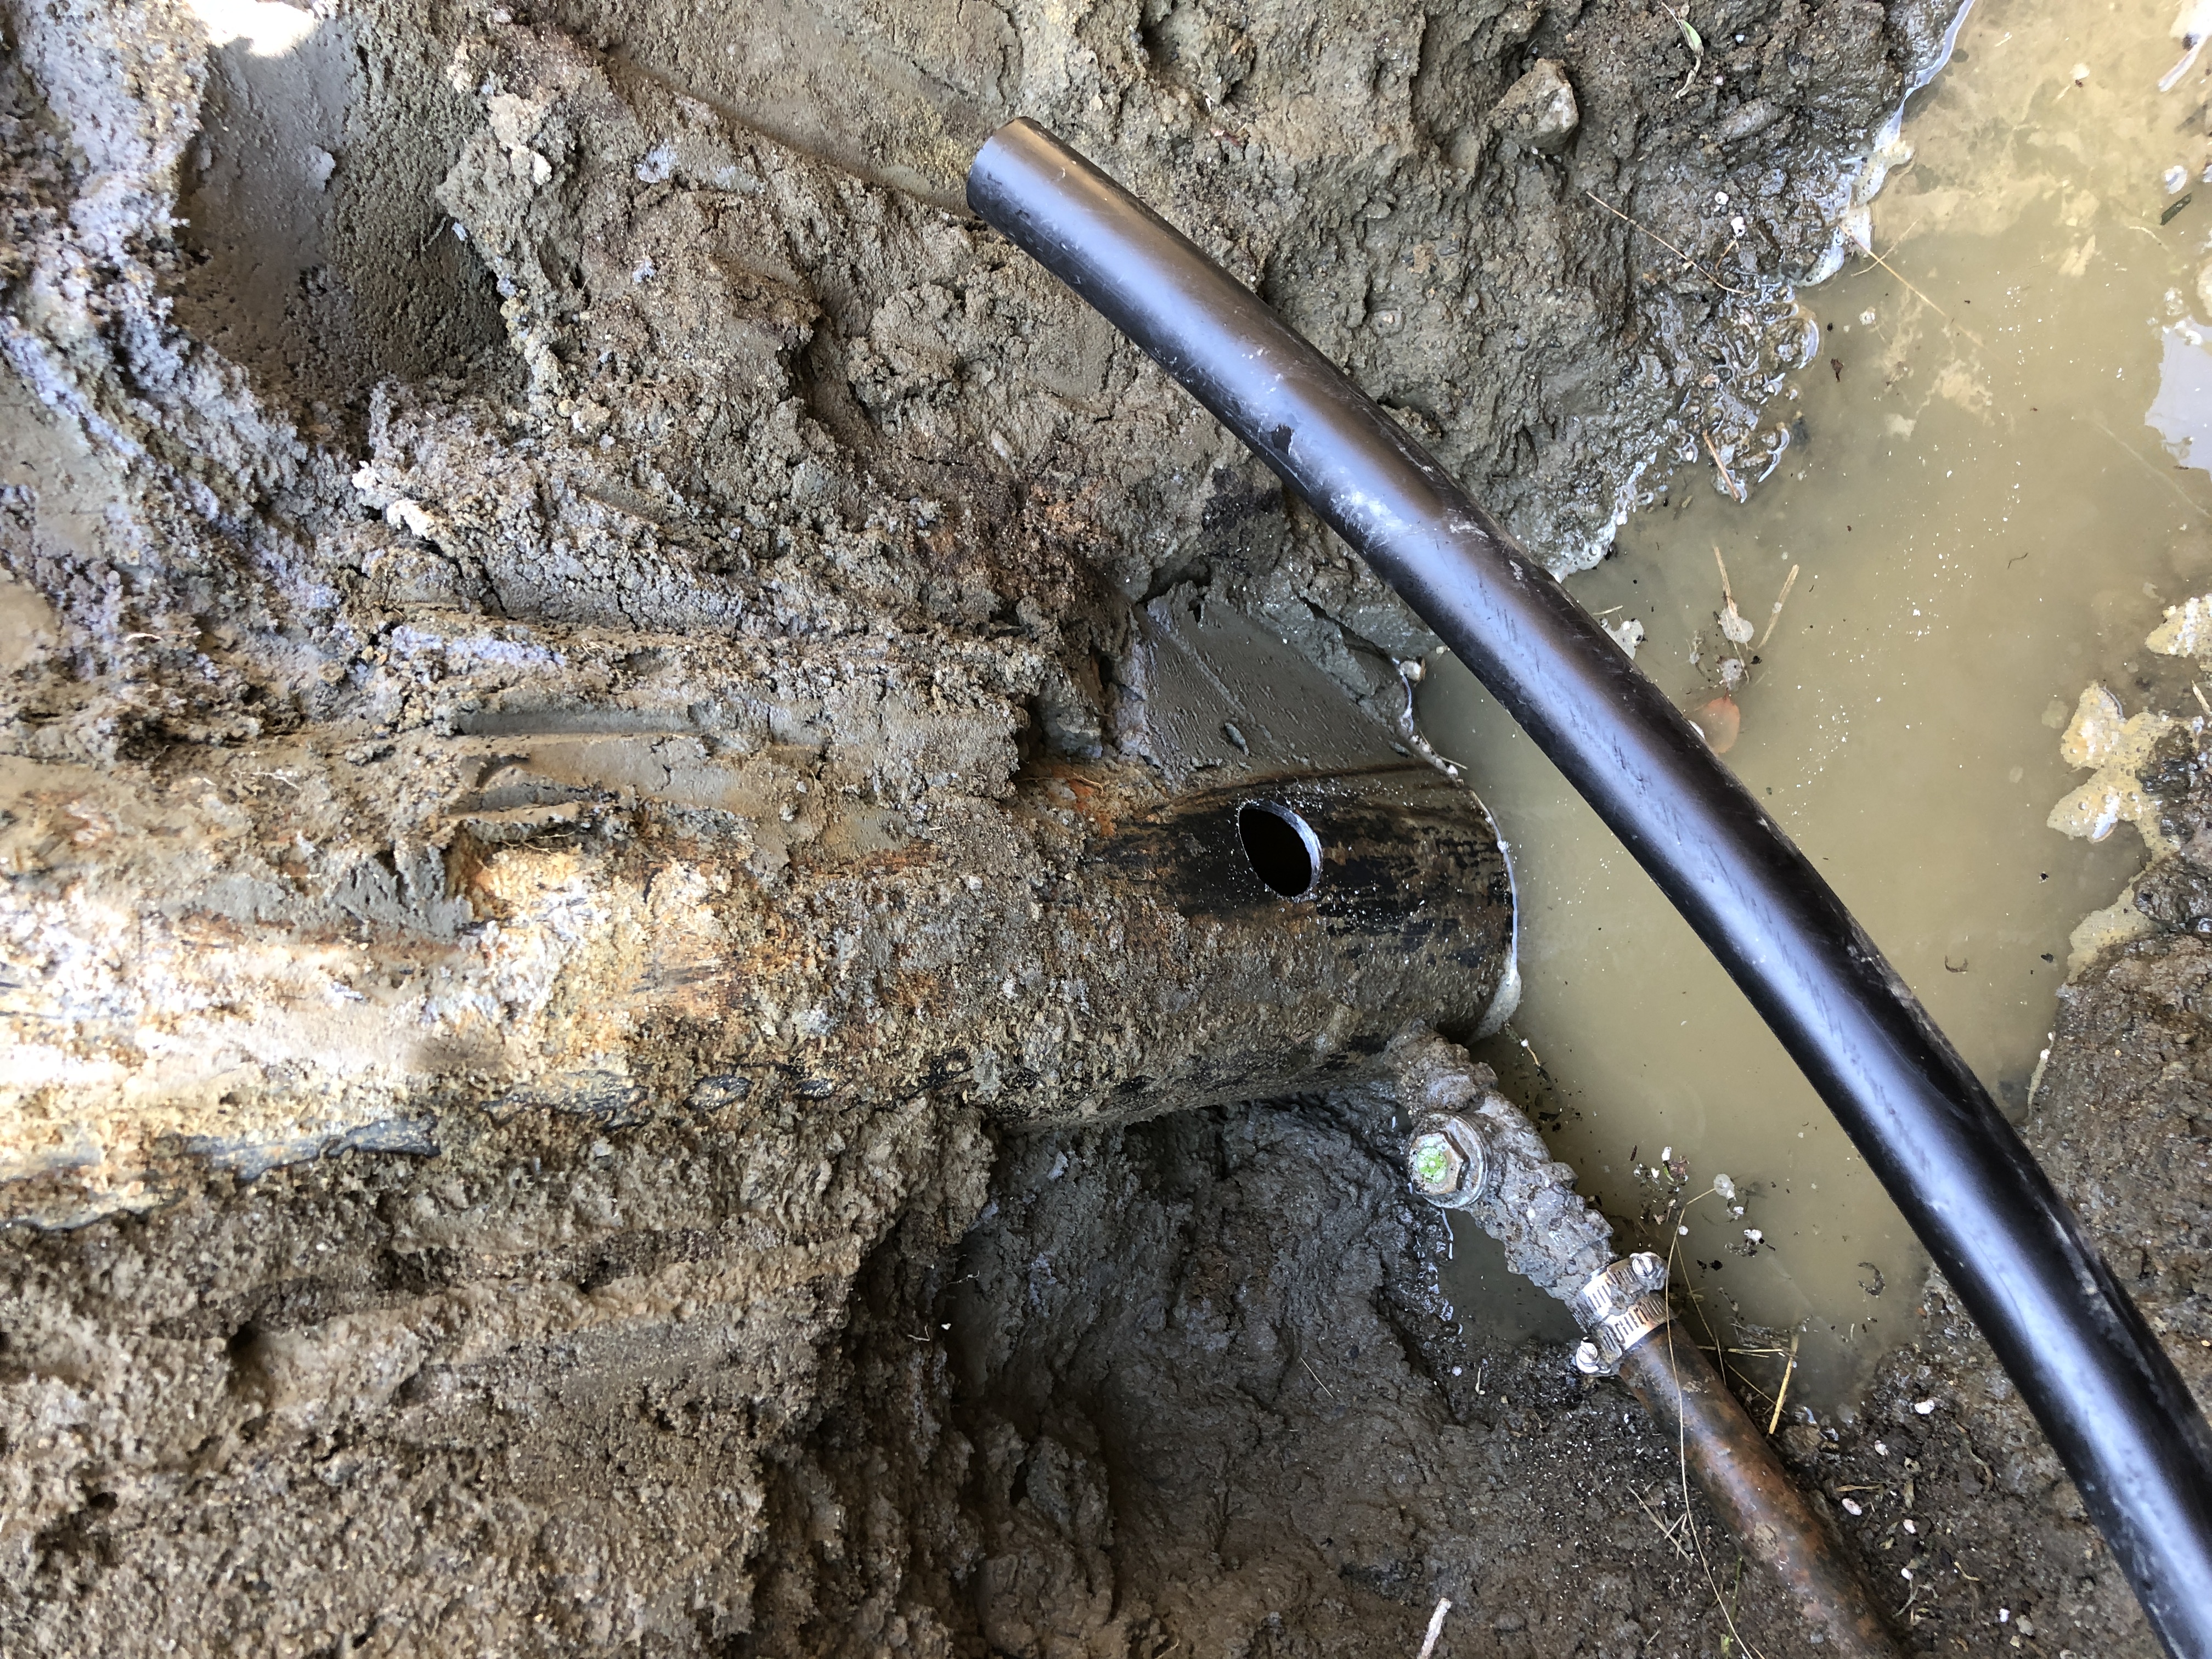
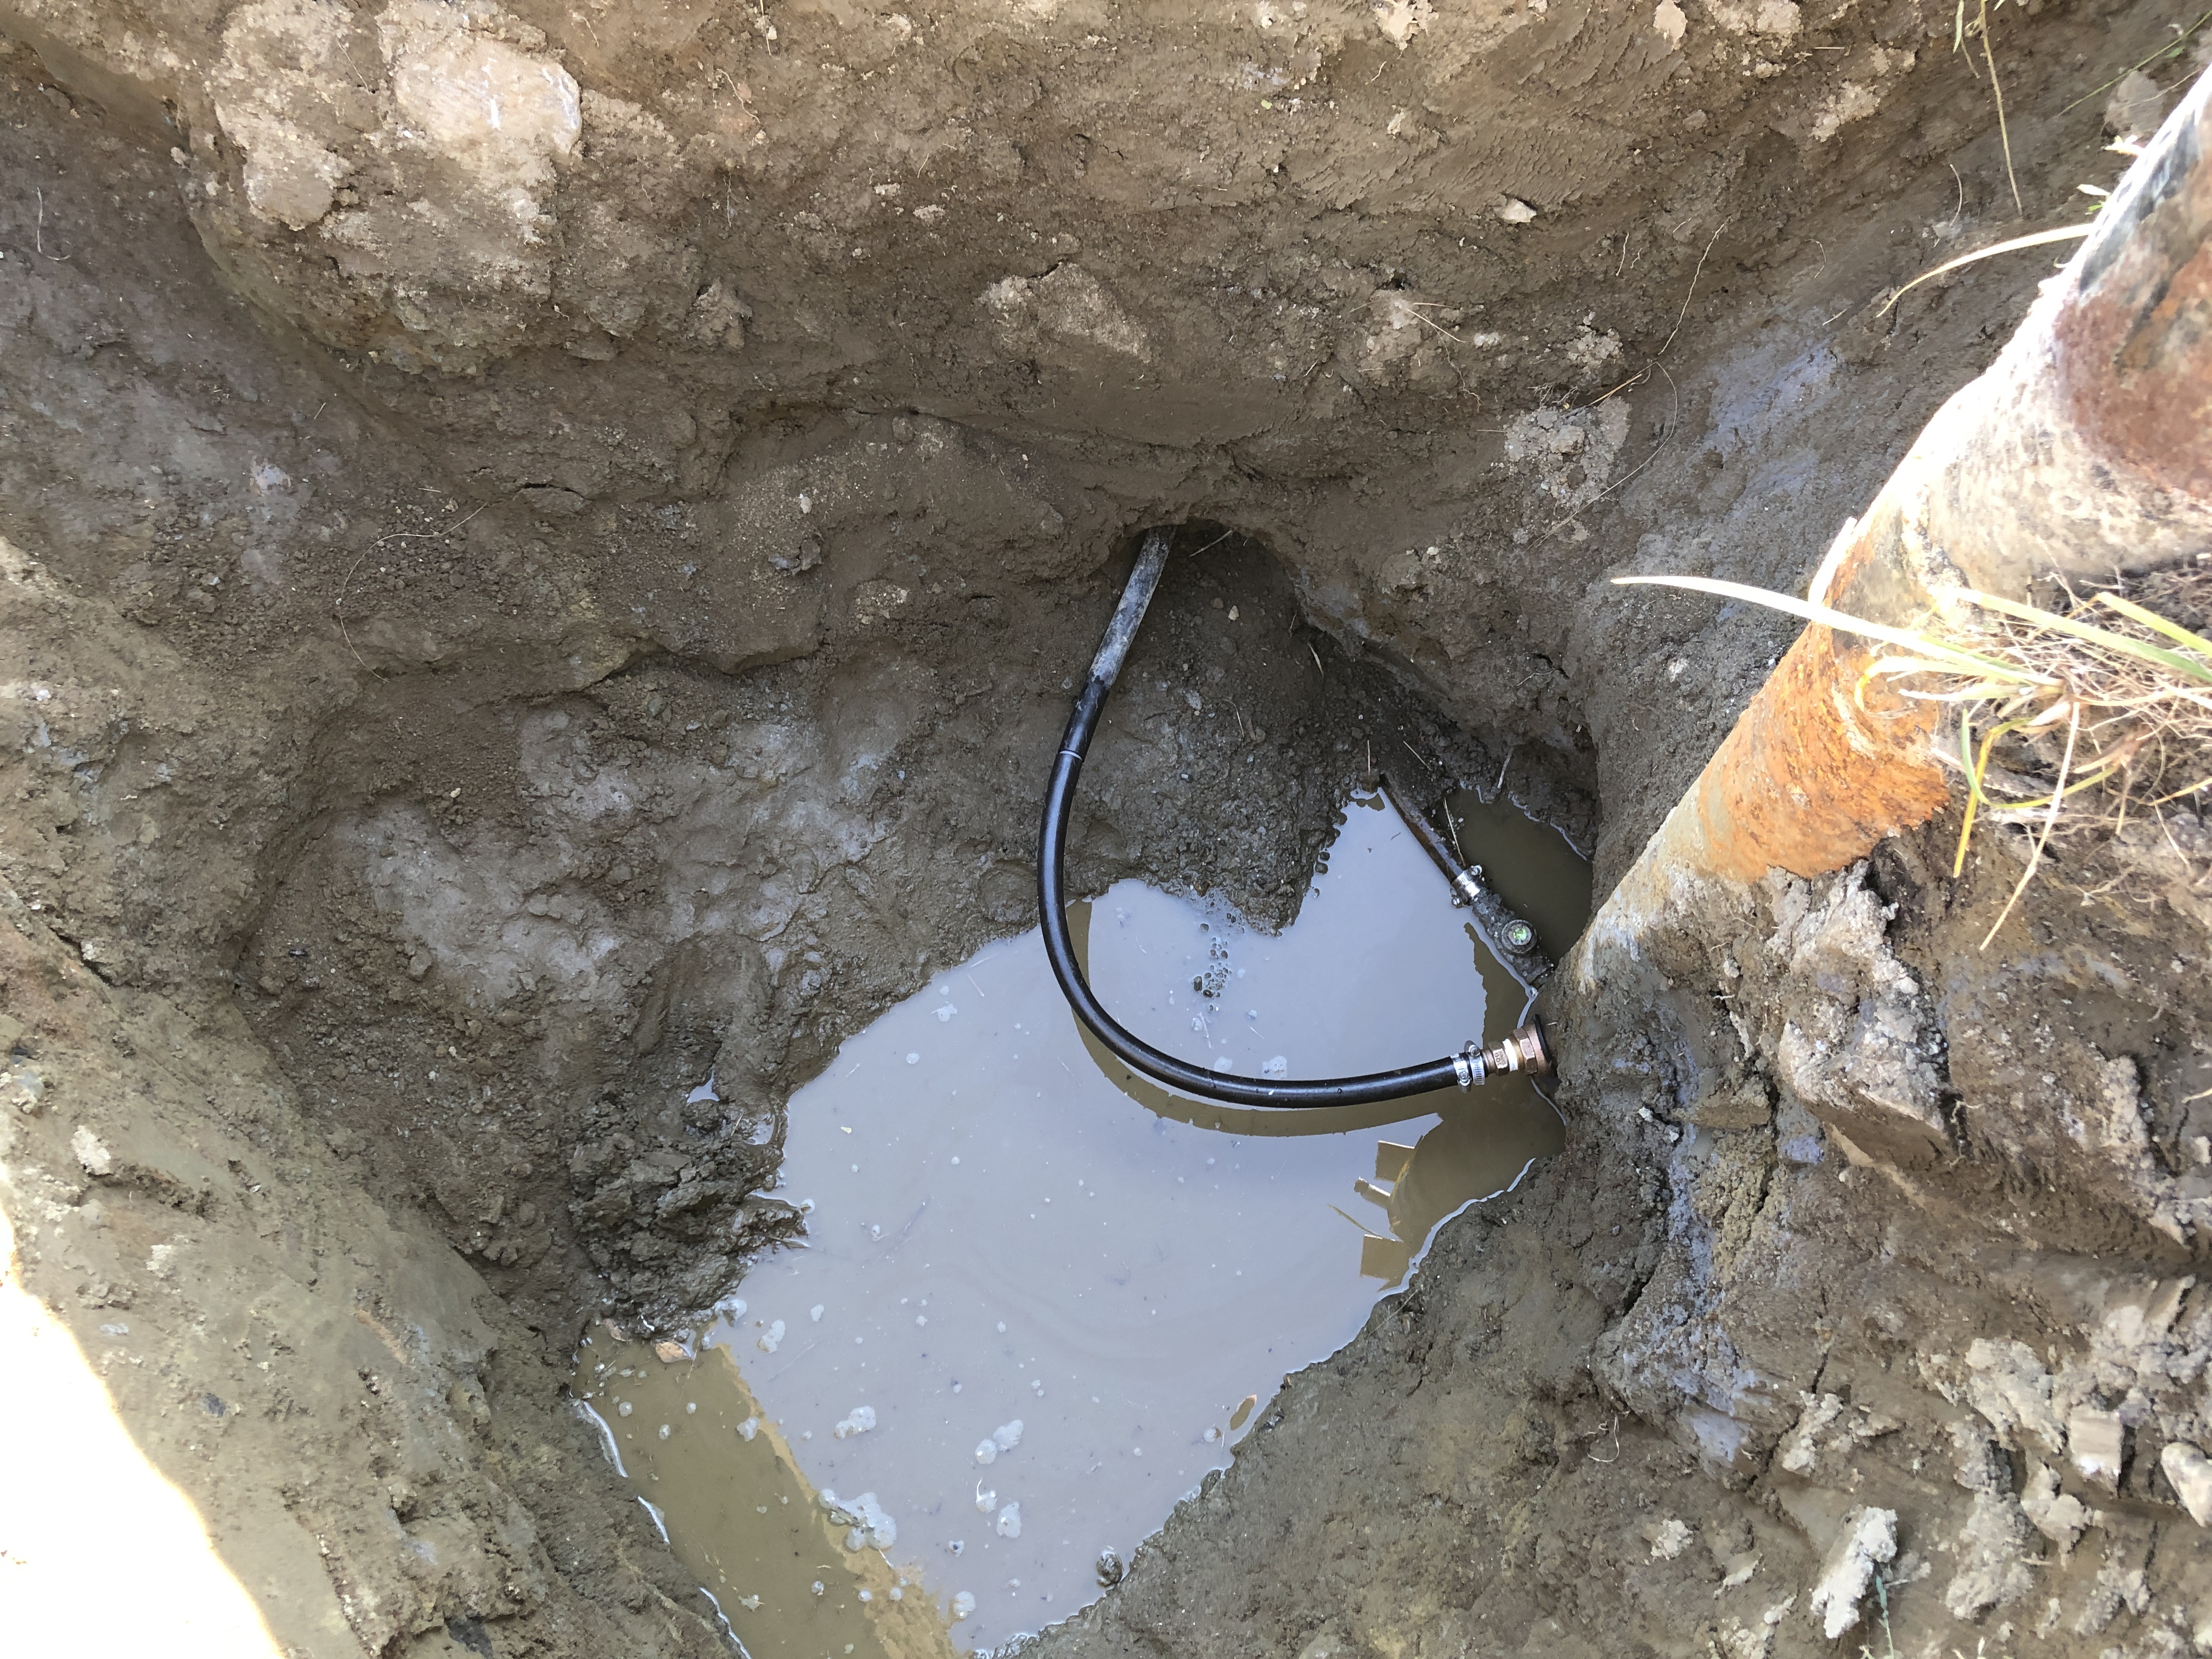
Secured
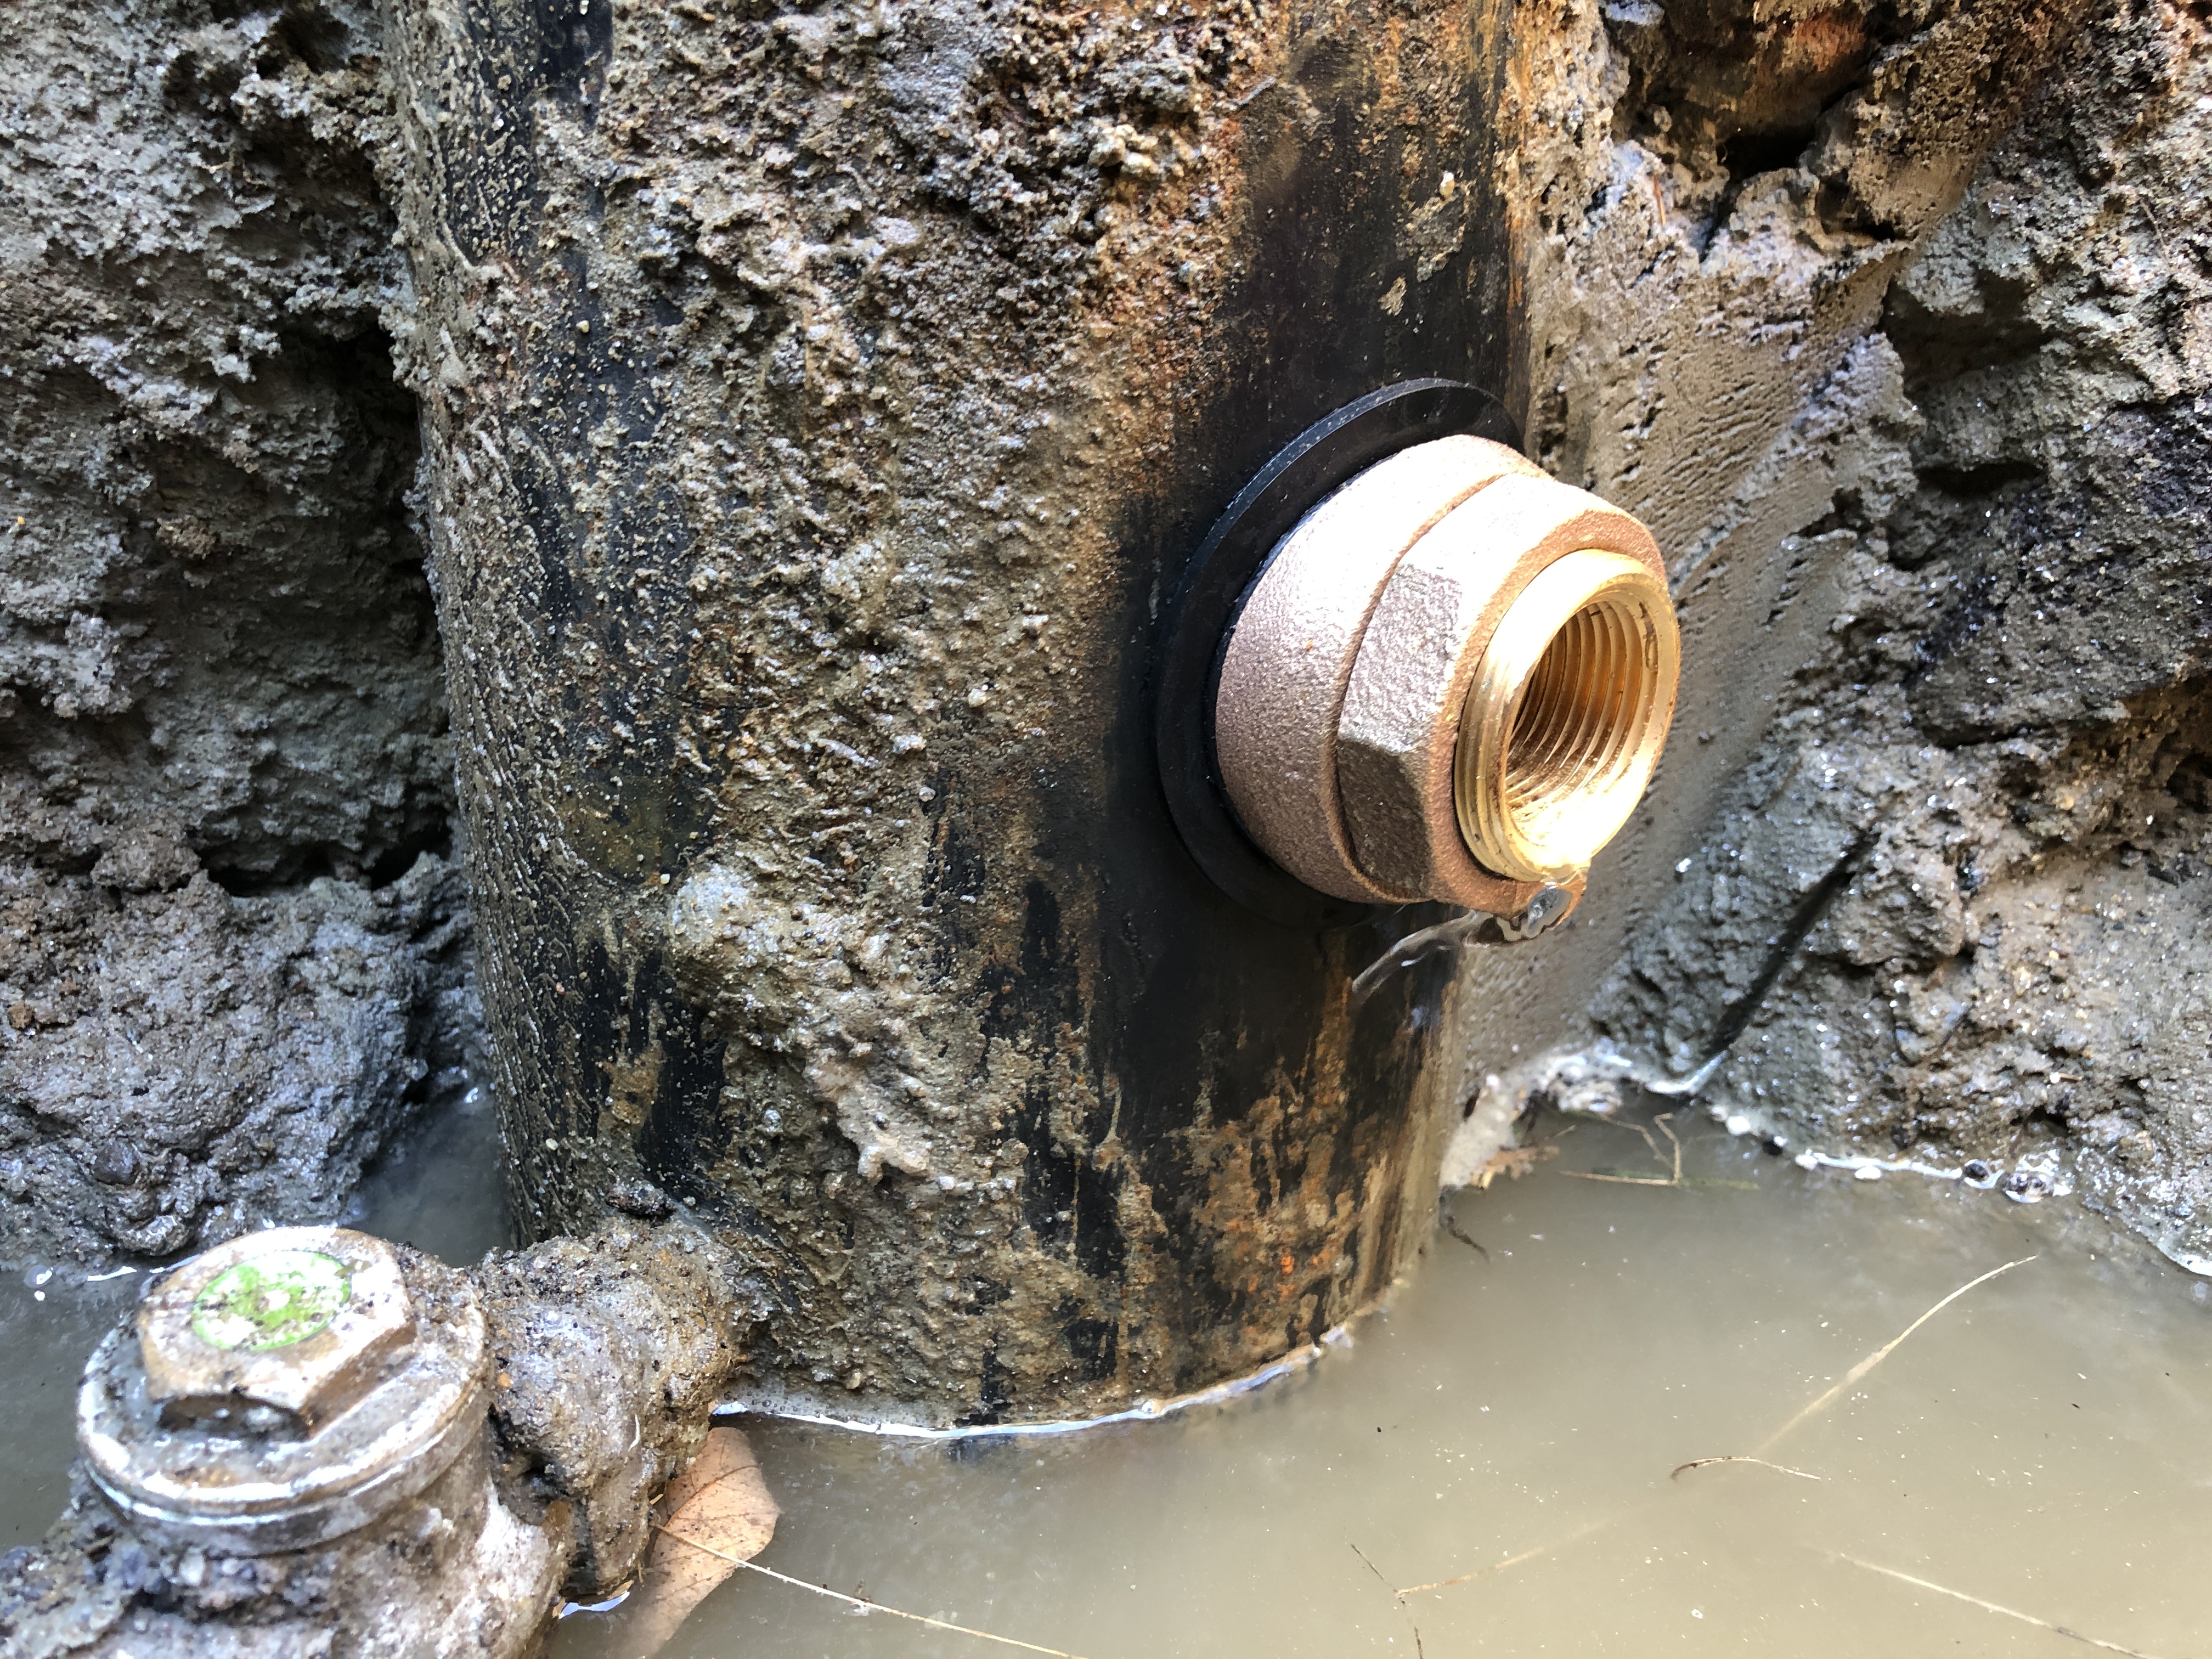
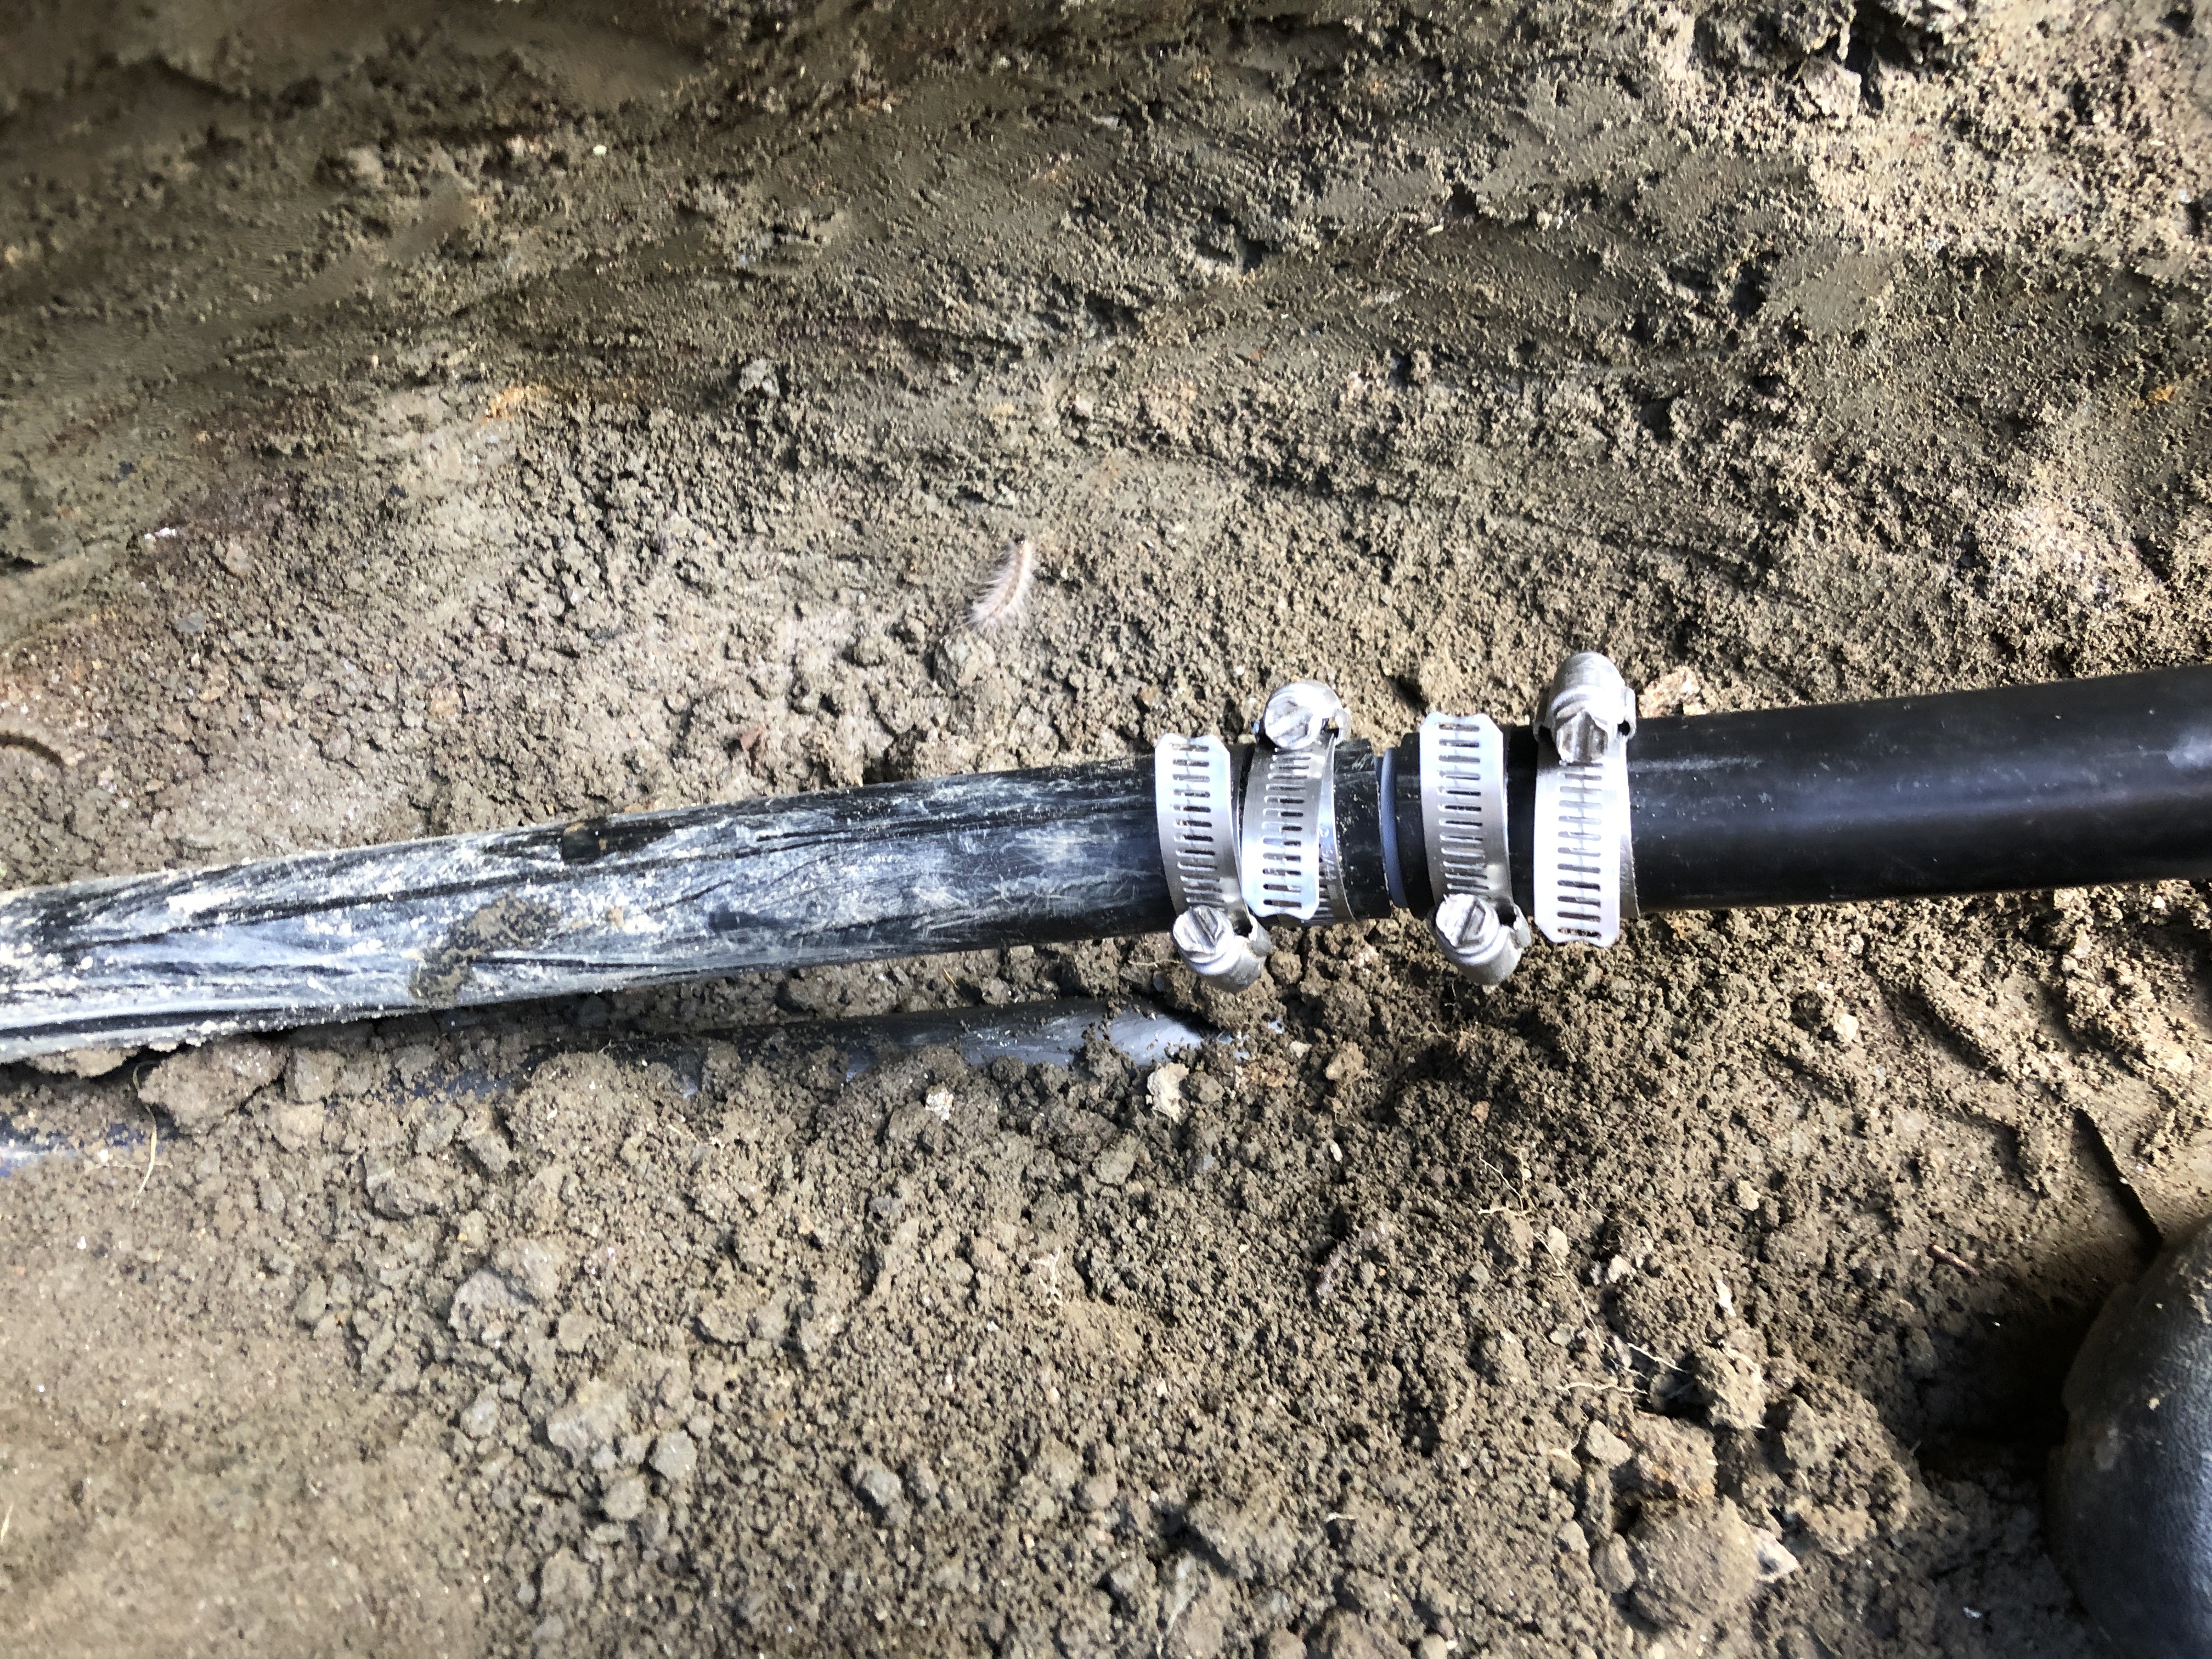
Which means we can unscrew and remove the pull pipe. Again note that I did this all in one operation because I could get away with it. In a lot of cases, with the pitless secured, it’s now time to separate it and retrieve the section to attach pipes & pumps to. Then you lower it back down in the well.
Getting ready to receive the pipe which goes all the way inside the house.
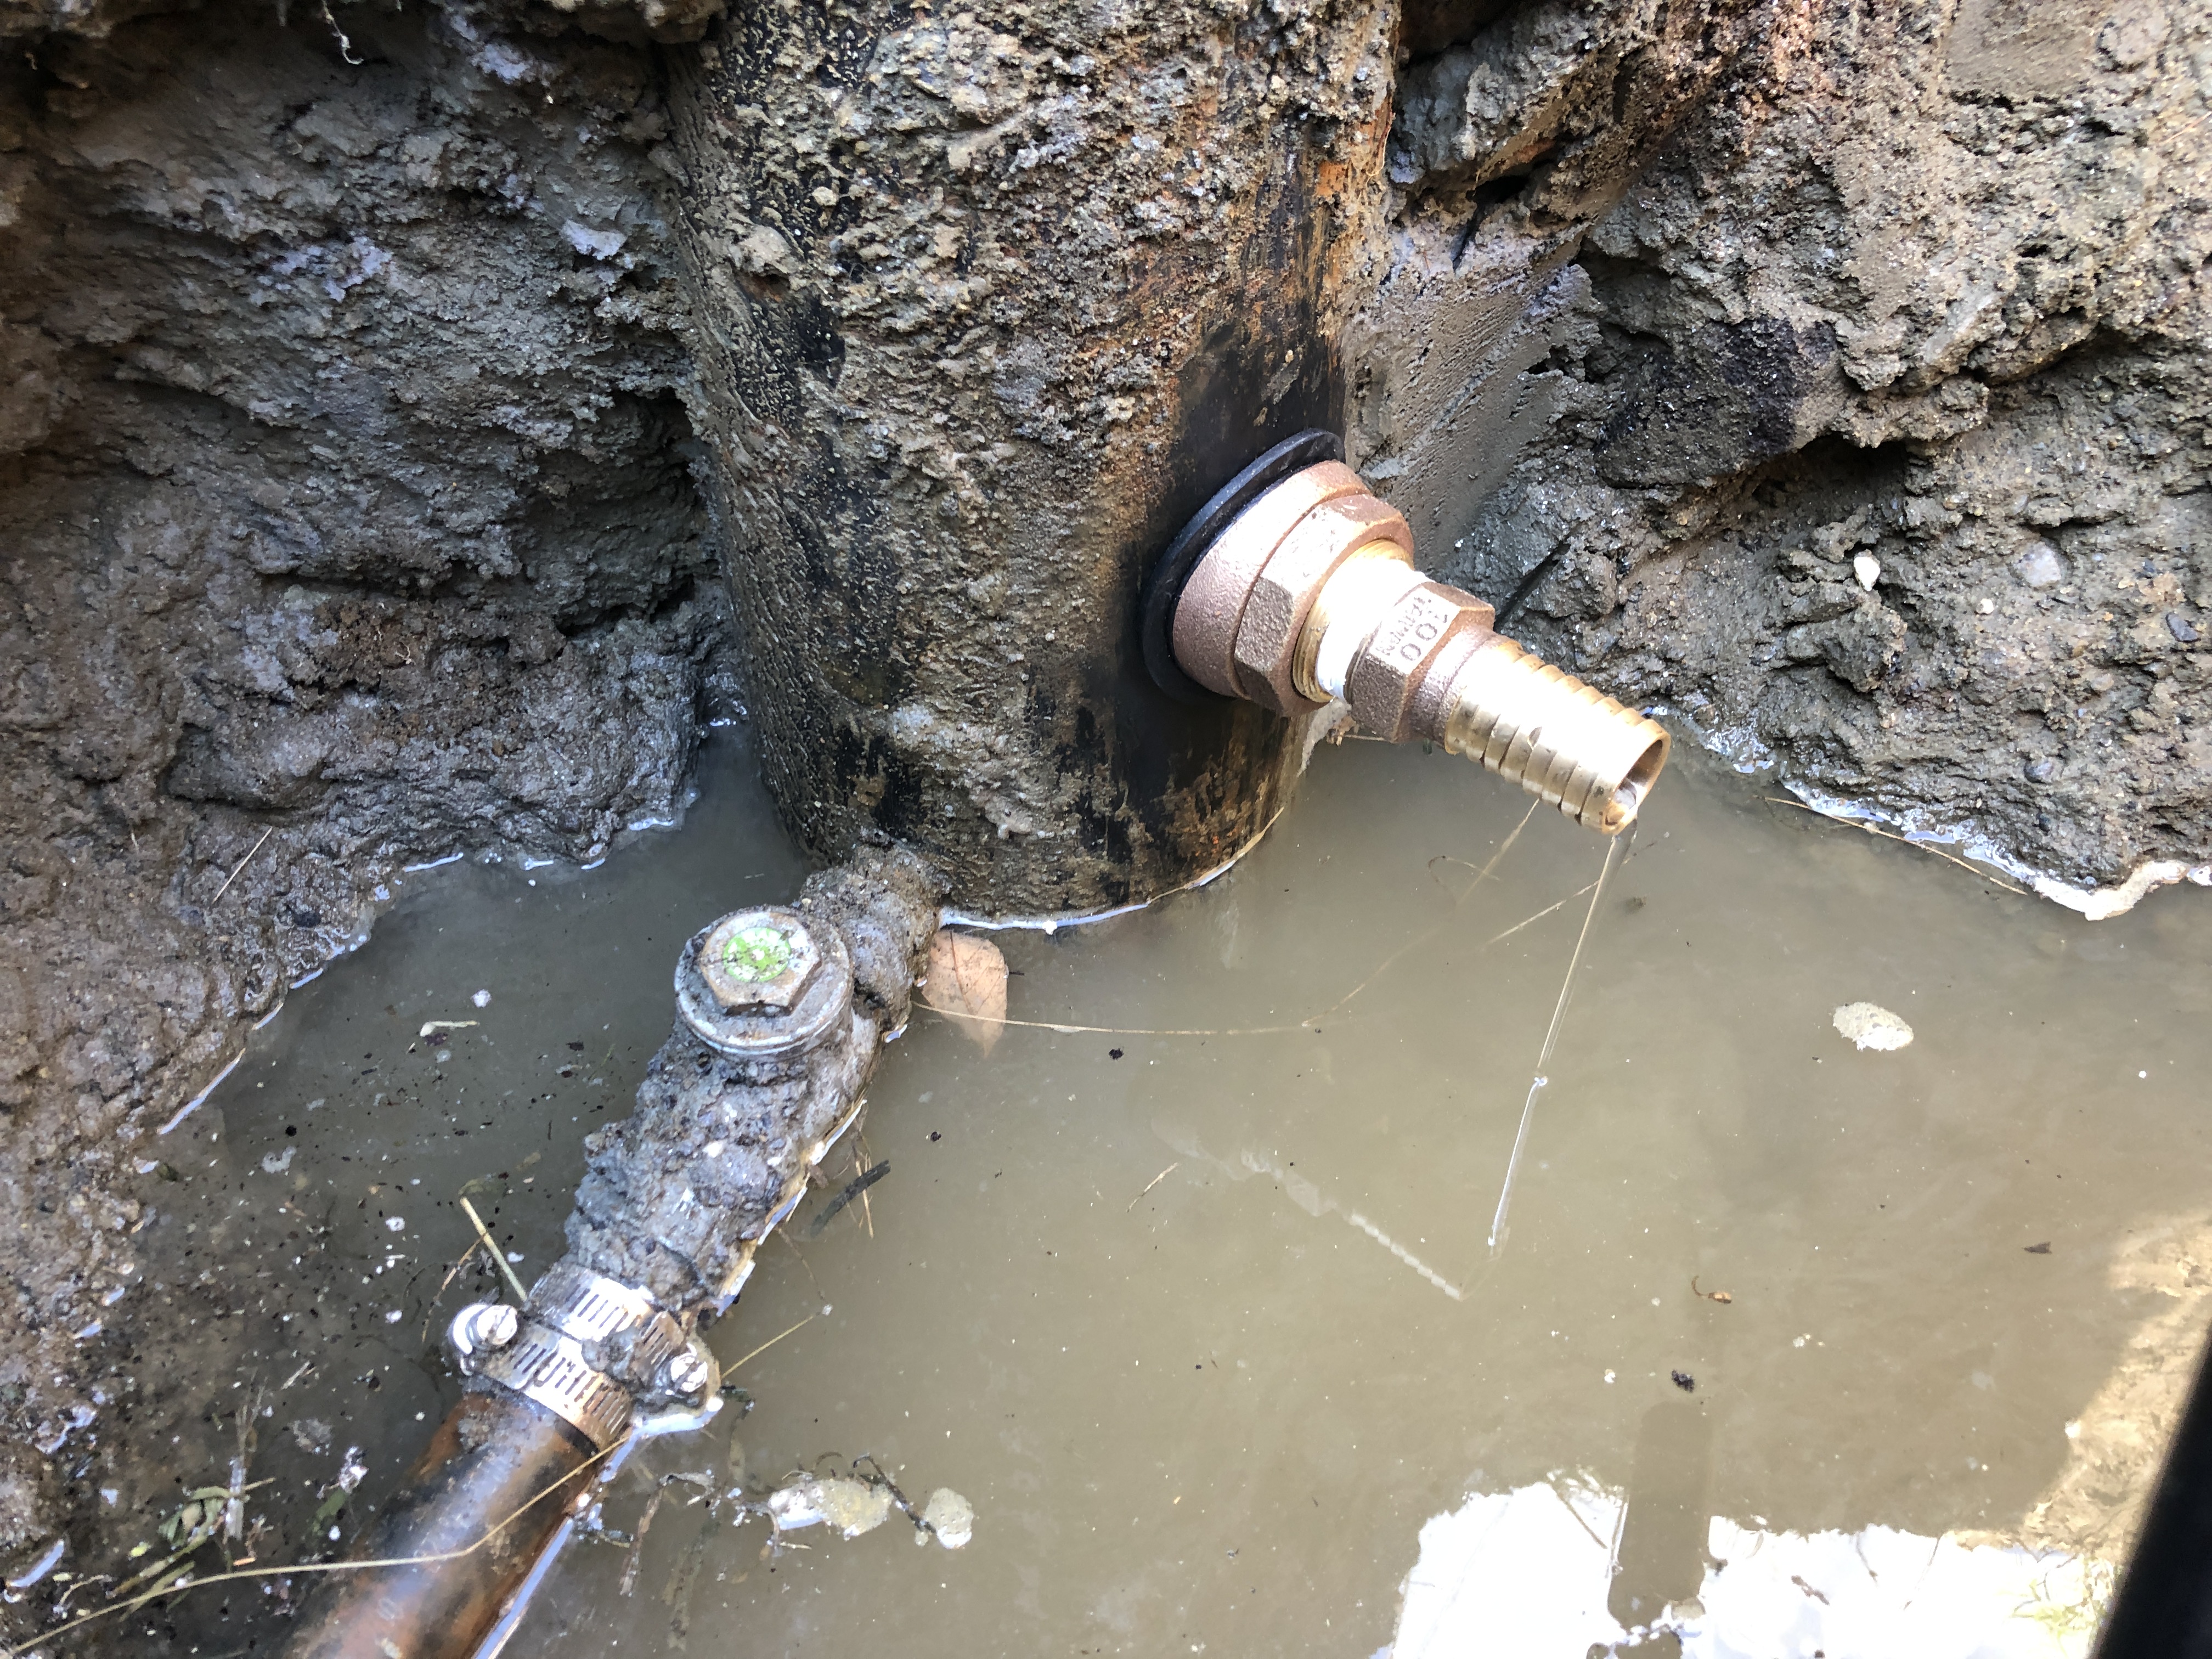
Hot water helps with tight fits.
Looks a little funny but it doesn’t matter, and yes I later clamped the coupler.
With all this done, I went back to the house and ran the pump one last time. I pumped 15 gallons at the press of a button. It’s exhilarating to think of our lives getting better, and relieving to feel the stress of months of apprehension vanish.
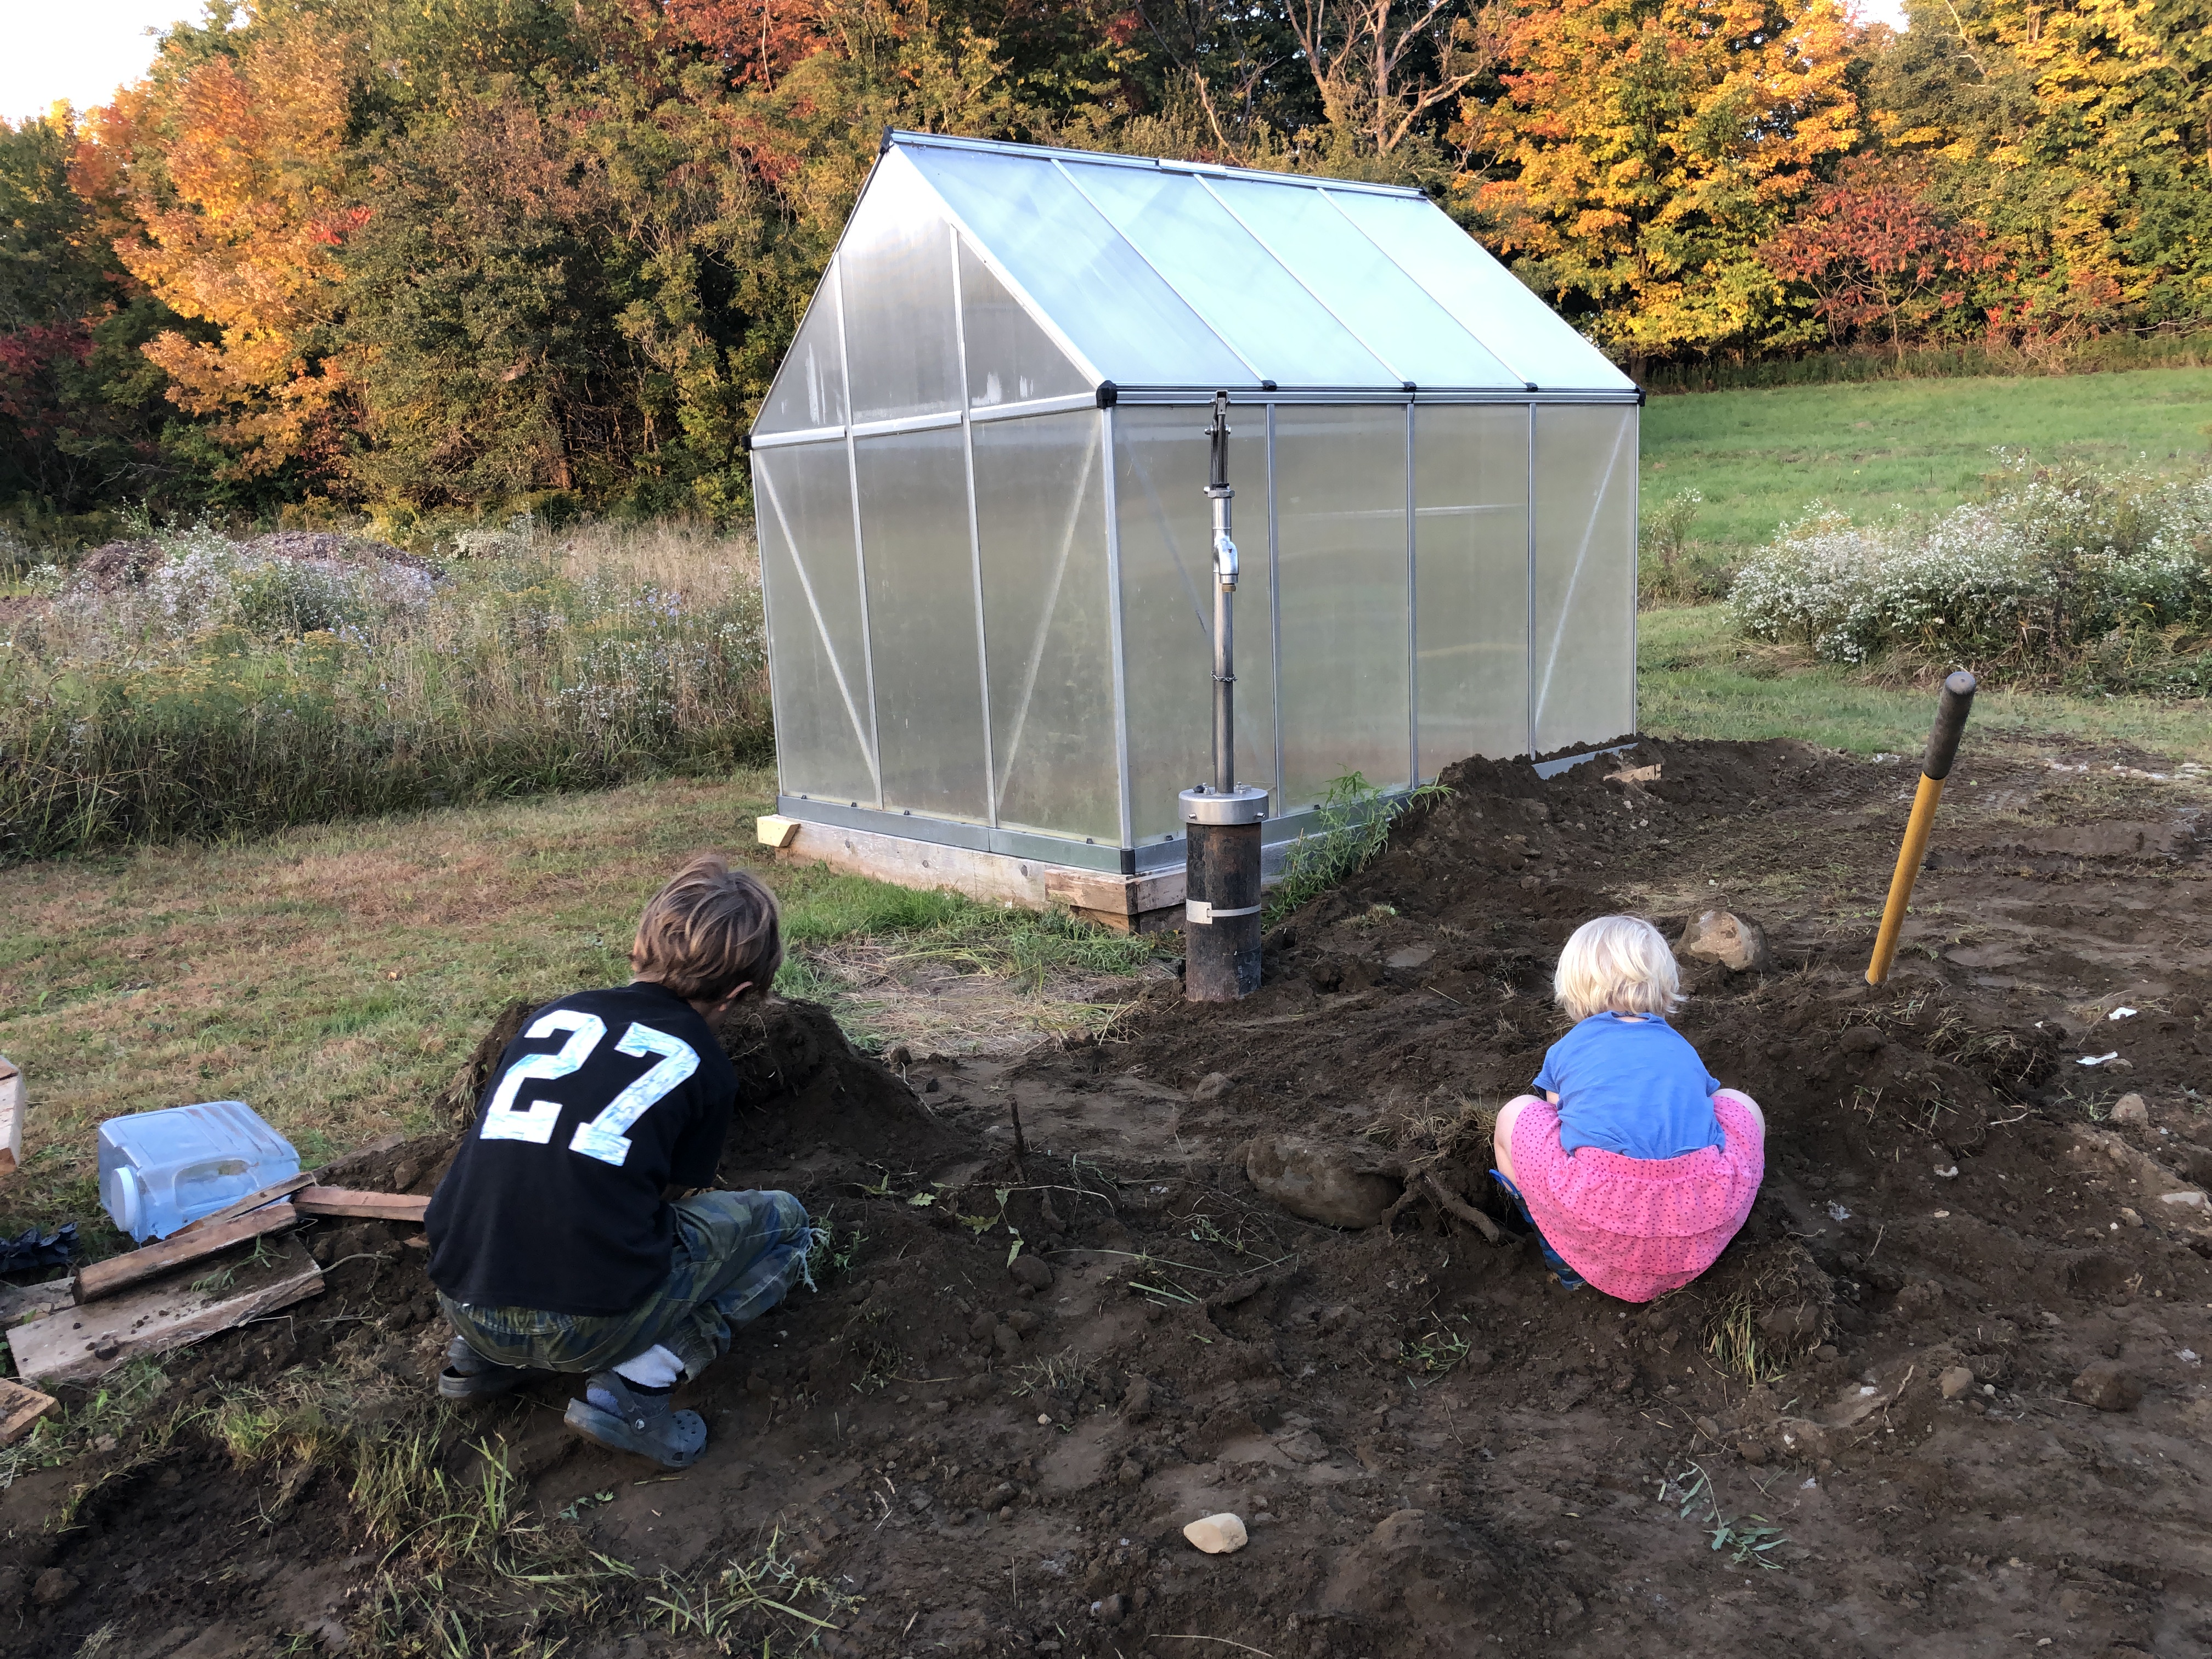
I filled the hole back up, and of course, the kids showed up to play in the dirt.
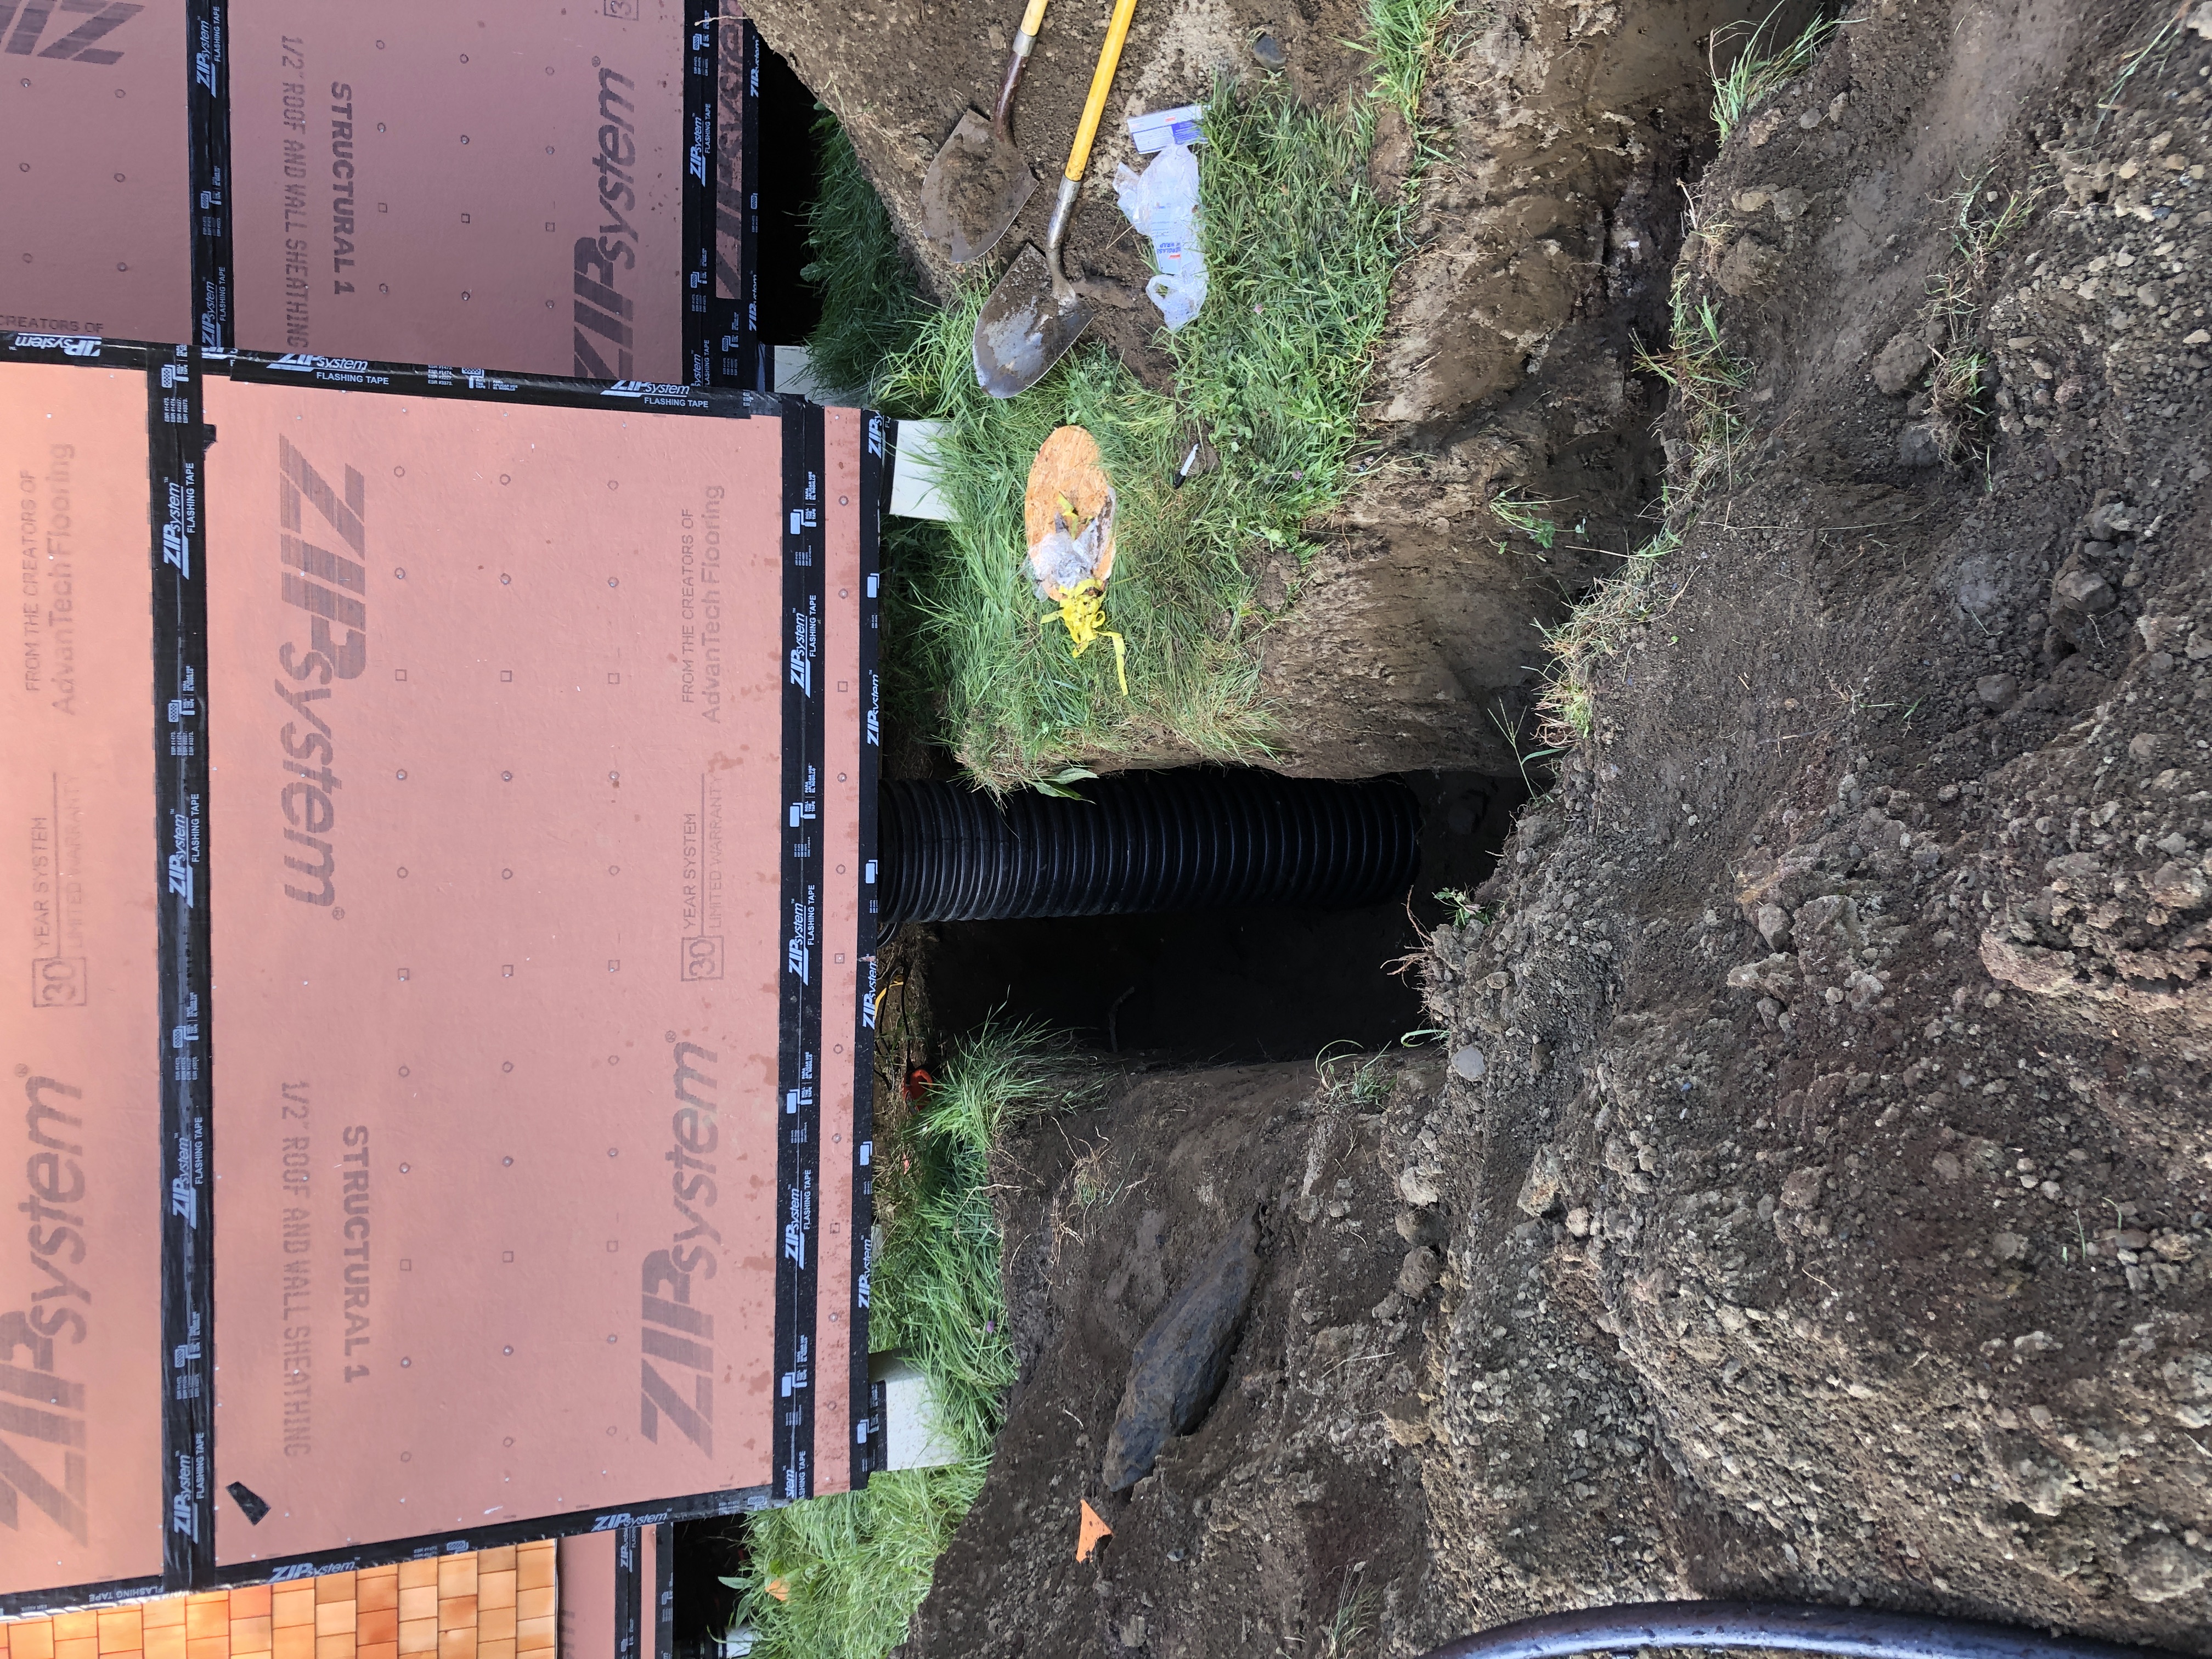
On to the second phase of the project, which actually happened before: bringing the pipe in the house.
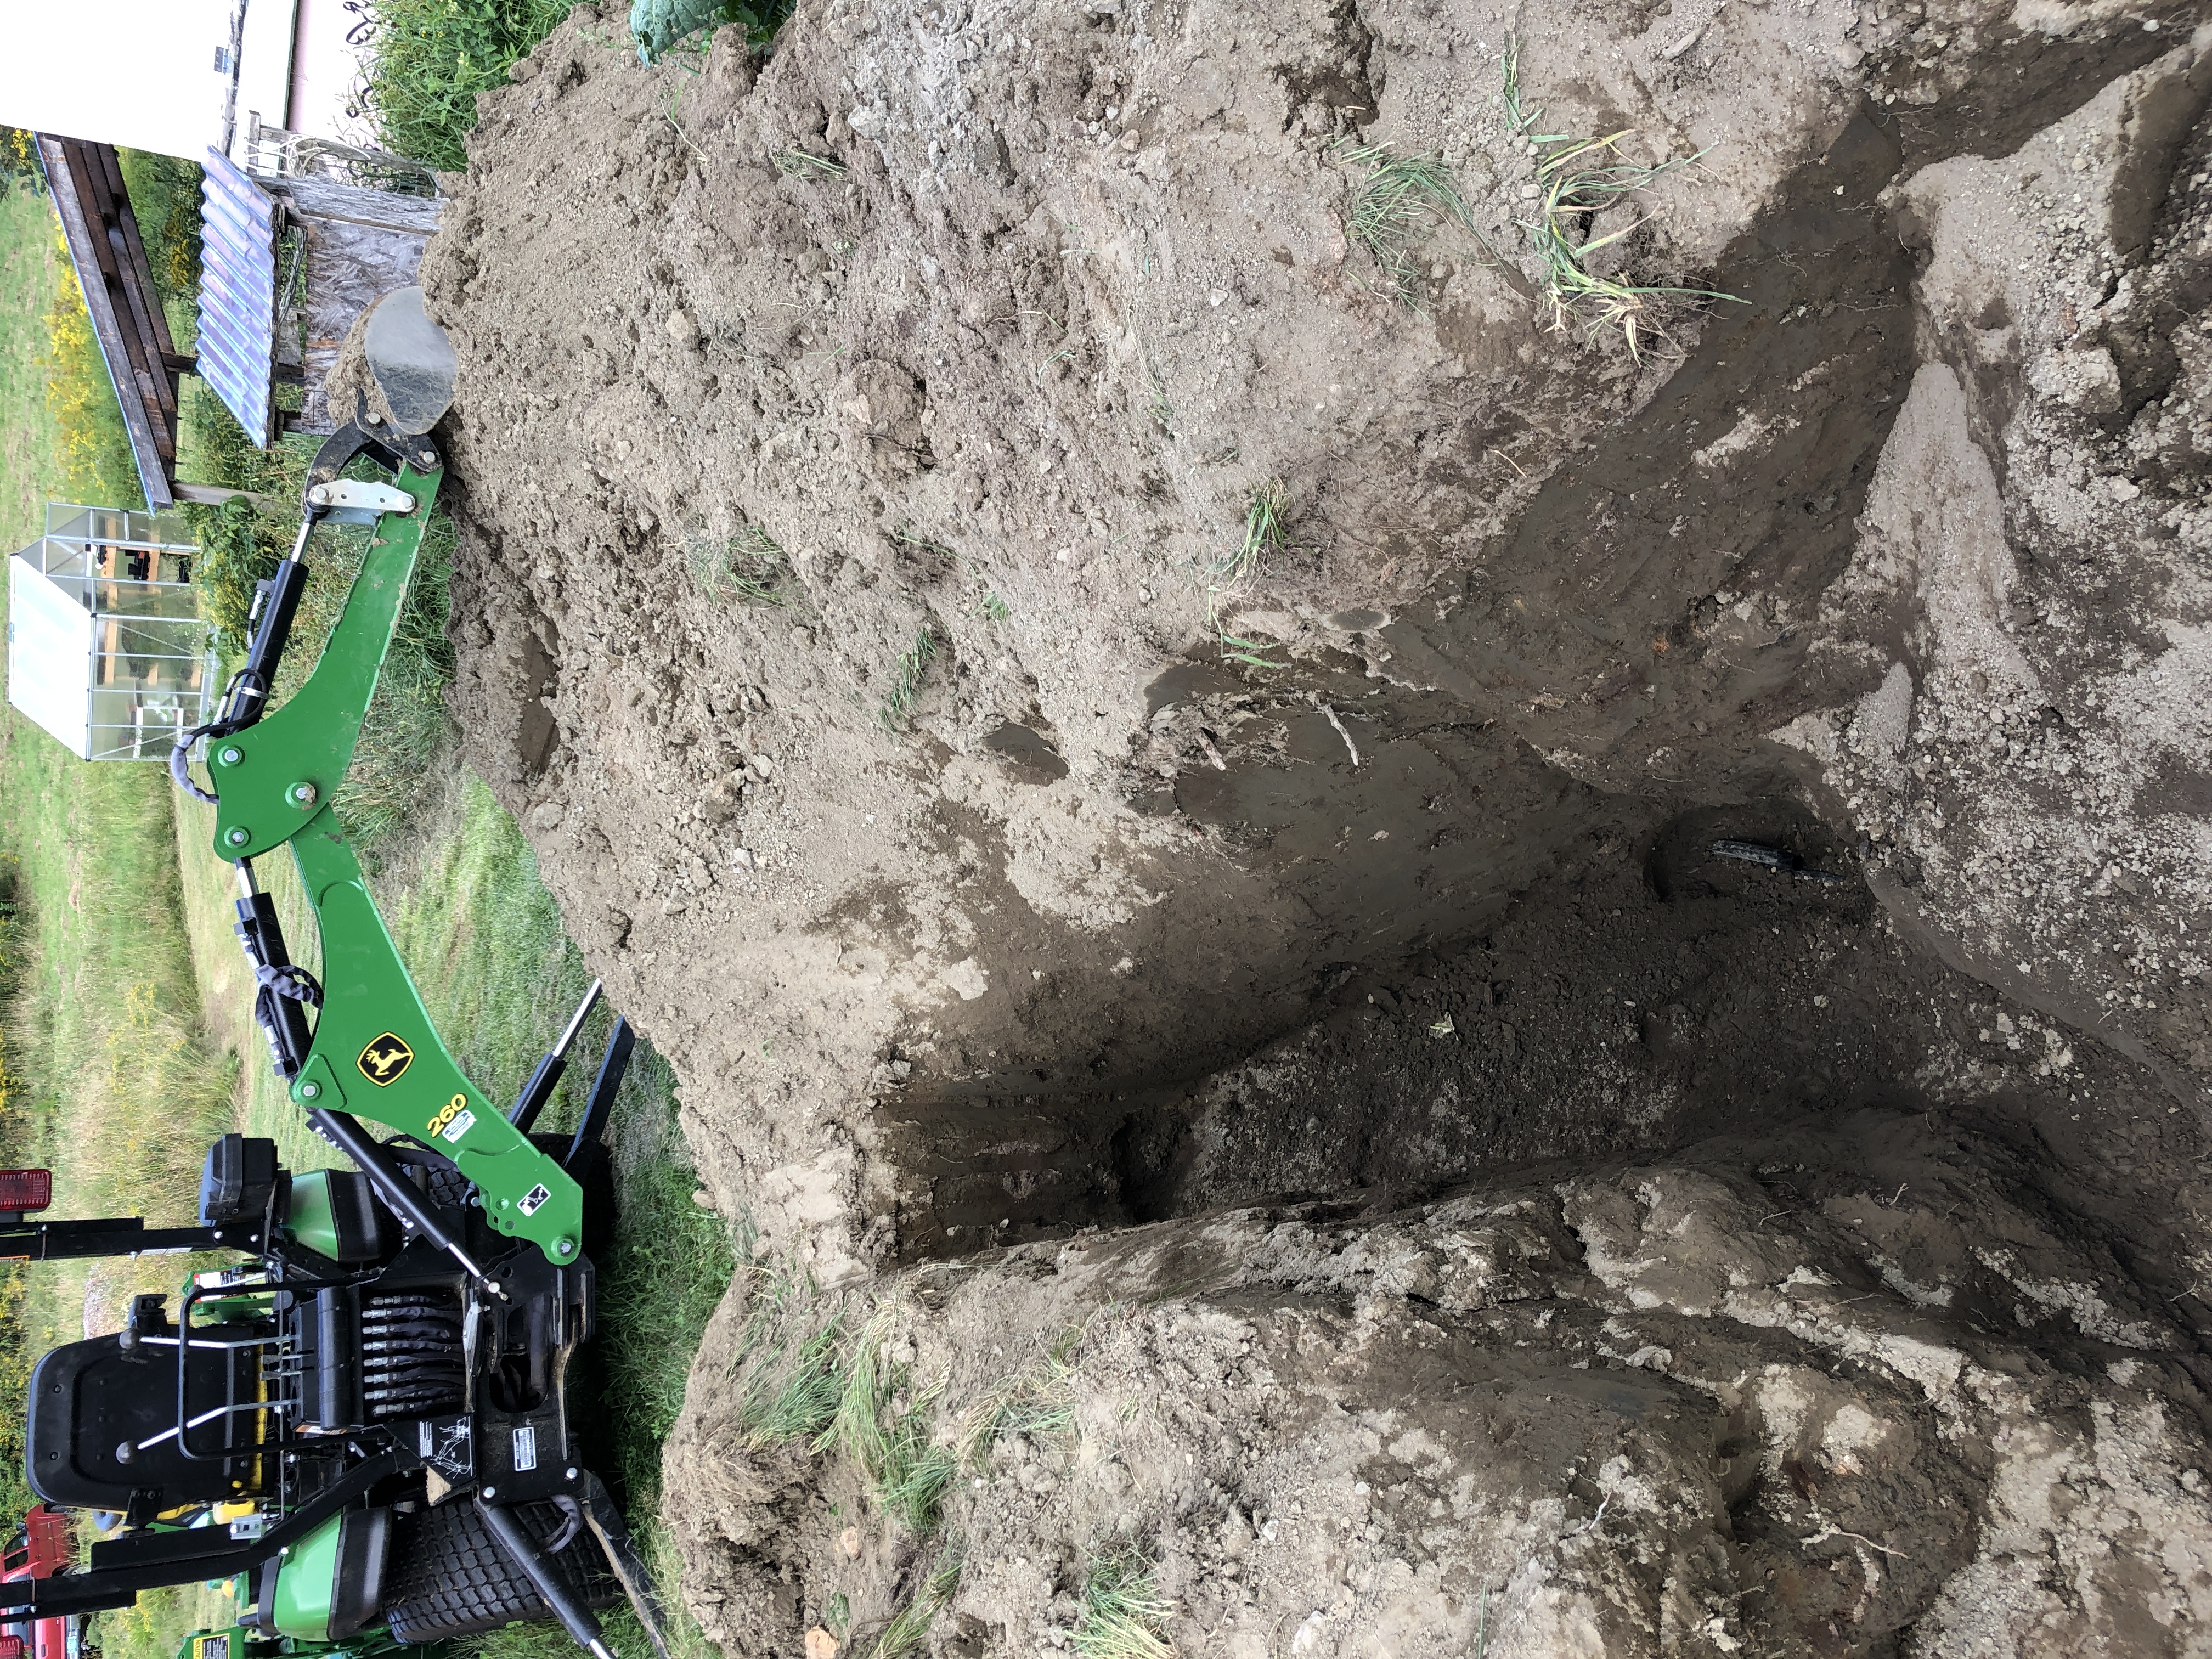
Years ago, when we ran the overflow disposal, I added another pipe in the trench, from the well to somewhere near the house. It was tricky to find it again, a vertical post in the ground helped a lot.
Connected to the pipe that’s been sitting in the ground, waiting patiently for 4 years.

I made another hole in the house and ran the pipe through it.
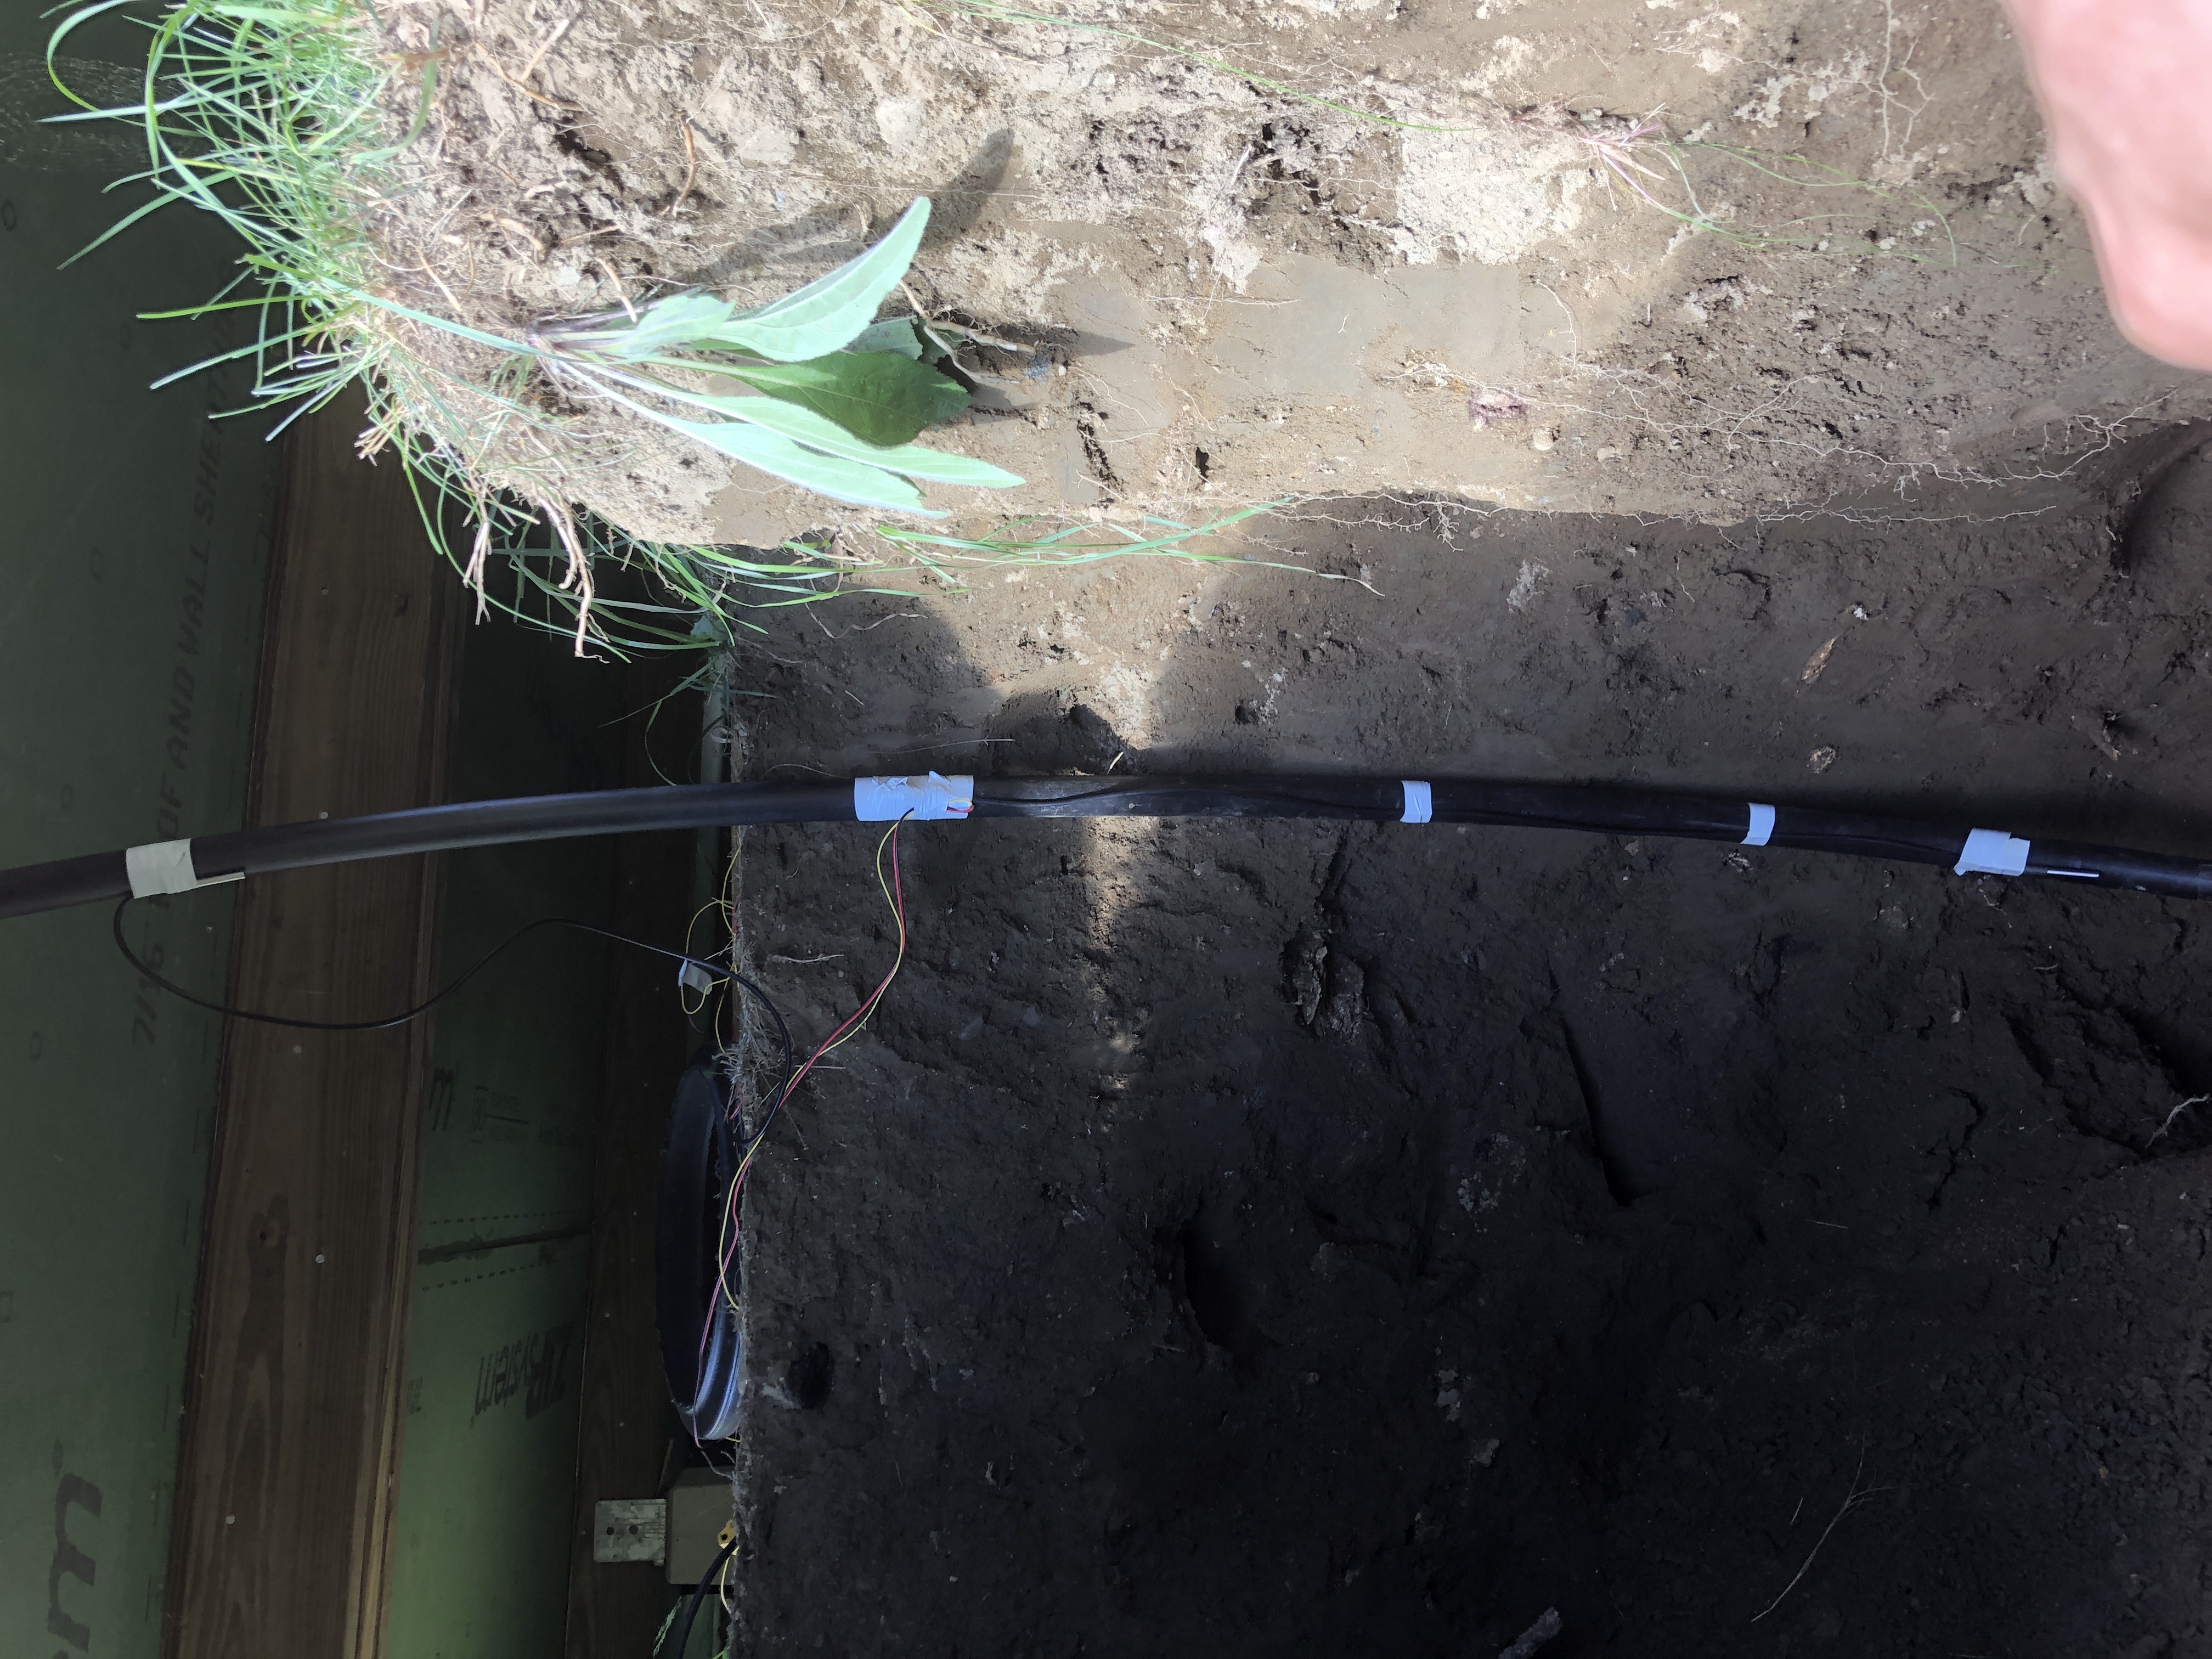
I attached 3 temperature probes on the pipe at different levels to have the ability to keep an eye on potential freezing. If I learn that we don’t get anywhere near freezing on the super cold stretches, I won’t ever have to worry about it. Otherwise, I’ll be able to flush the water back into the well, maybe even automatically so.
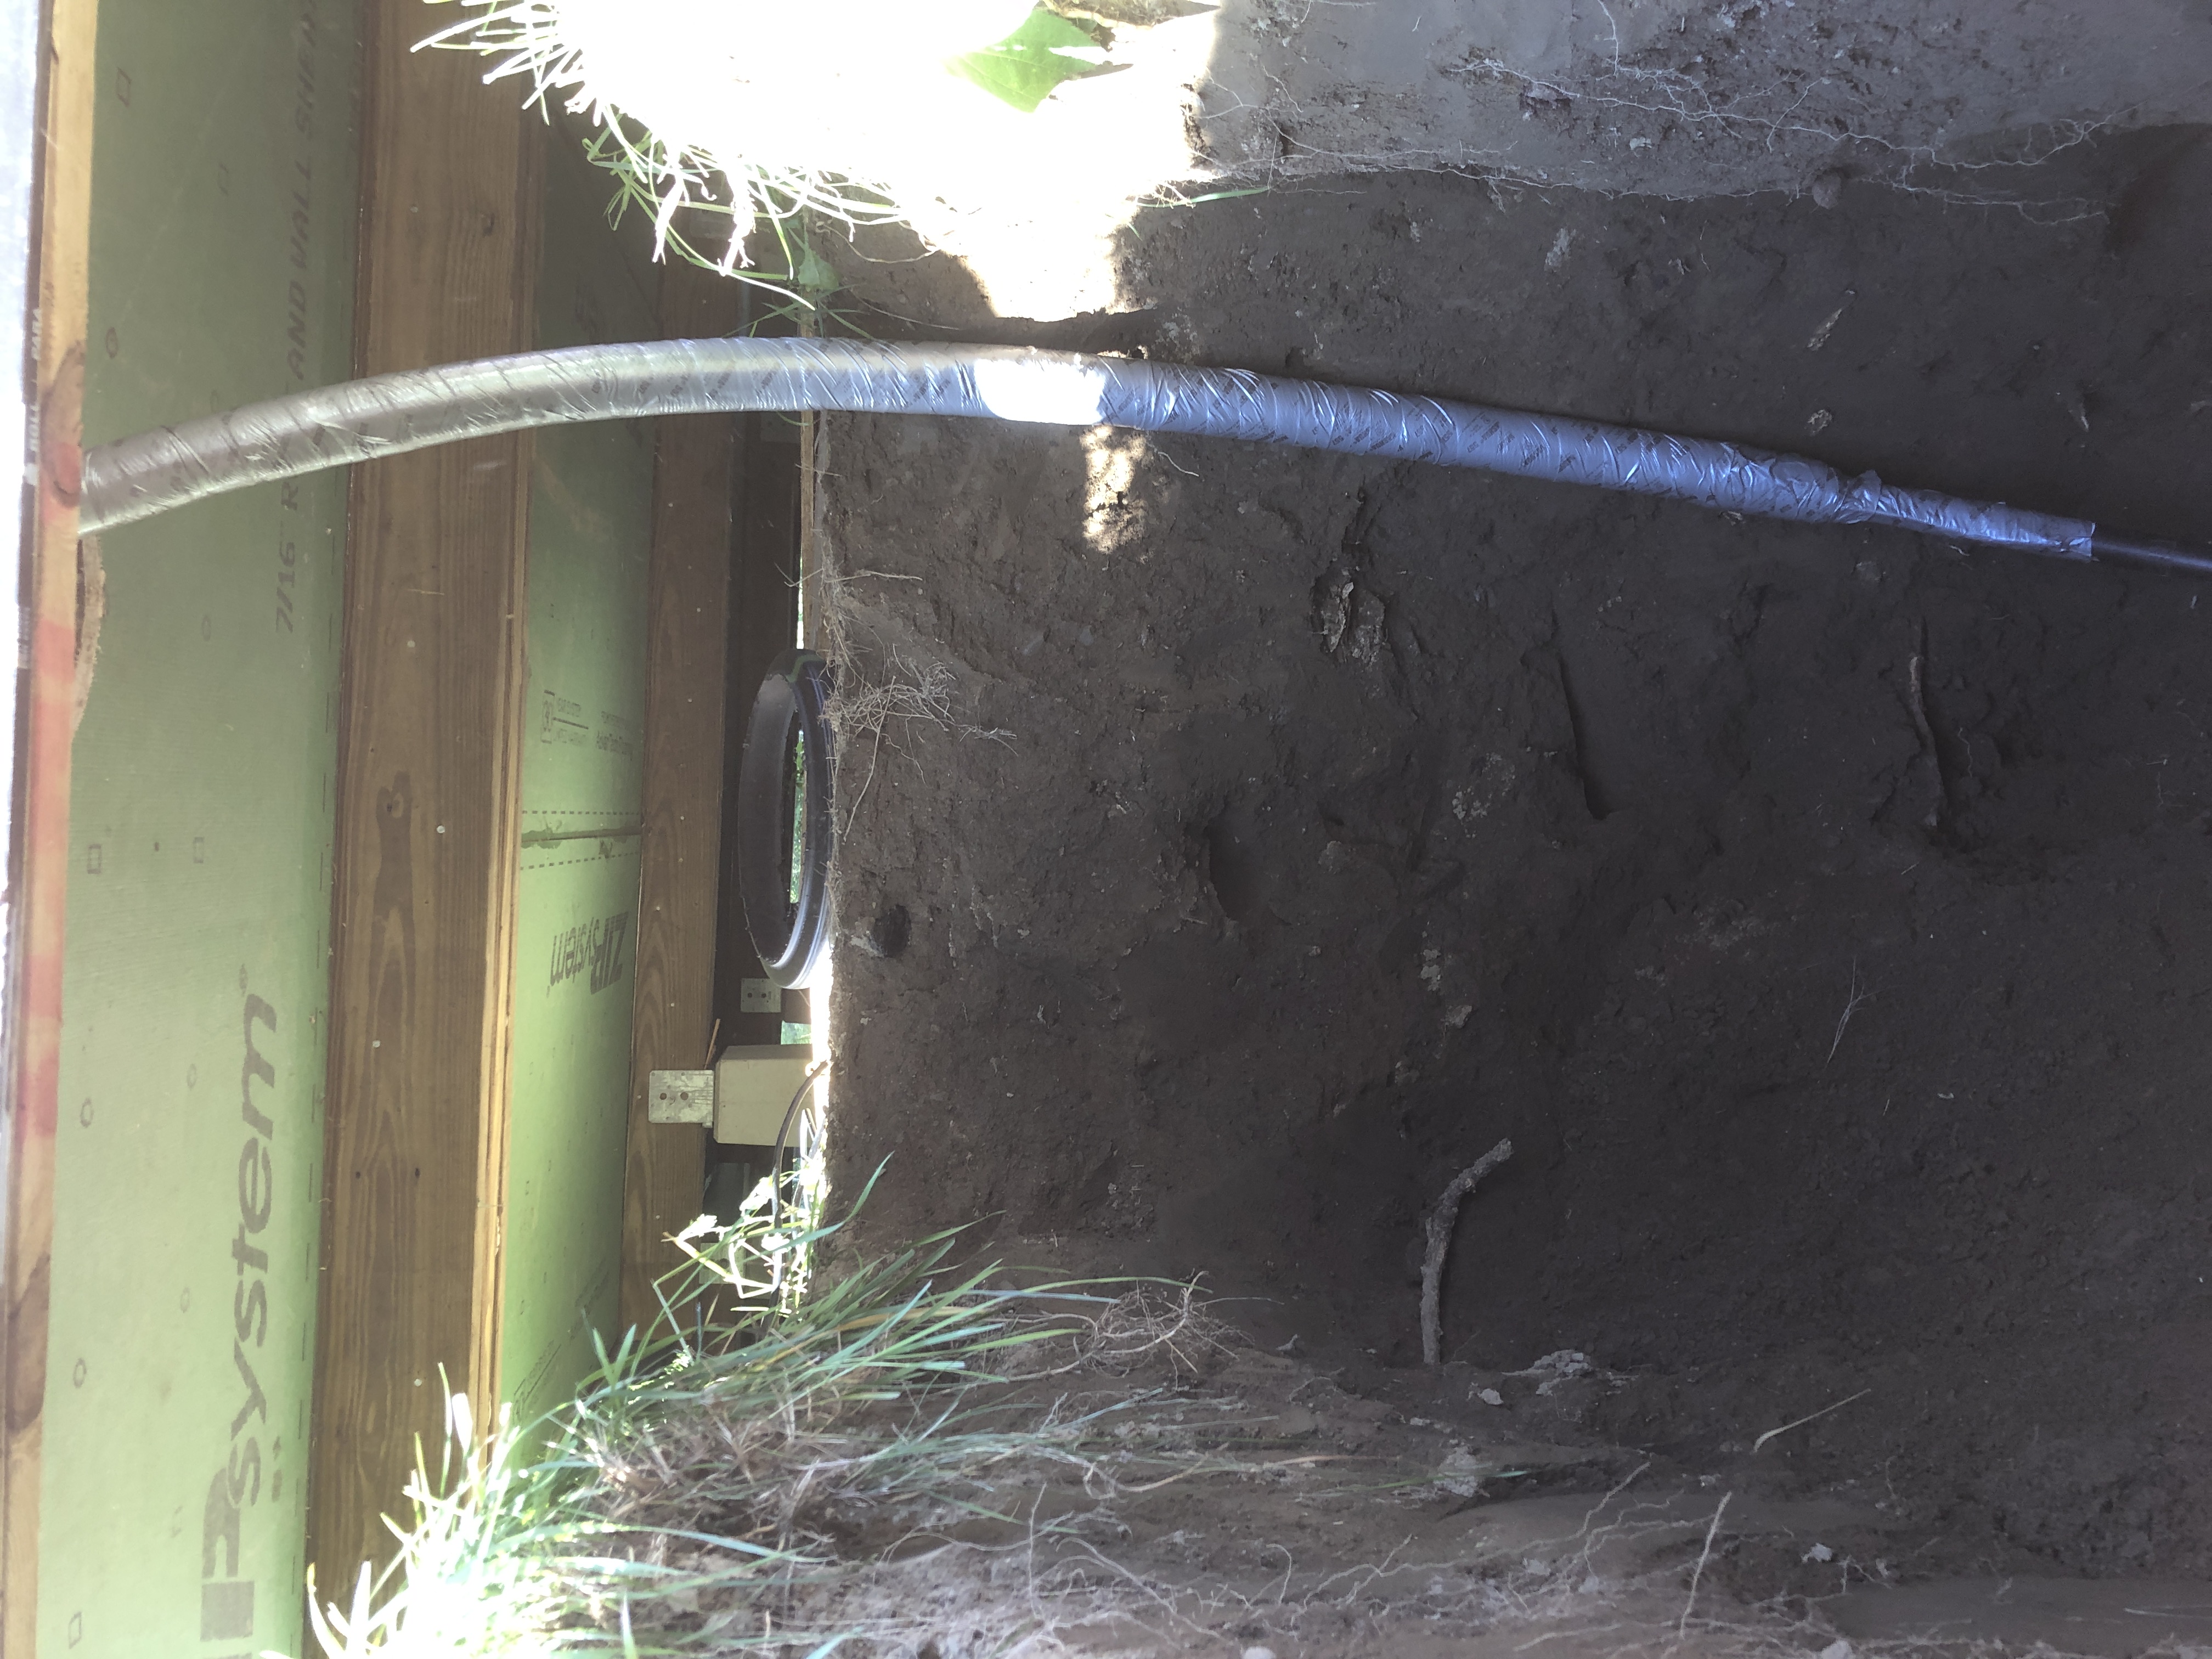
Then it’s one layer of insulation & vapor barrier after the next.
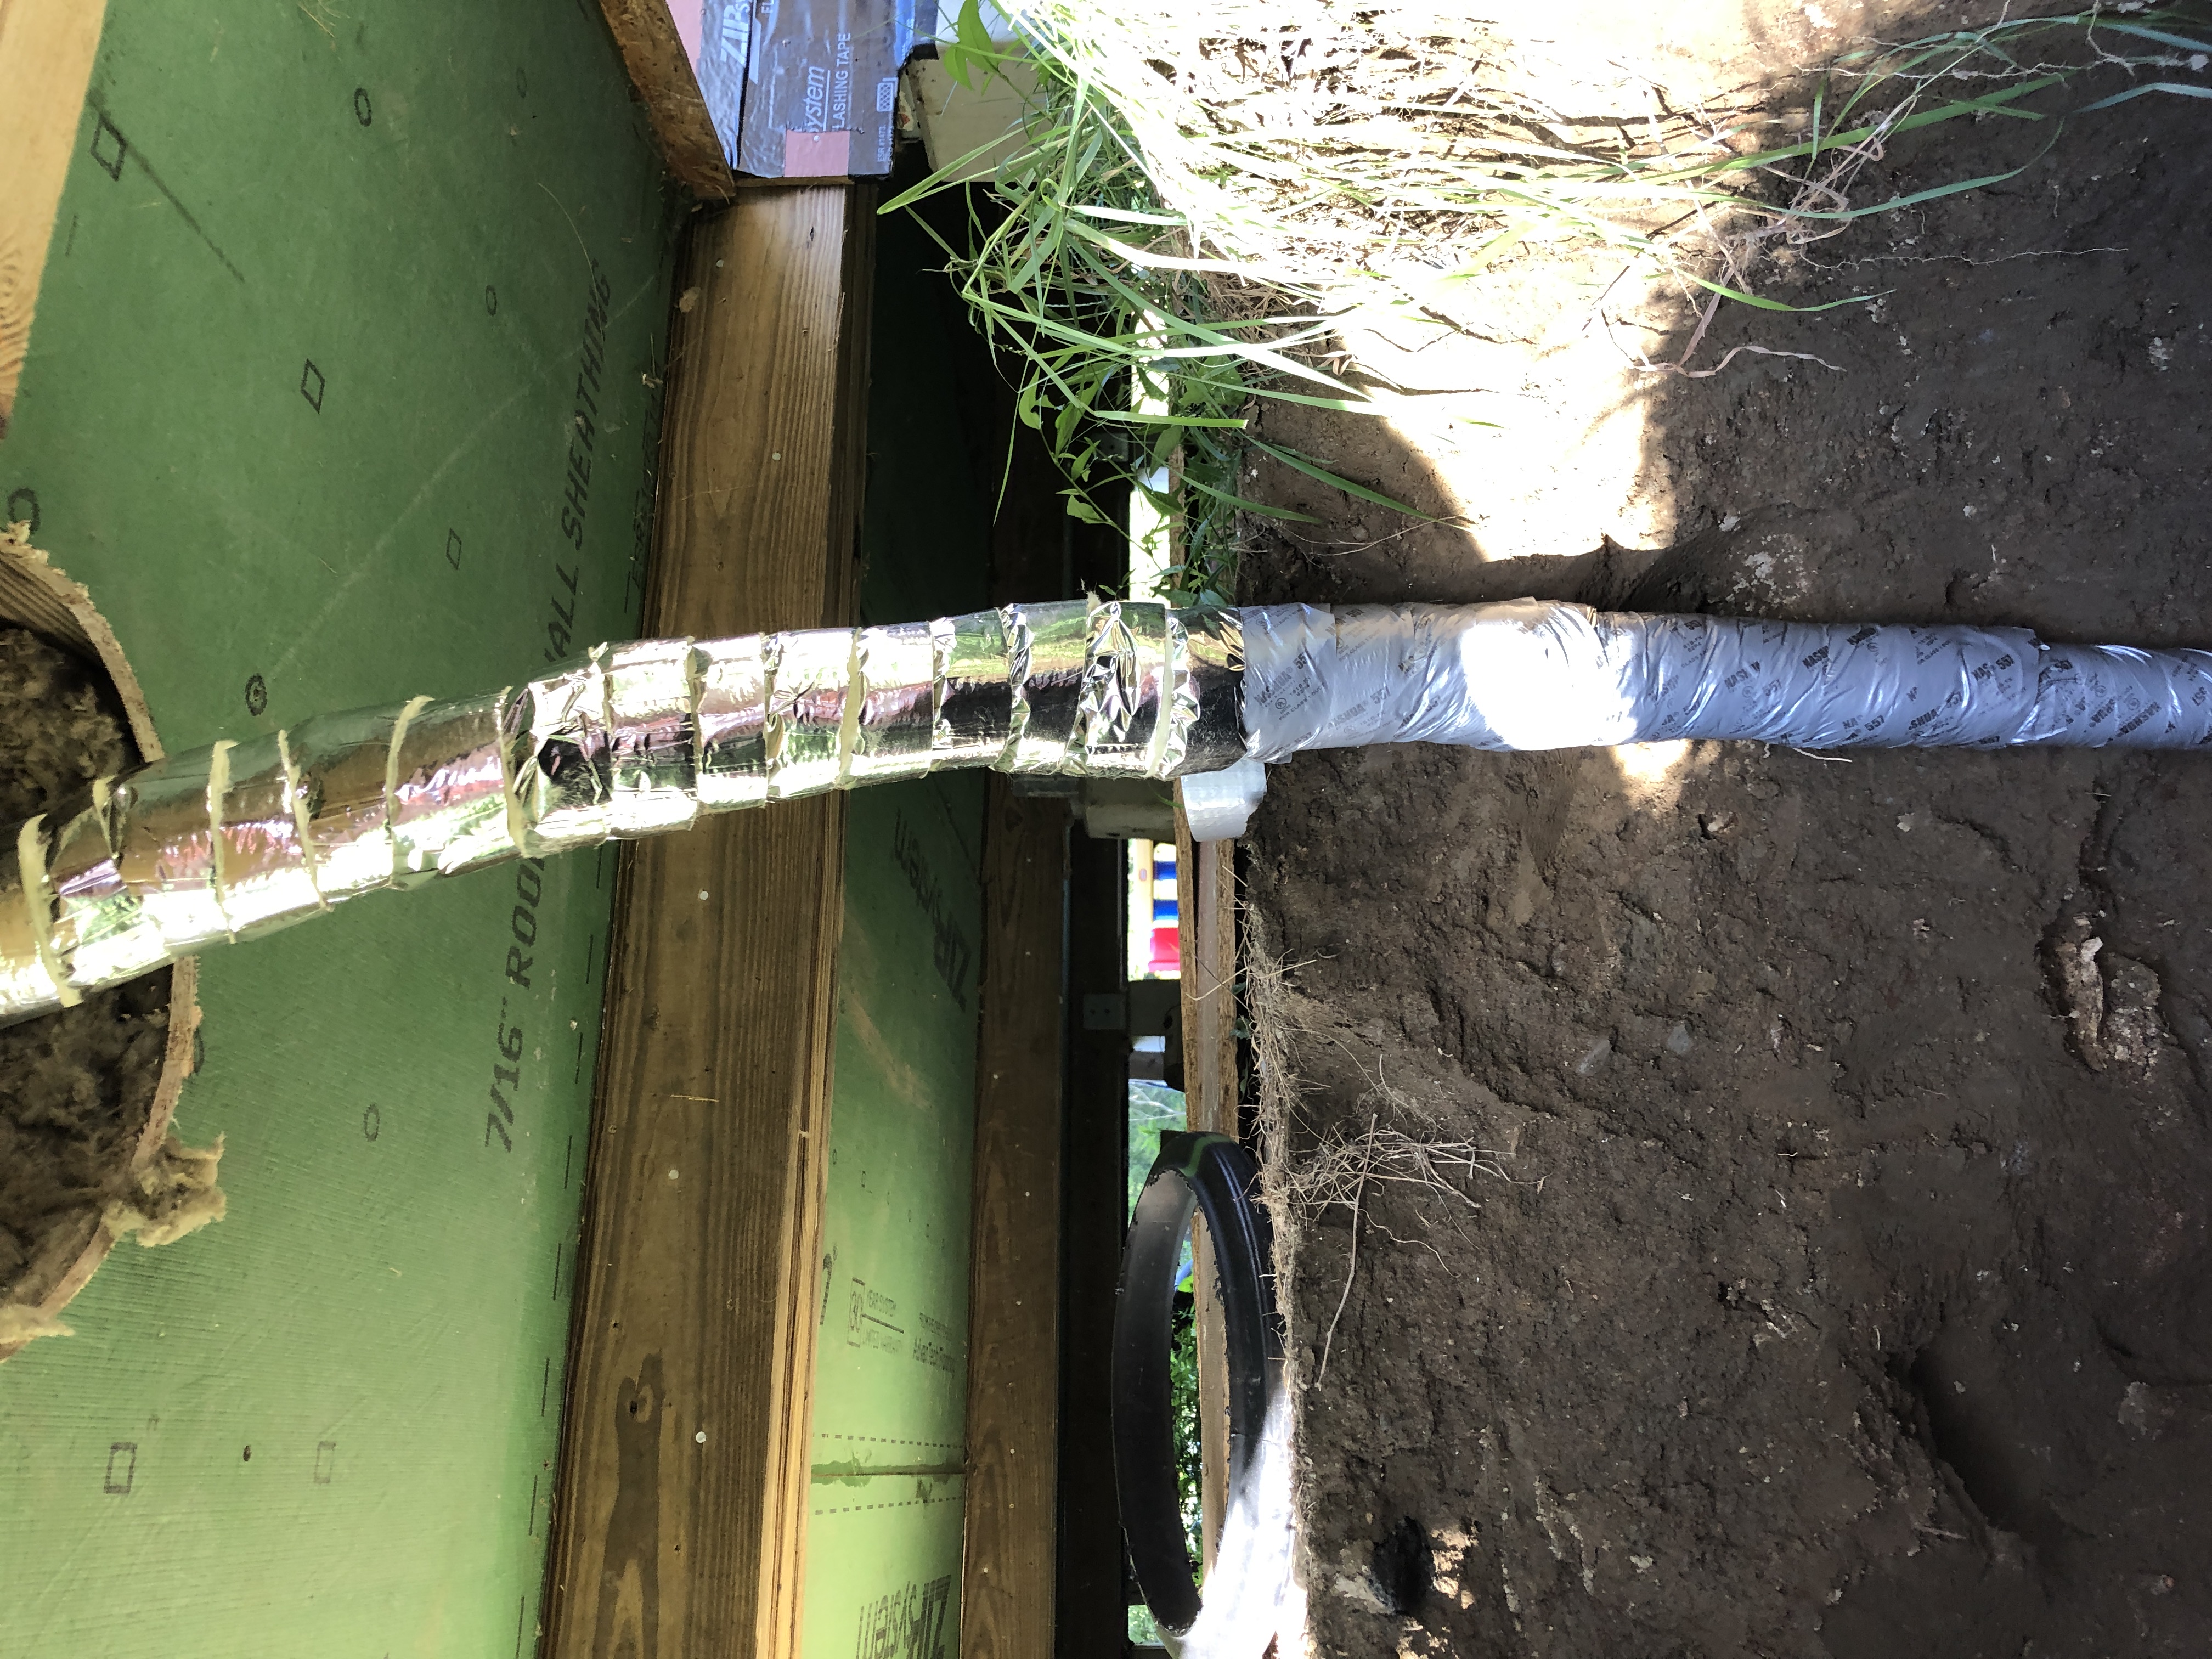
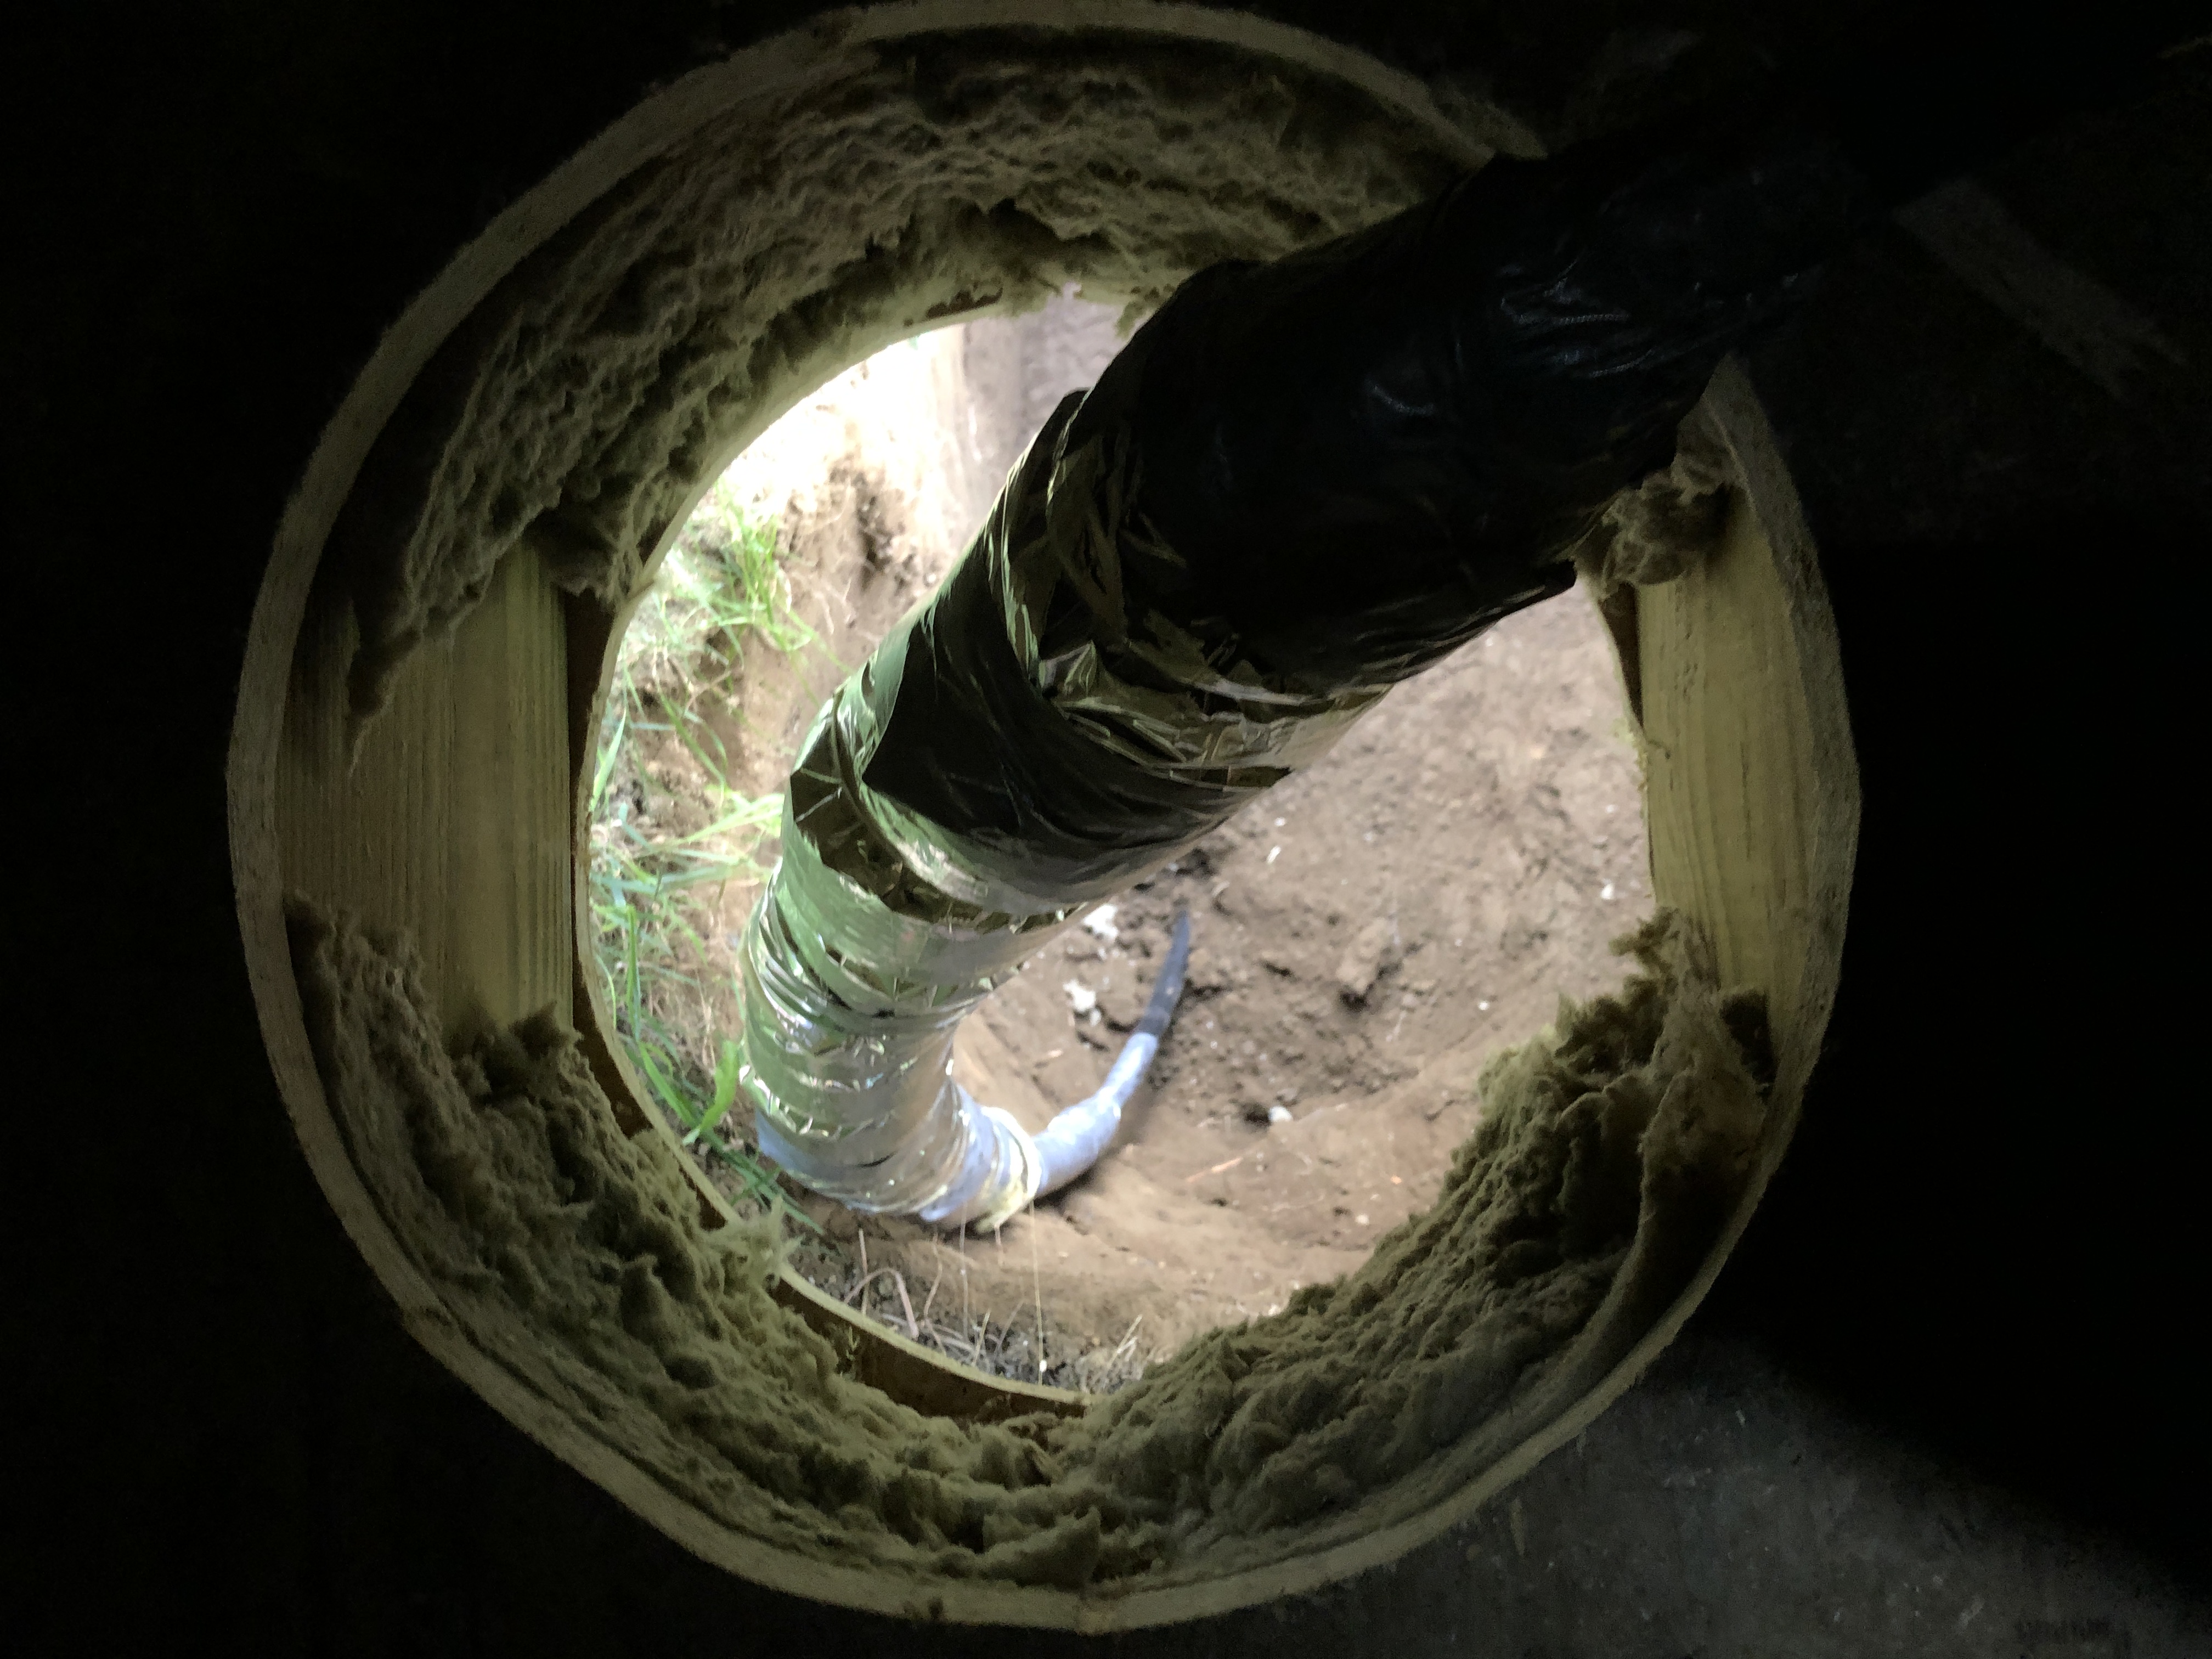
Finally, I used a culvert going 5′ in the ground to not only insulate but provide a rigid conduit inside the house. I’ll be able to further insulate it if needs be, there is plenty of space left in it.
That’s all. We are now ready to bring water to various places in the house. It’ll be cake compared to this.