As you know by now if you have been following my Instagram or this blog for a while, that I don’t know much about our electricity setup. We each have our strengths and hobbies, electricity was never one for me.
My husband wrote a blog post about our latest progress, here it is (you can also follow his blog at ben.akrin.com, where he has an entire section on electricity):
Our demand for electricity surpasses our ability to produce it often these days. Between the fridge, working from home, kids growing up, and soon a water pump, we’ve expanded drastically but our solar setup has not. With winter looming, it was time for an upgrade.
We can pick 2 strategies for an upgrade:
- Beef up storage by buying batteries that can carry us through more cloudy days.
- Beef up our panels to milk more amps out of cloudy days.
The former doesn’t make sense for us right now, battery lifetimes wouldn’t be in sync, and they freeze on the really cold days which is not advisable for their long-term performance. Batteries are very expensive and we know that whatever we get will take a beating. In a few years, when we have a root cellar, we’ll also have an ideal place for batteries which won’t be subject to drastic temperature swings, then it will make sense to upgrade those. In the meantime, the only strategy left to milk the cloudy days for more by buying more panels.
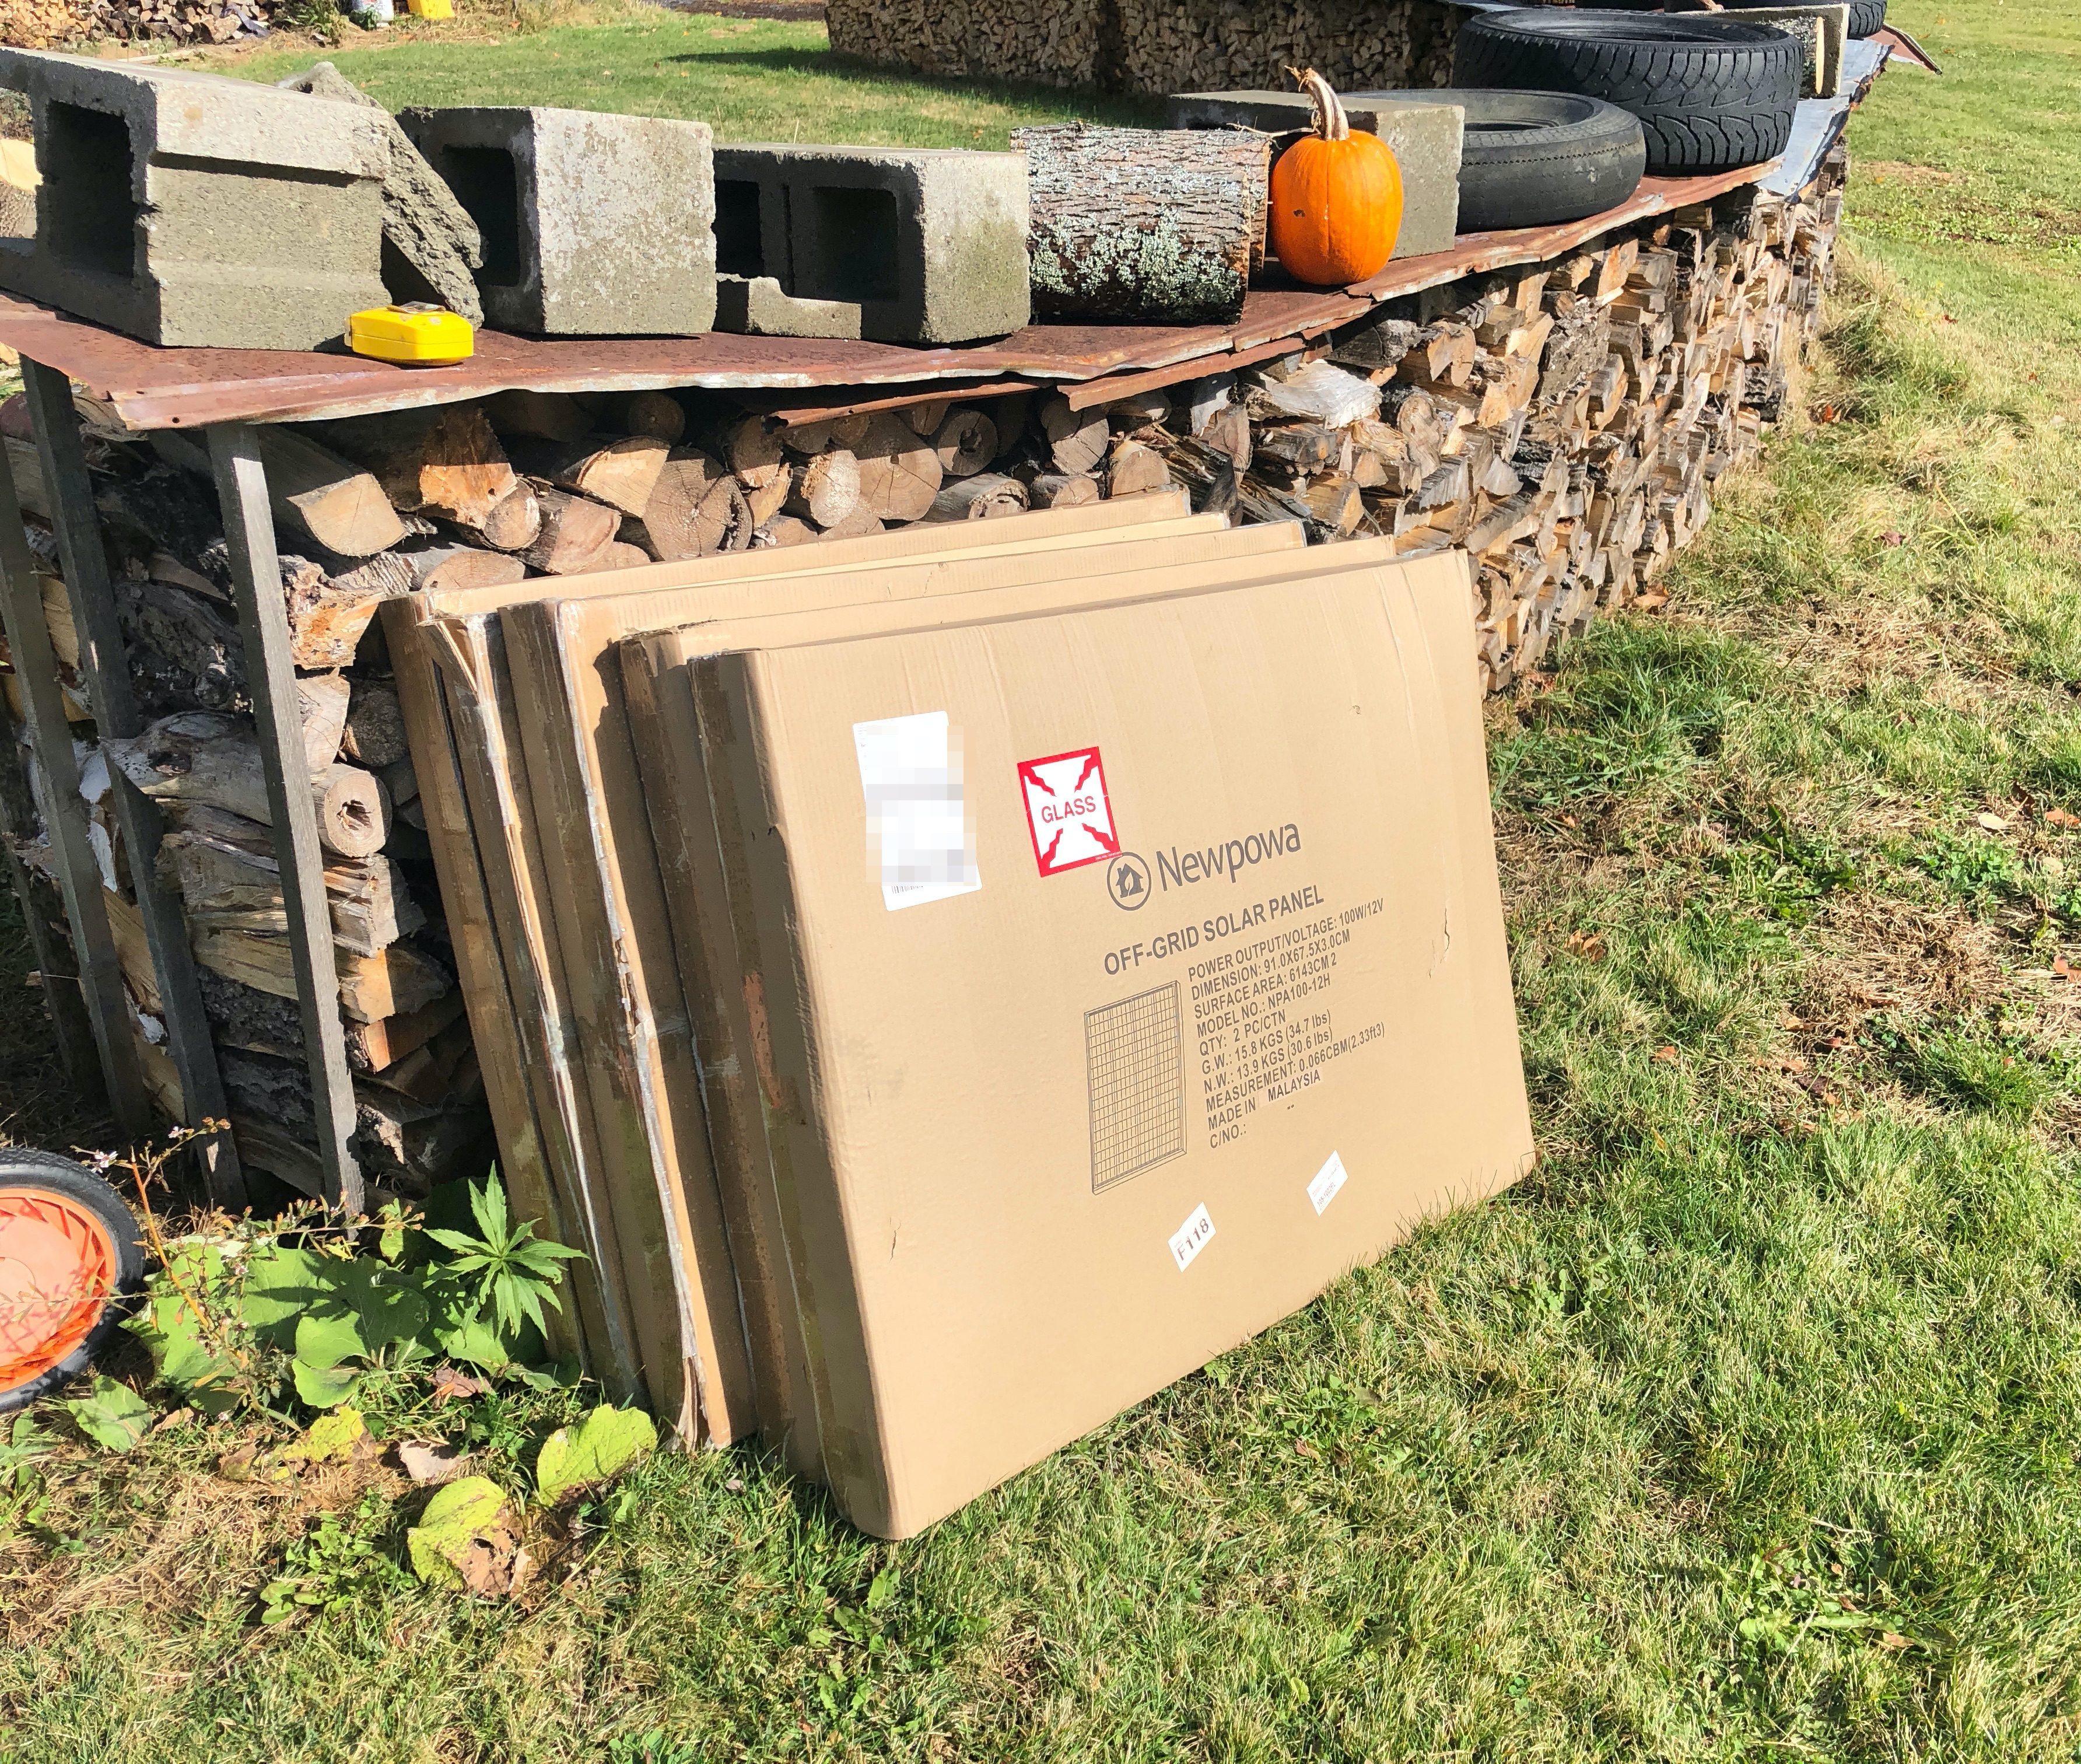
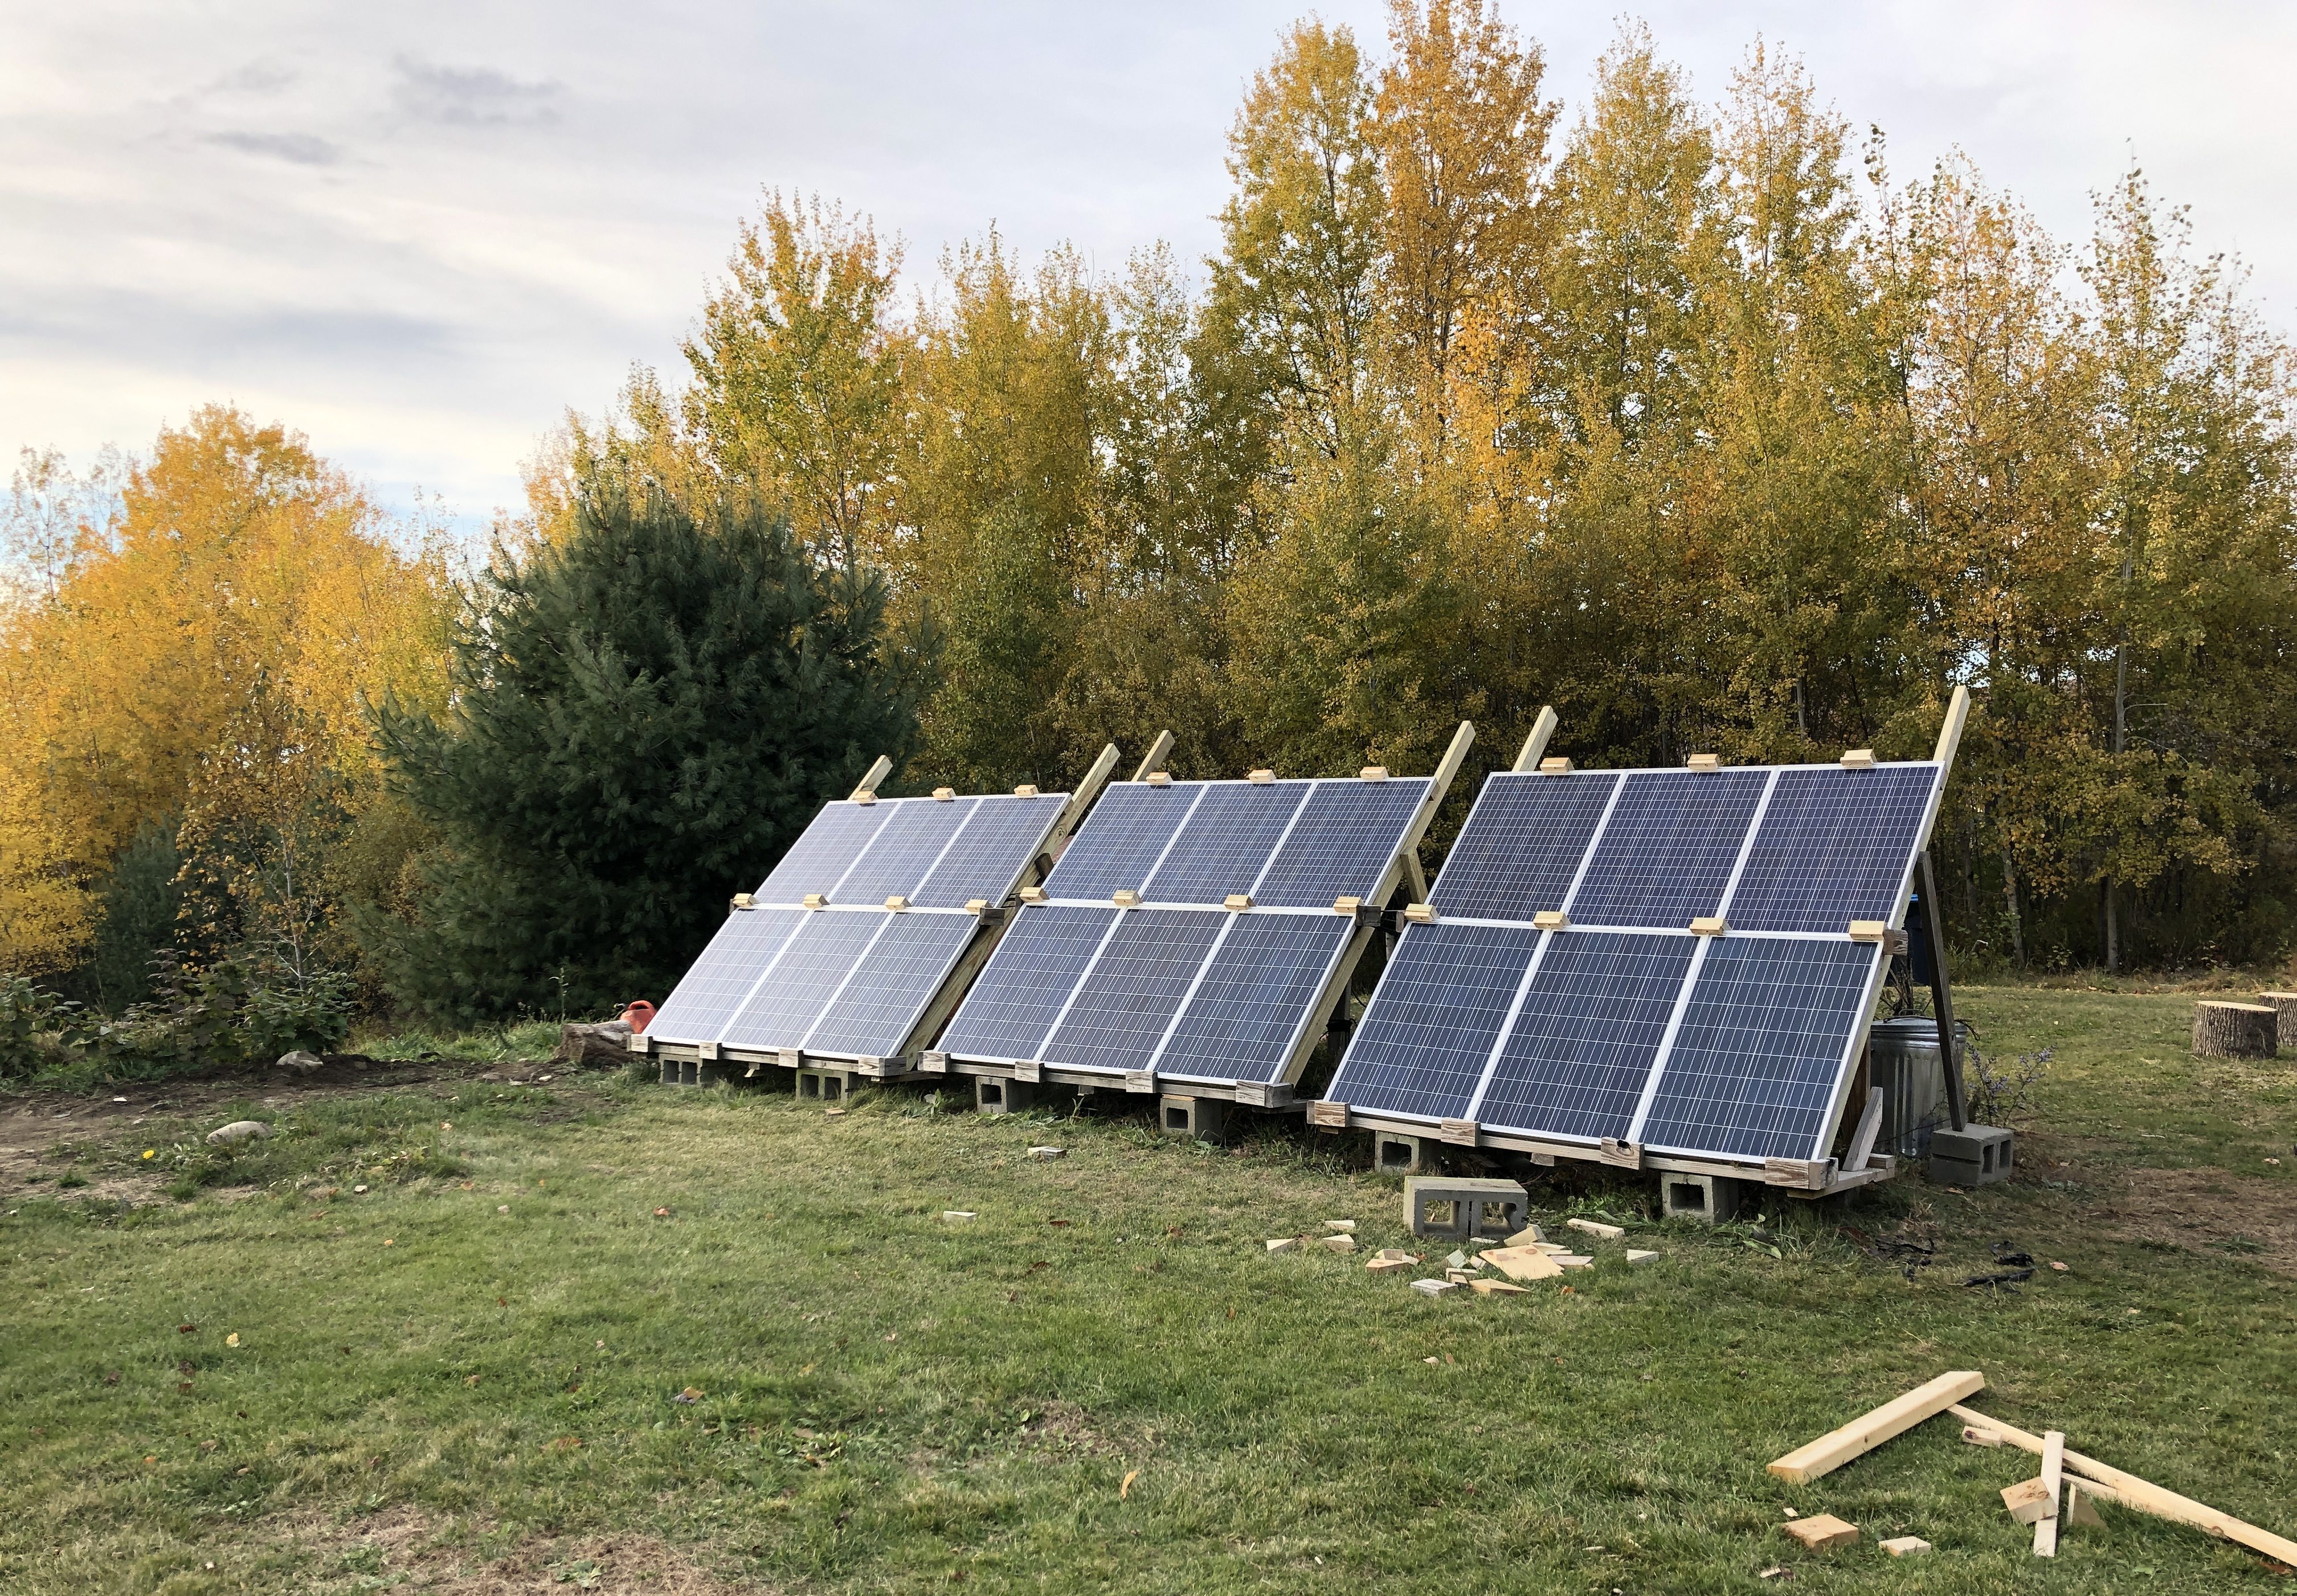
I couldn’t find the exact same panels so I bought some similar, and well, I had to get 9 for things to look symmetrical
I went vertical because I like where everything is now, I didn’t want to increase the panels’ footprint on the land.
I expanded on the existing frames made of pressure-treated 2x4s. It looks a little eclectic and that’s ok, it works well :). We do get very high winds here so I have to build sturdy or I’ll be picking panels off the ground after a storm.
Now this is starting to be a serious array. I don’t think we’ll ever need more panels than this. Note that the top row looks a little different, as I said they aren’t the exact same panels.
Because we have more panels, everything downstream also needed to be upgraded. Truth be told, it needed to be upgraded a while back. I was definitely pushing the gauge of the wiring and a lot of things I had done poorly as I was learning. I rewired everything with better gear, better knowledge, and dare I say better skills.
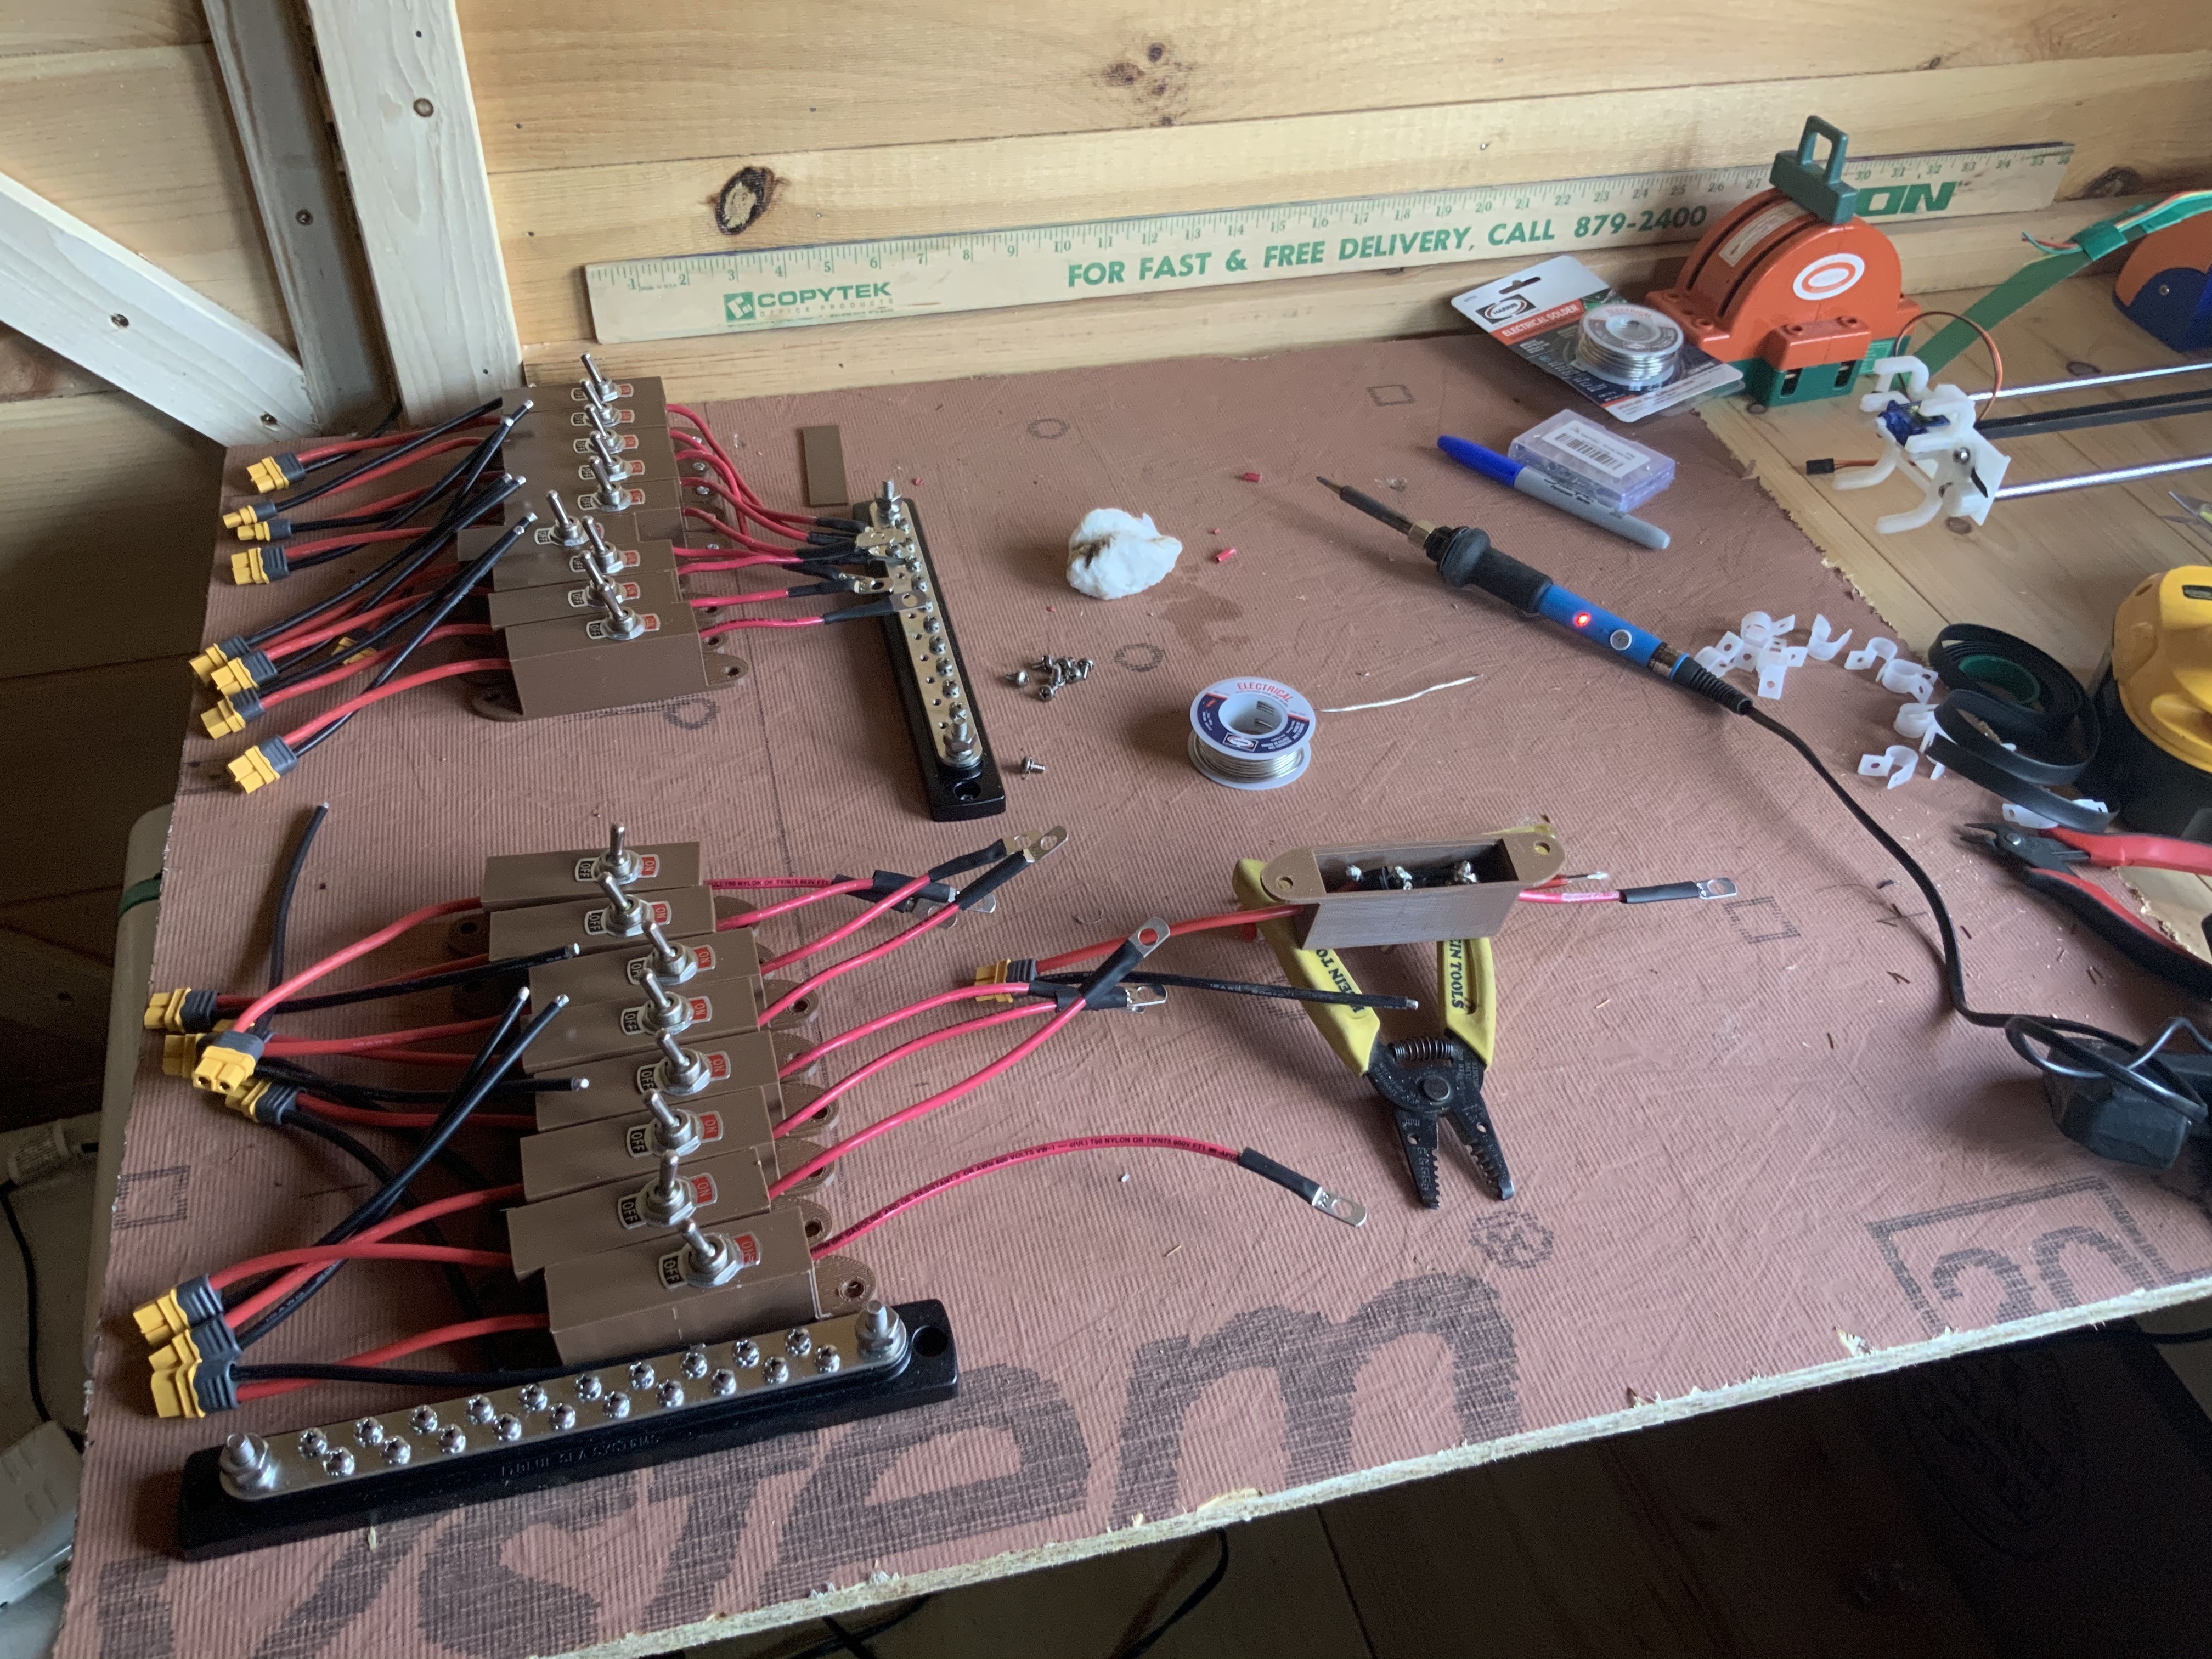
I started work on the control panel of my dreams inside. I’ve gotten to appreciate just how much time, and how much skill proper wiring takes.
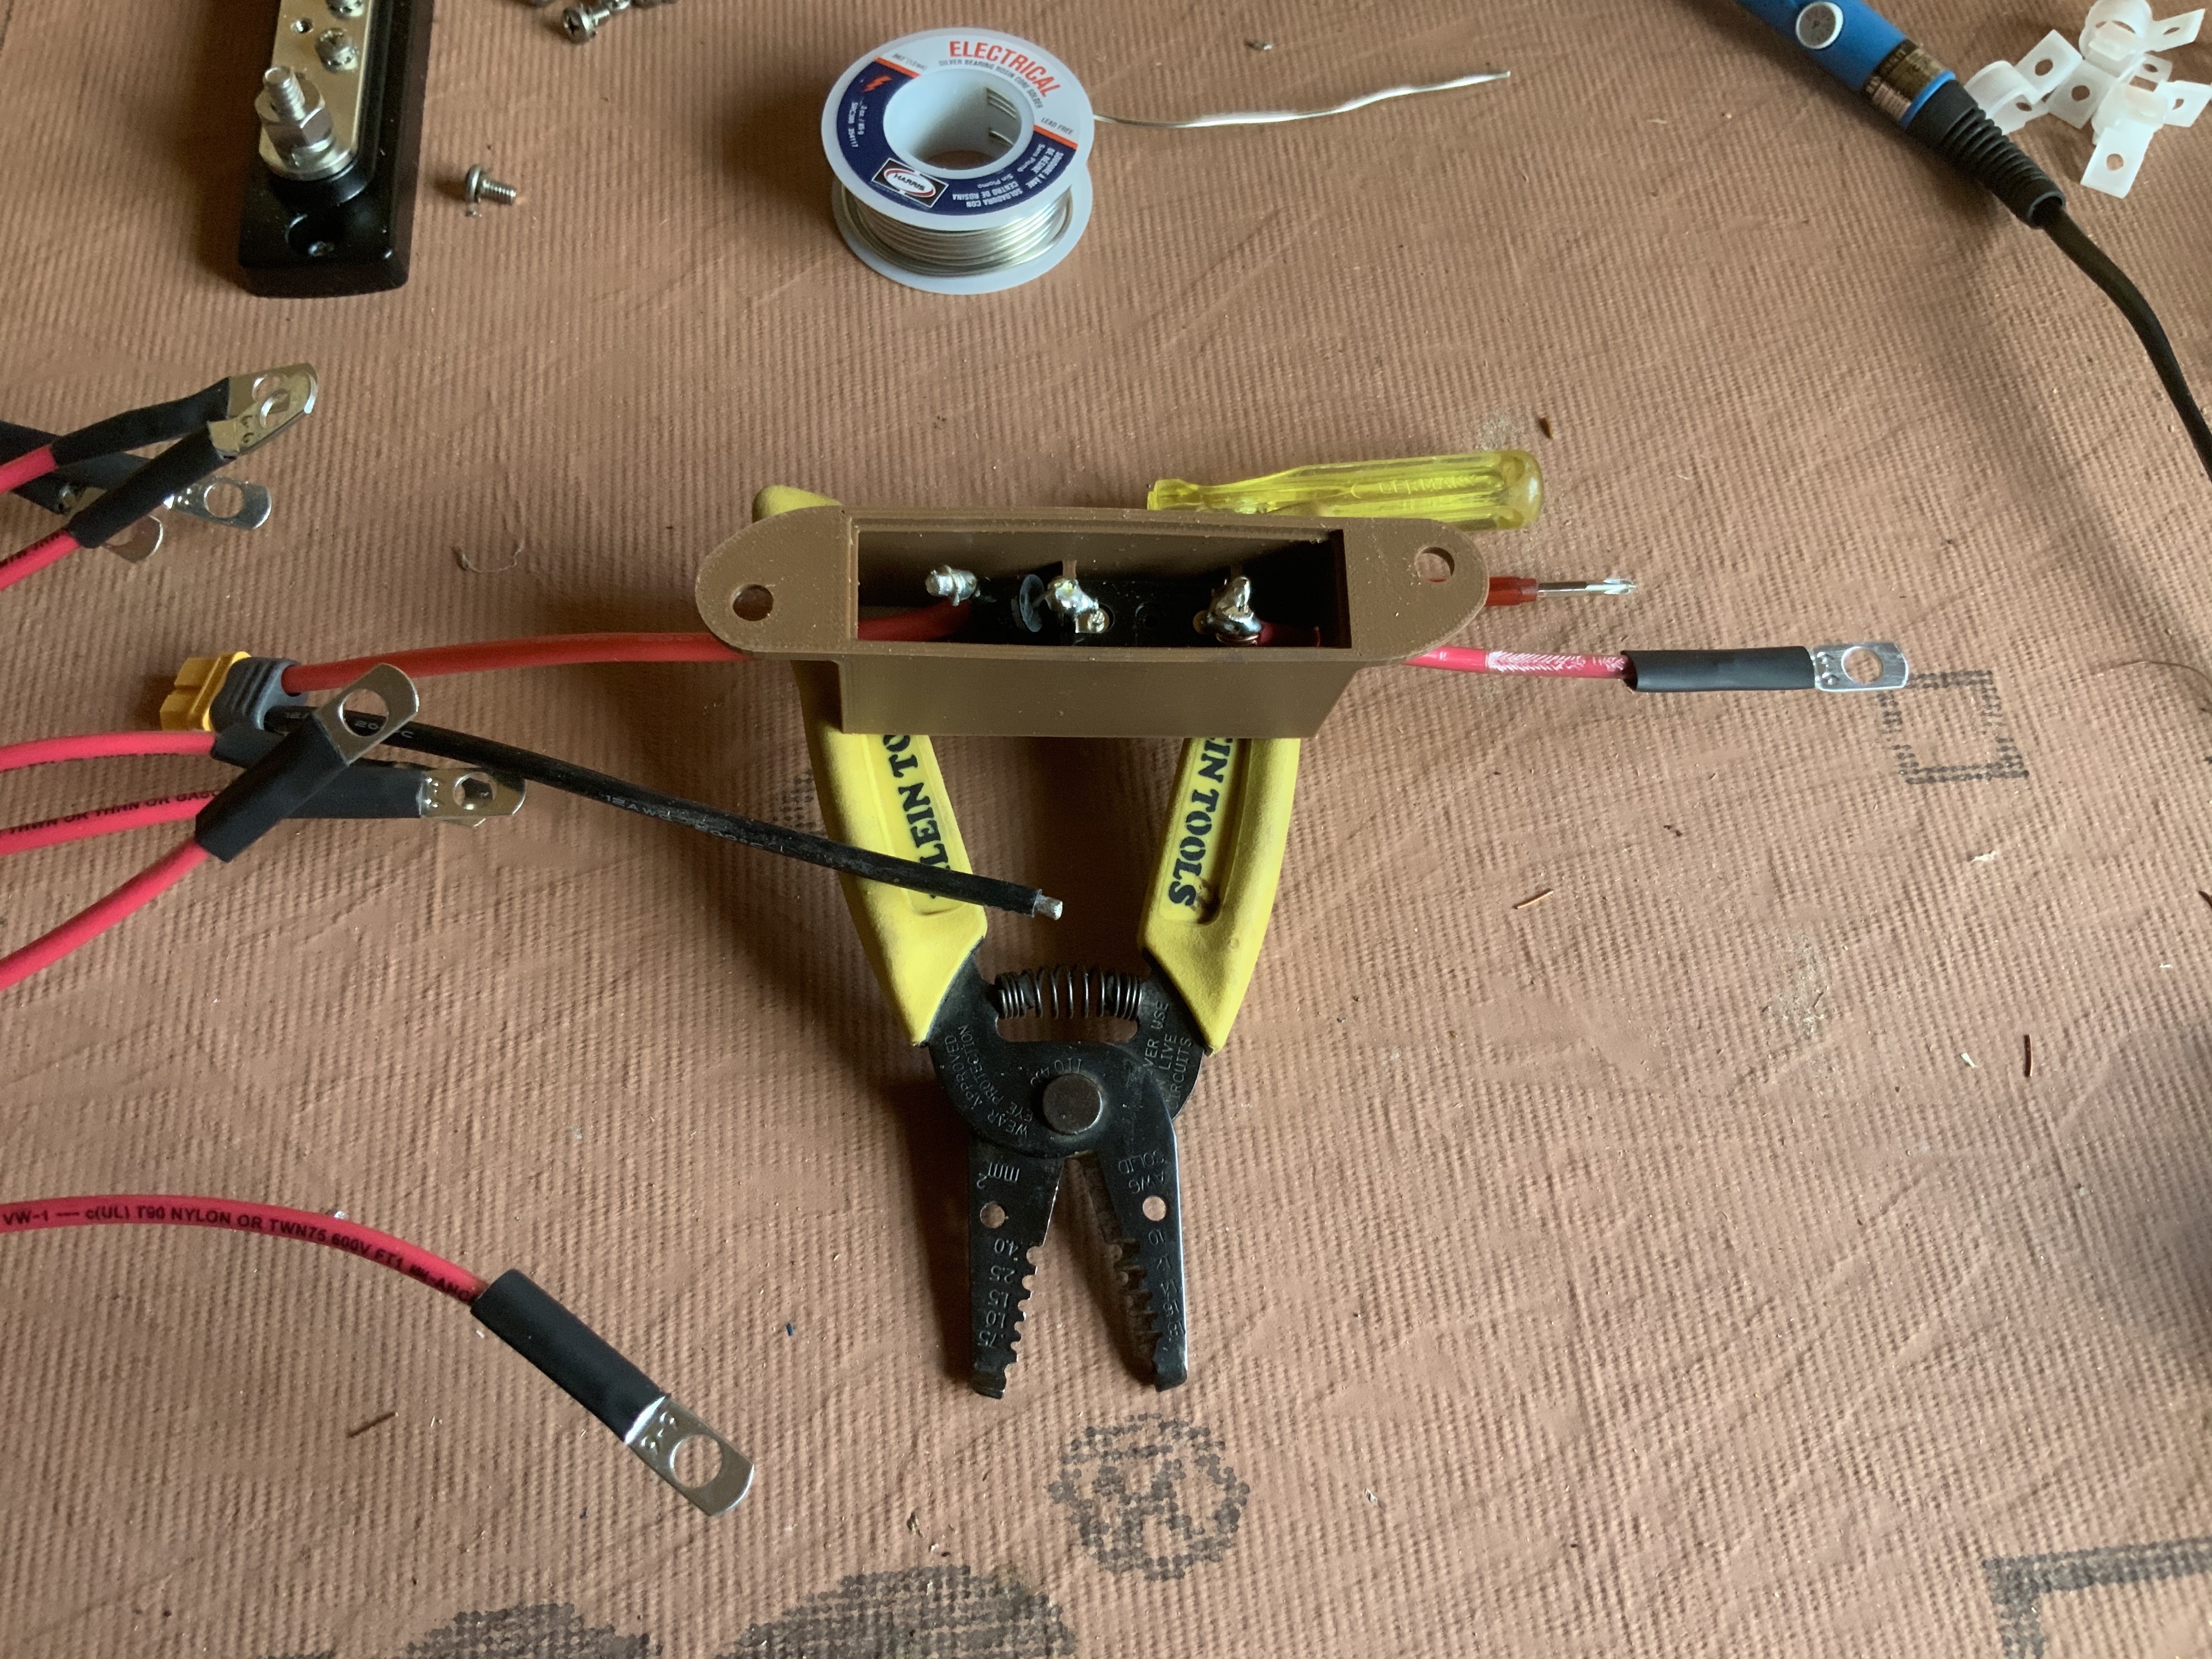
Each solar panel now gets its own wiring, with an on/off switch and a diode to prevent electricity feedback. The panels have their own diode locally to prevent feedback damage, but between them and the control panel, there’s a lot of wire one could make mistakes with. Working together, they can produce 100 Amps and so you really don’t want feedback. I soldered heavily (and uglily) any connection I could.
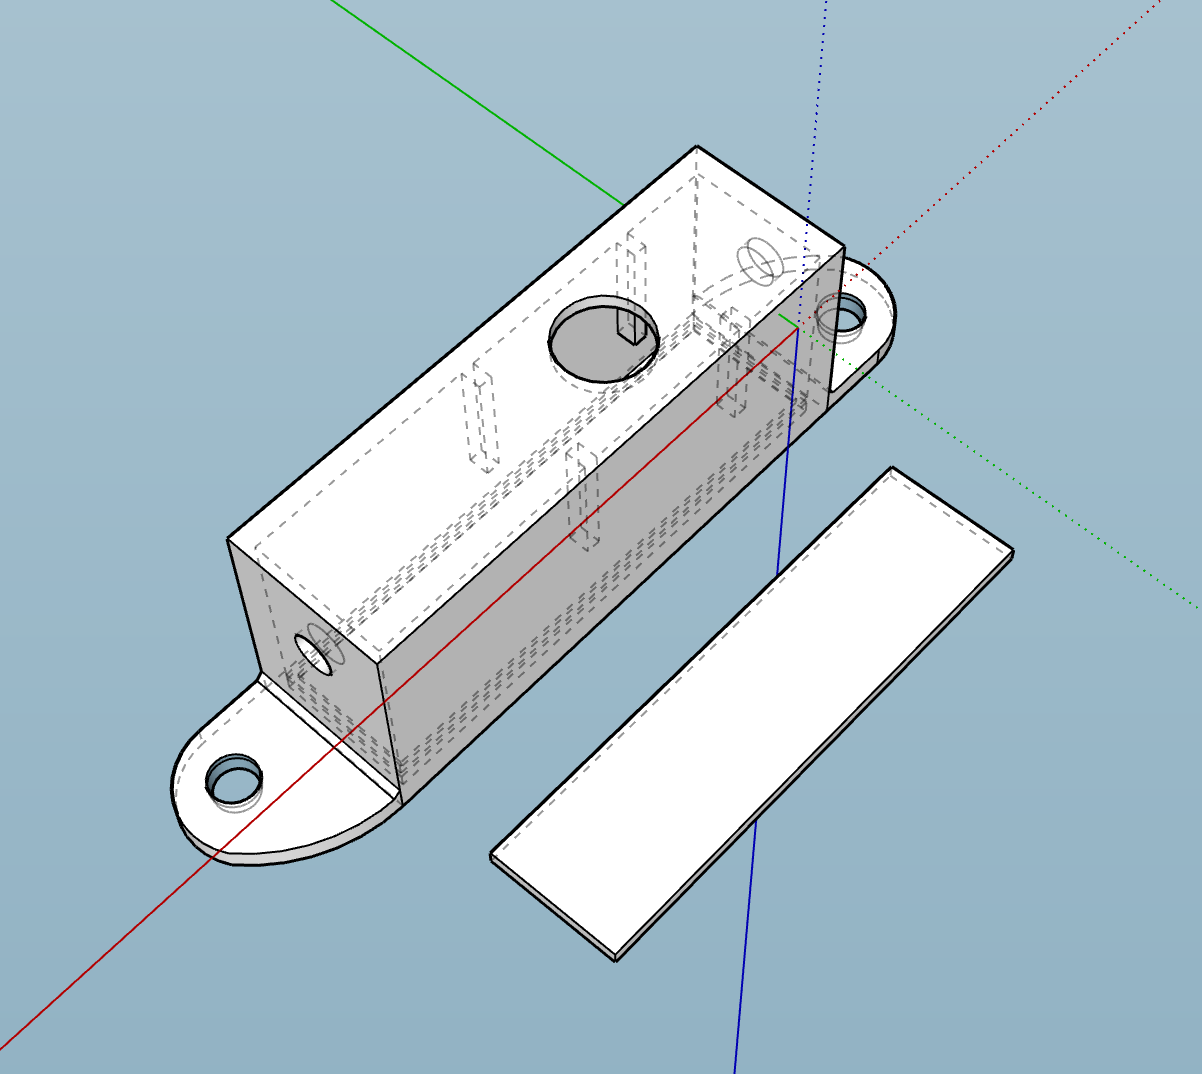
The solar on/off button casing is a fork from the previous on/off switch casing but with room for a diode and made so they can stack.
Download links here:
solar_on_off_button_casing.stl
solar_on_off_button_casing.dae
solar_on_off_button_casing.skp
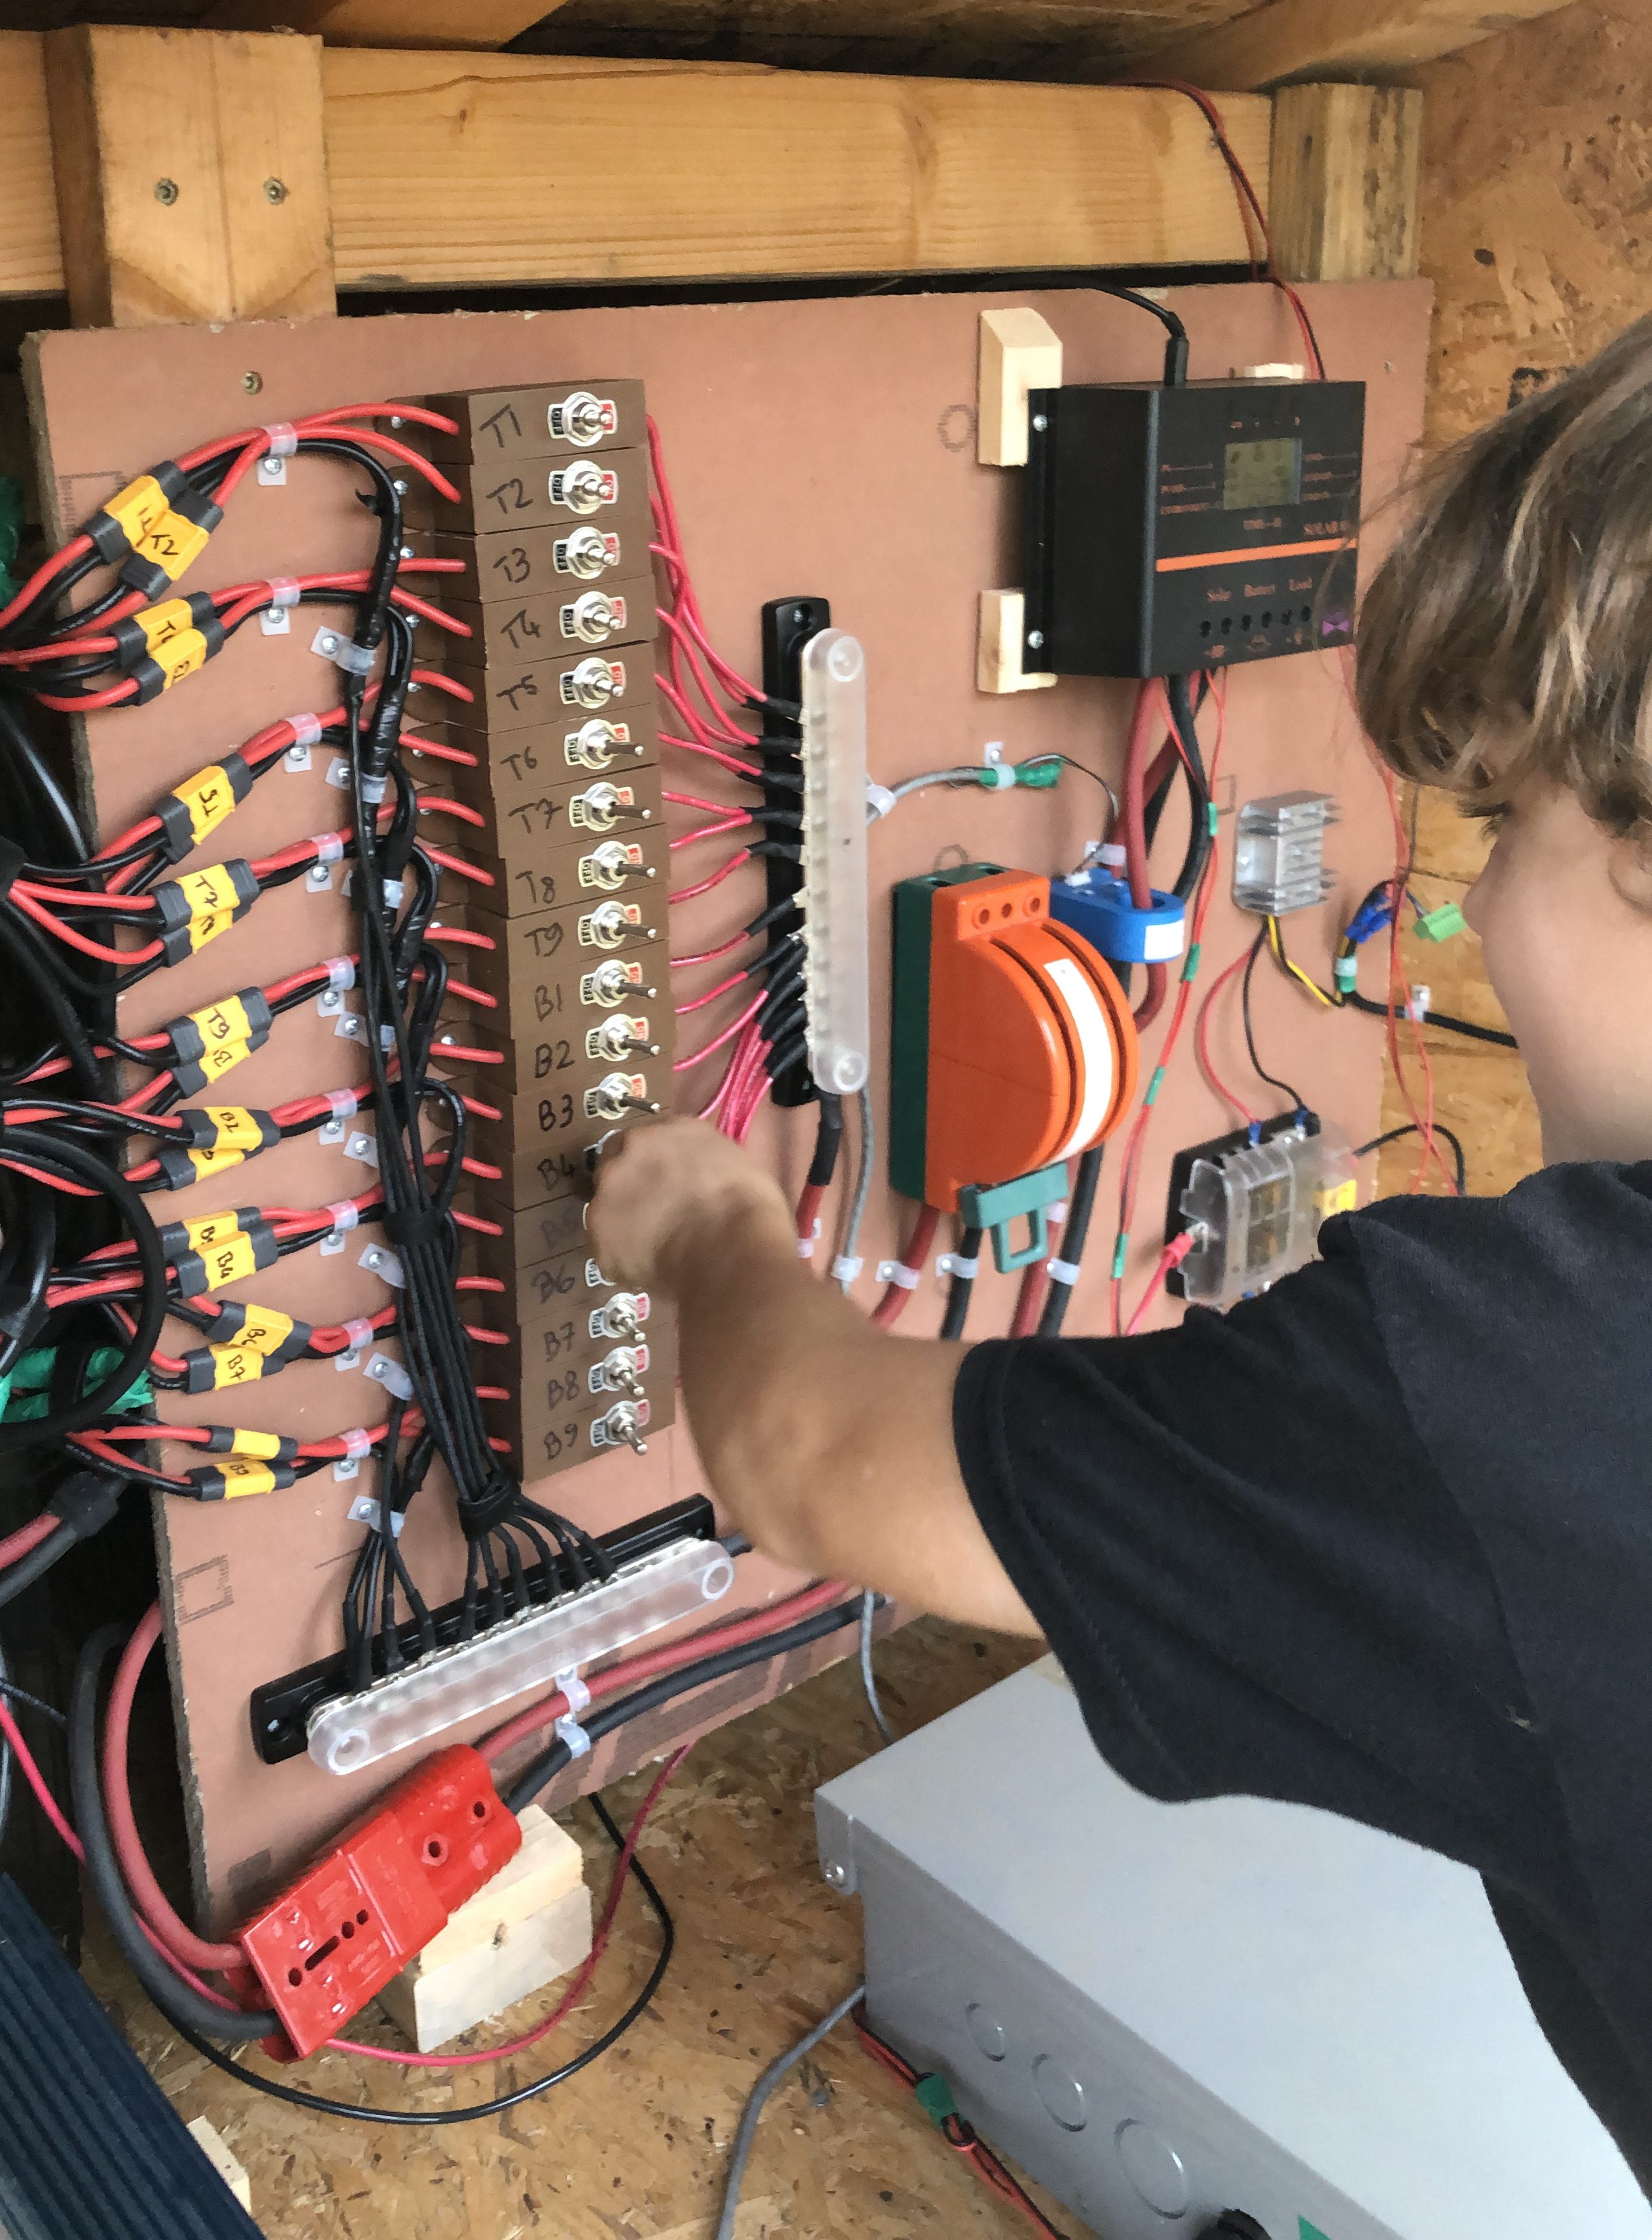
I’m also making the control panel fully detachable, anything connected to it has a plug. It’ll make it easier to work on down the road.
Now we’re talking!
Long story short, it took several days of work to rewire all 18 solar panels and create this awesome control panel. There are still a few things I need to polish or position better. I “reverse-engineered” what powers our fiber ONT so I wouldn’t have to rely on an inverter to power a UPS to power it (ouch for efficiency). Turns out it just needs 12V, guess what I have plenty of in this solar shed? I got a 12V power cleaner (the aluminum radiator looking square to the right) to at least give it a very clean 12V, the other pins are optional signal pins to take various UPS actions based on power scenarios. It really didn’t make sense to jump through all these hoops to have a 12V battery backup when my whole system is essentially a 12V battery backup. We’ll see if anyone comes knocking on my door :).
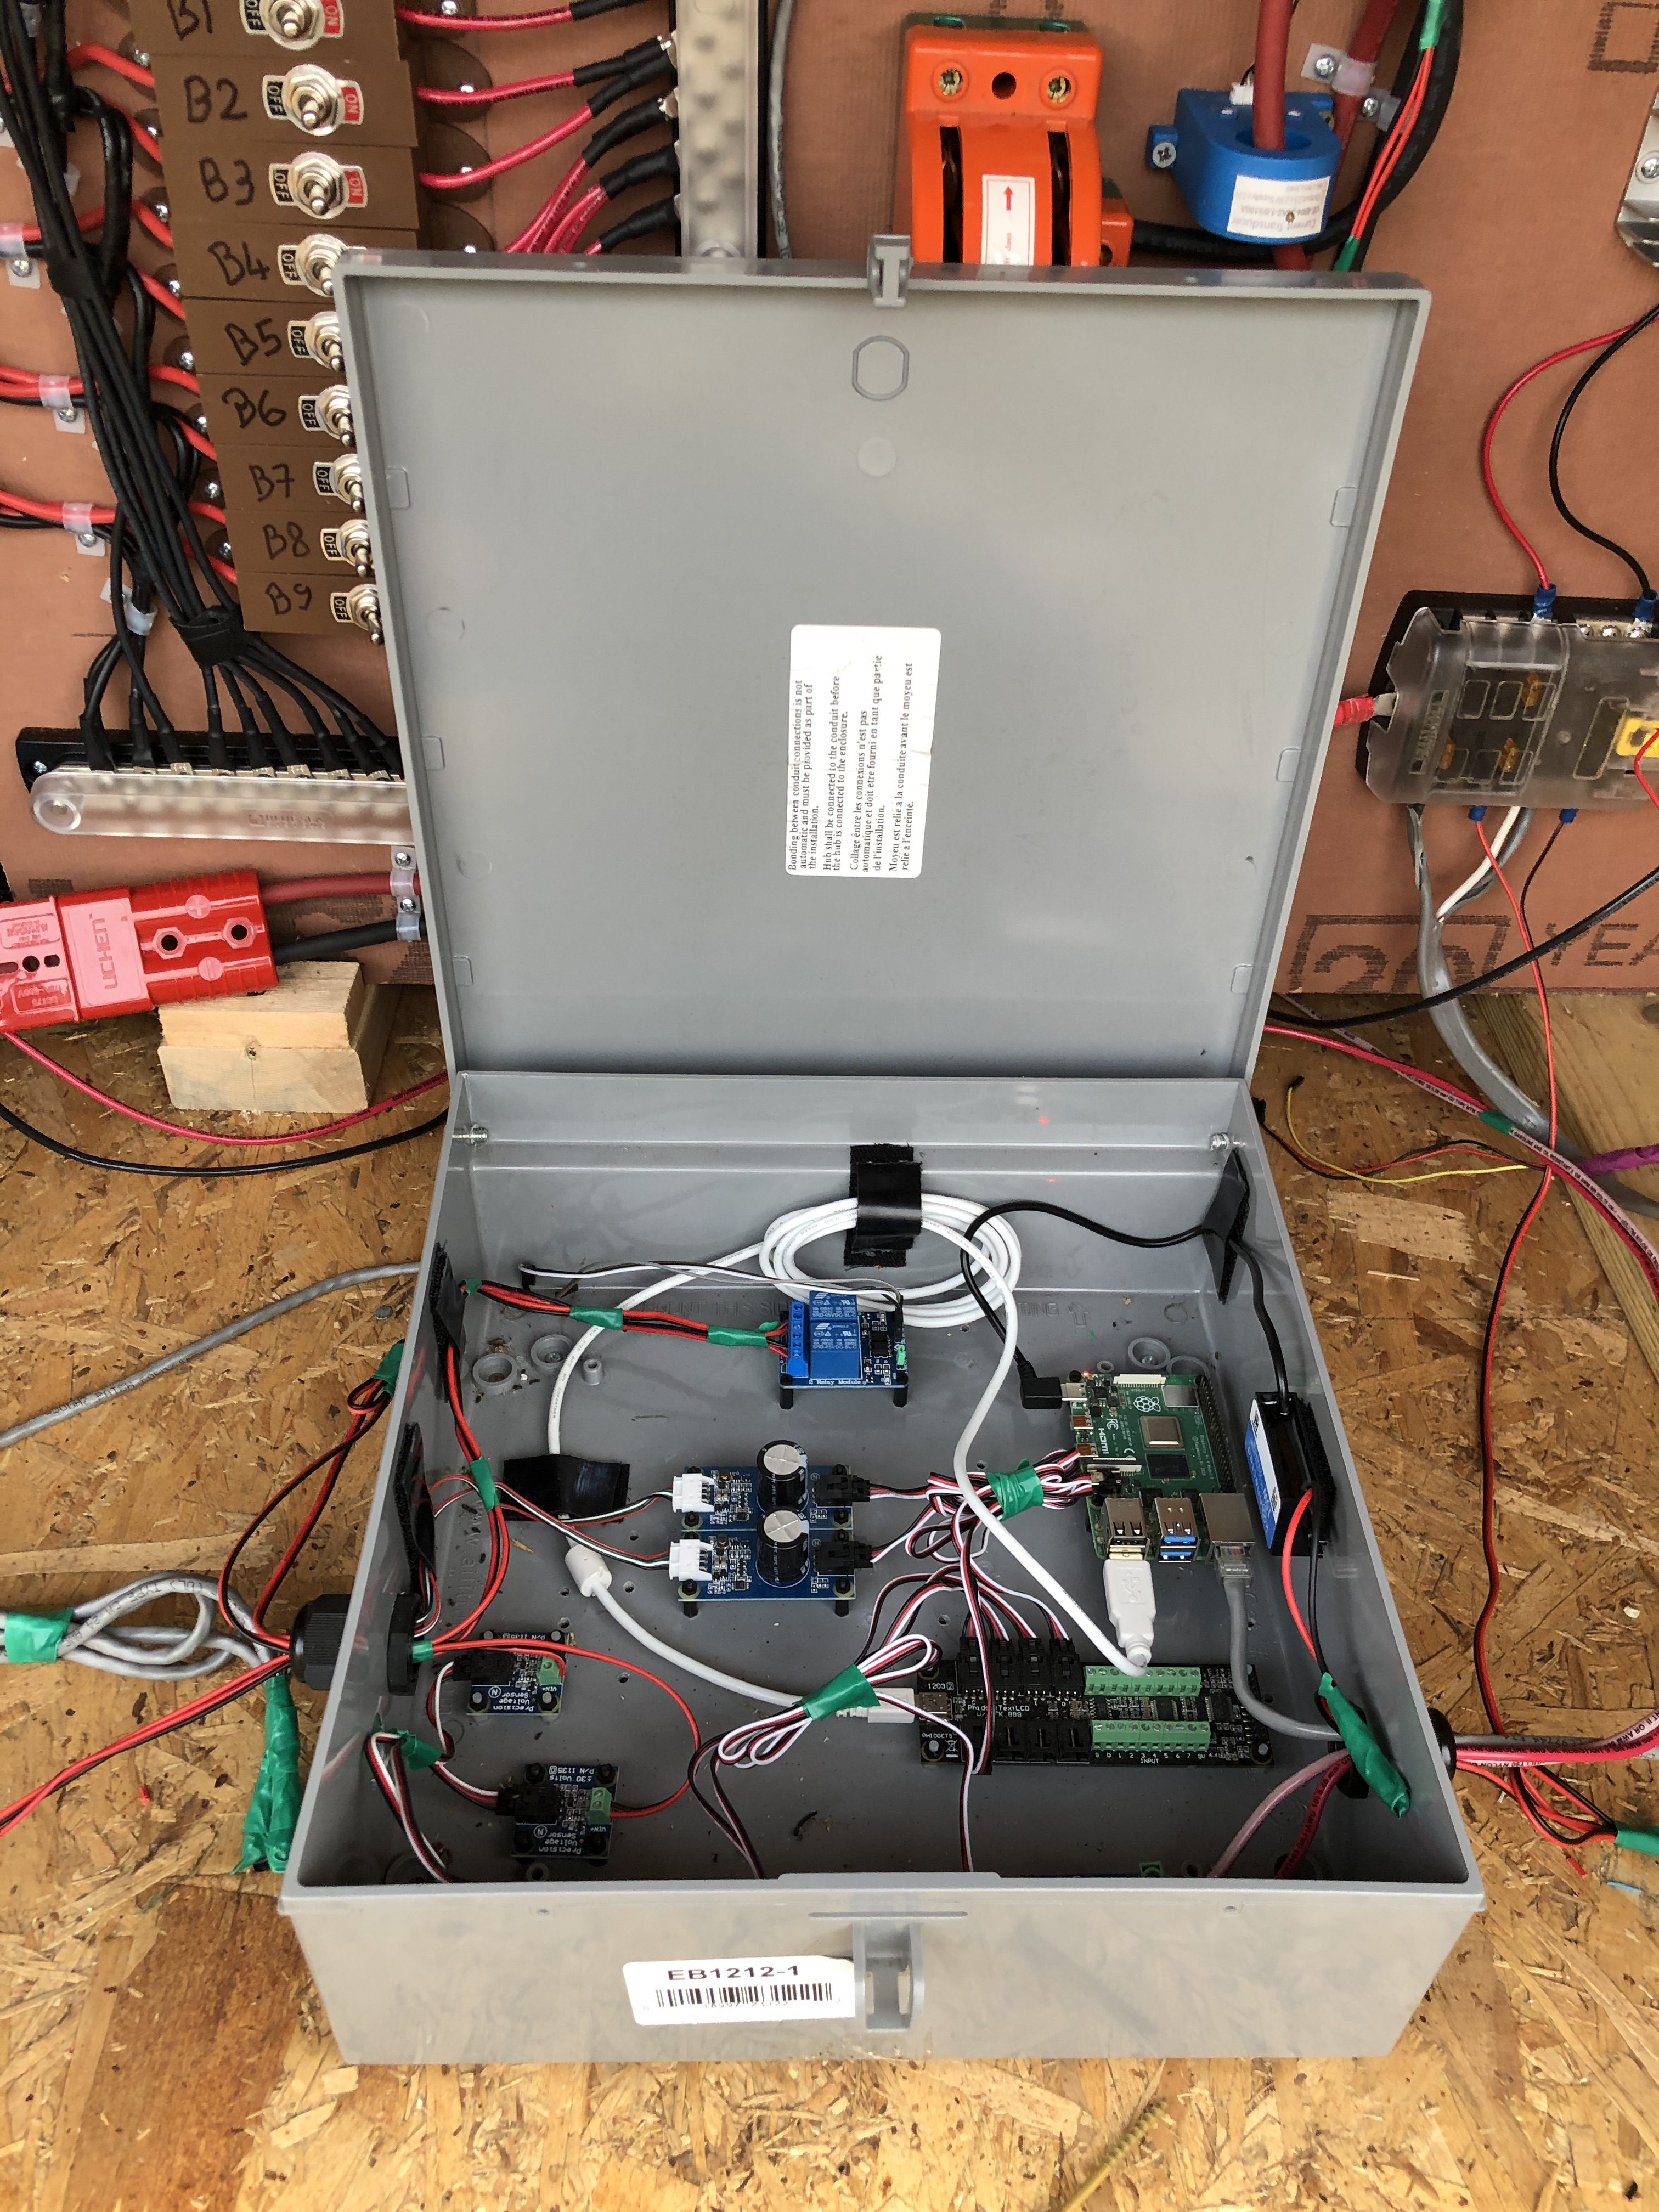
The smarts for monitoring and hosting this very blog are mostly untouched but I did re-arrange them a bit. I tried to fit everything on the control panel but it made sense to separate by function.
Robin enjoyed playing with the switches, including the big catchunking one. We experimented with various scenarios, compared panel outputs et cetera. This was a nice unforeseen side effect of this design.
All in all, I still have a bit of work, but I knew exactly what I was doing and didn’t make a single wiring mistake which is really nice. I used to be way more puzzled by how to wire something much more basic than this. The charge controller stopped working mid-day, that’s because it stops at 80 Amps and the panels had reached this. Fortunately, it was very easy to turn off 4 panels and the system worked again. It’ll be just as easy to re-add them on a cloudy day. The real solution will be to upgrade the charge controller, this will be left for another time. With the Sun almost gone well behind the tree line, we were still making 2Amps, this is now definitely a nice setup :). “Legit Brah” as Robin would say.

